There is a particular quietness to bedrooms softened by plants.
Morning light filtering gently through leaves onto crumpled linen. The faint scent of lavender drifting through an open window in summer. Ivy trailing lazily from a shelf beside half-read books and cooling cups of tea. A fern unfurling itself slowly in the corner while rain taps softly against the glass outside.
Bedrooms are perhaps the most personal rooms in any home.
They are where difficult days finally come to rest. Where slow Sunday mornings unfold beneath blankets. Where the world feels quieter somehow for a few precious hours before everything begins again.
And while cushions, throws and warm lighting all help shape a restful room, plants bring something entirely different into the space. Something living. Breathing. Calming. A subtle reminder of gardens, seasons and fresh air beyond the walls around us.
Not perfectly styled.
Not overly polished.
Simply softer. Gentler. More human.
Some plants seem especially suited to bedrooms. They thrive happily in steady indoor warmth and lower light, asking very little in return while quietly transforming how a room feels. They soften corners, bring movement to still spaces and create that comforting sense of retreat many bedrooms quietly long for.
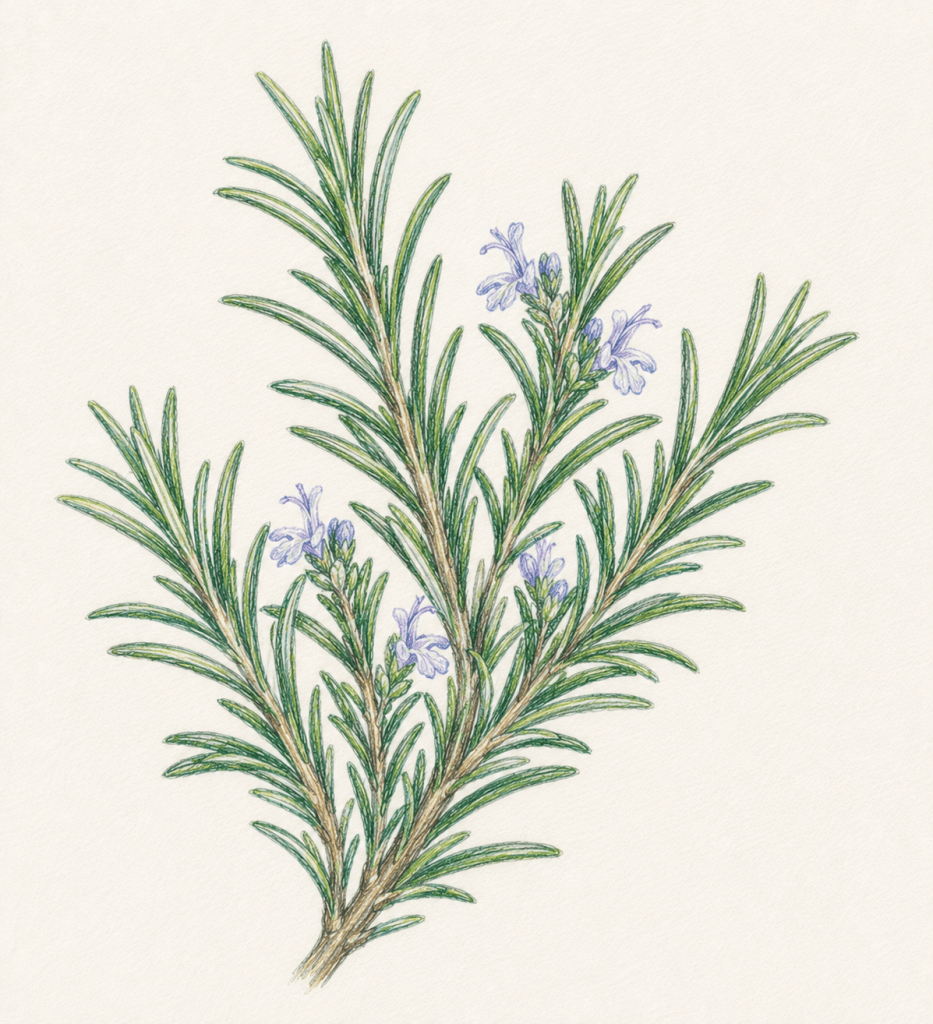
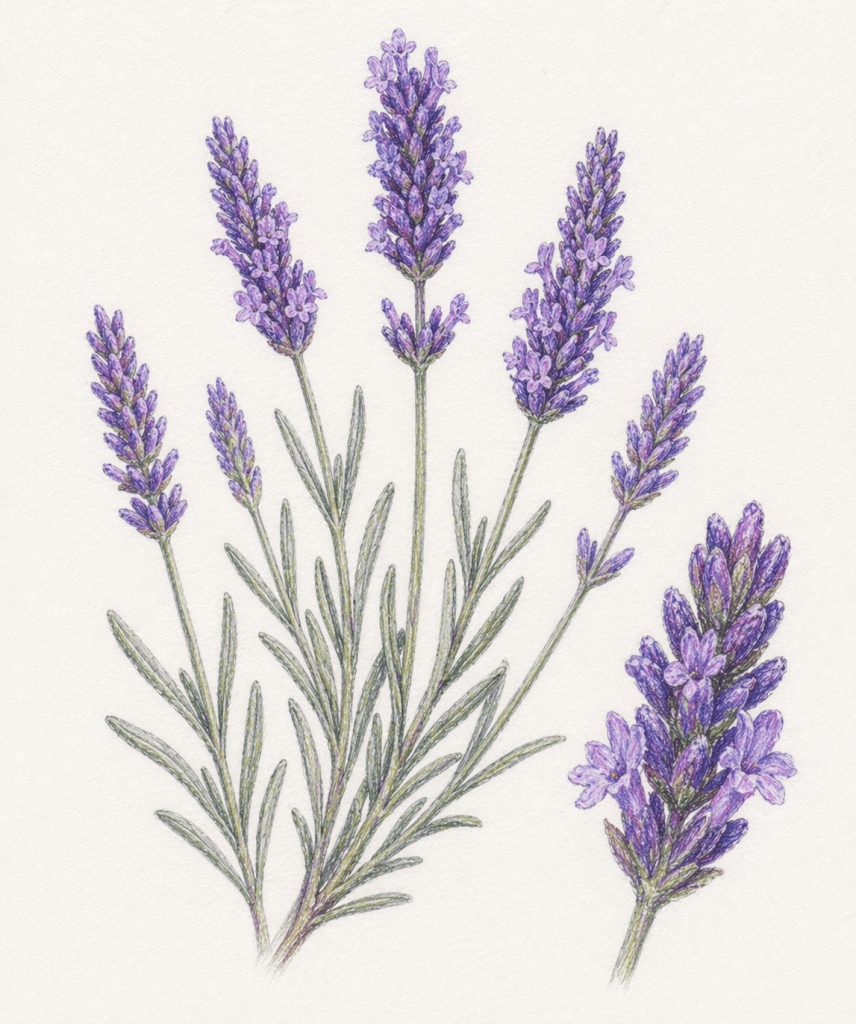
Lavender Lavandula angustifolia

Few plants carry the feeling of calmness quite like lavender.
Even the name itself seems to slow the room slightly.
Its silvery-green foliage and soft purple flowers instantly call to mind cottage gardens warmed by afternoon sunshine, linen drying outdoors in fresh air and long summer evenings where windows remain open well past dusk.
Traditionally associated with sleep and relaxation, lavender has been grown near bedrooms for centuries. Tucked into linen cupboards, woven into pillows and planted beside doorways where its fragrance drifts gently indoors.
While often thought of as an outdoor plant, lavender grows surprisingly happily beside a bright bedroom window with good airflow and plenty of sunlight. And once settled there, it changes the atmosphere of the room entirely.
Not loudly.
Just quietly enough to make everything feel softer.
Snake Plant Dracaena trifasciata
(formerly Sansevieria trifasciata)
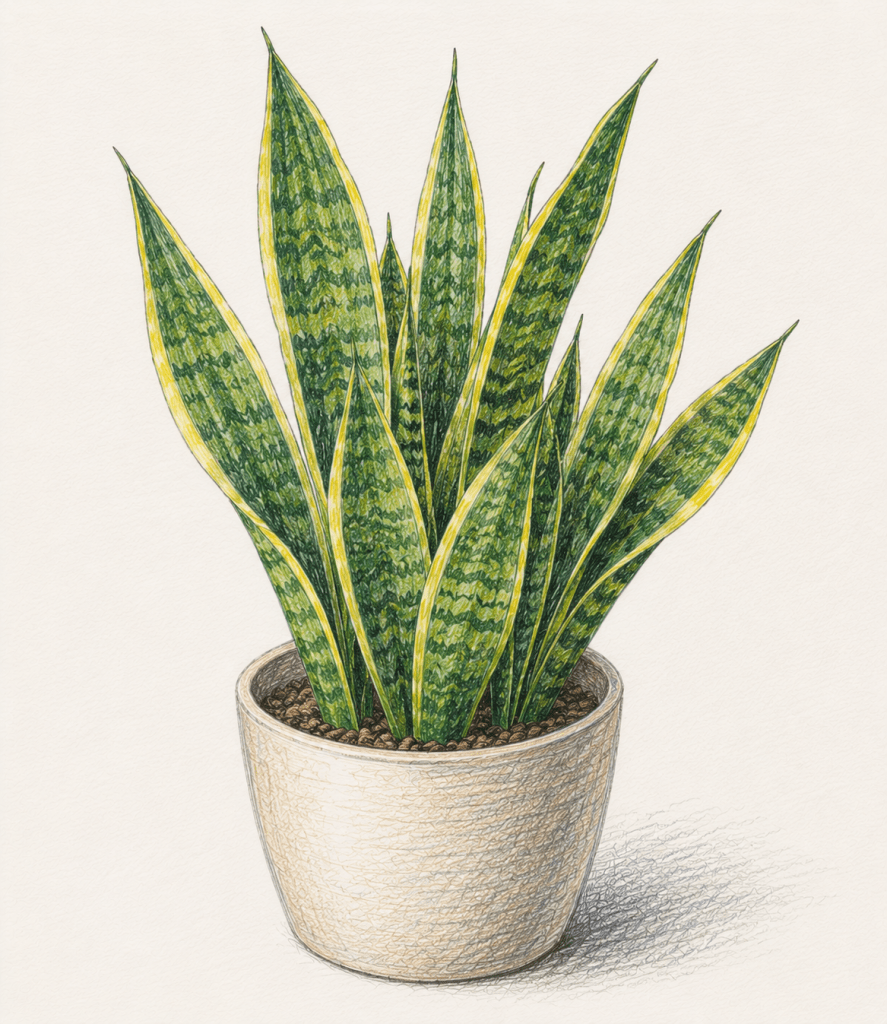
Some plants whisper gently into a room. The snake plant stands tall and quietly confident.
Its upright architectural leaves bring structure into bedrooms without ever overwhelming them, making it particularly beautiful in calmer, uncluttered interiors filled with natural textures and soft colours.
And perhaps one of its greatest qualities is how little it asks for.
The snake plant tolerates lower light levels, copes cheerfully with occasional neglect and continues growing steadily even in busier households where watering schedules sometimes become more aspirational than realistic.
There is comfort in dependable plants.
The sort that simply carry on quietly regardless.
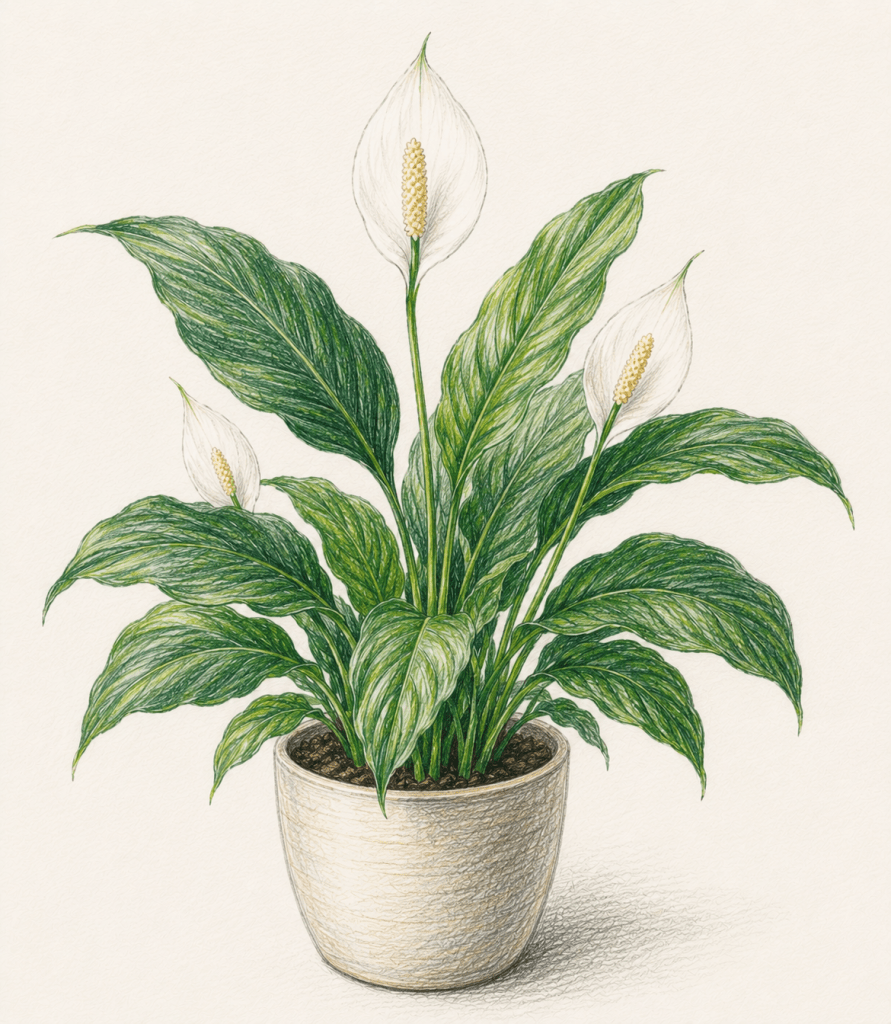
Peace Lily Spathiphyllum wallisii

The peace lily feels perfectly named somehow.
Its glossy green leaves and elegant white flowers bring a calmness into bedrooms that is difficult to explain but instantly noticeable. It softens sharper edges, balances busy corners and creates the sort of stillness people often spend far too much money trying to achieve through scented candles and expensive diffusers.
There is a timelessness to peace lilies too.
They suit old cottages just as beautifully as modern bedrooms filled with pale woods and linen bedding. They thrive happily in softer light and seem entirely content existing quietly in restful corners.
Not every plant needs to make a statement.
Some simply make a room feel better.
Jasmine Jasminum officinale
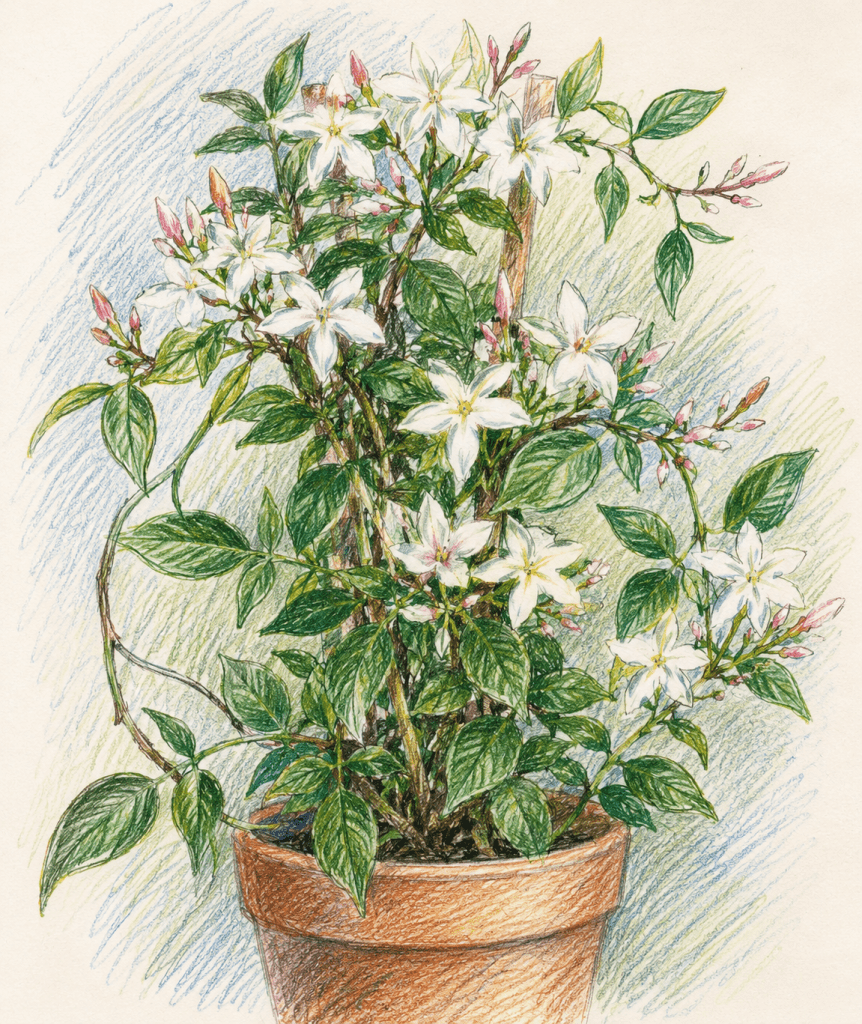
Jasmine belongs to evenings.
Its delicate white flowers release fragrance gradually as daylight fades, filling bedrooms with a scent that feels soft, romantic and almost nostalgic somehow.
Placed near a bright window, jasmine trails gently upwards, bringing movement and softness into the room. It catches moonlight beautifully too, its pale flowers glowing faintly against darker leaves once the day settles into night.
There is something wonderfully old-fashioned about fragrant bedroom plants.
A reminder perhaps that homes were once designed not only to look beautiful, but to feel comforting too.
And jasmine does exactly that.
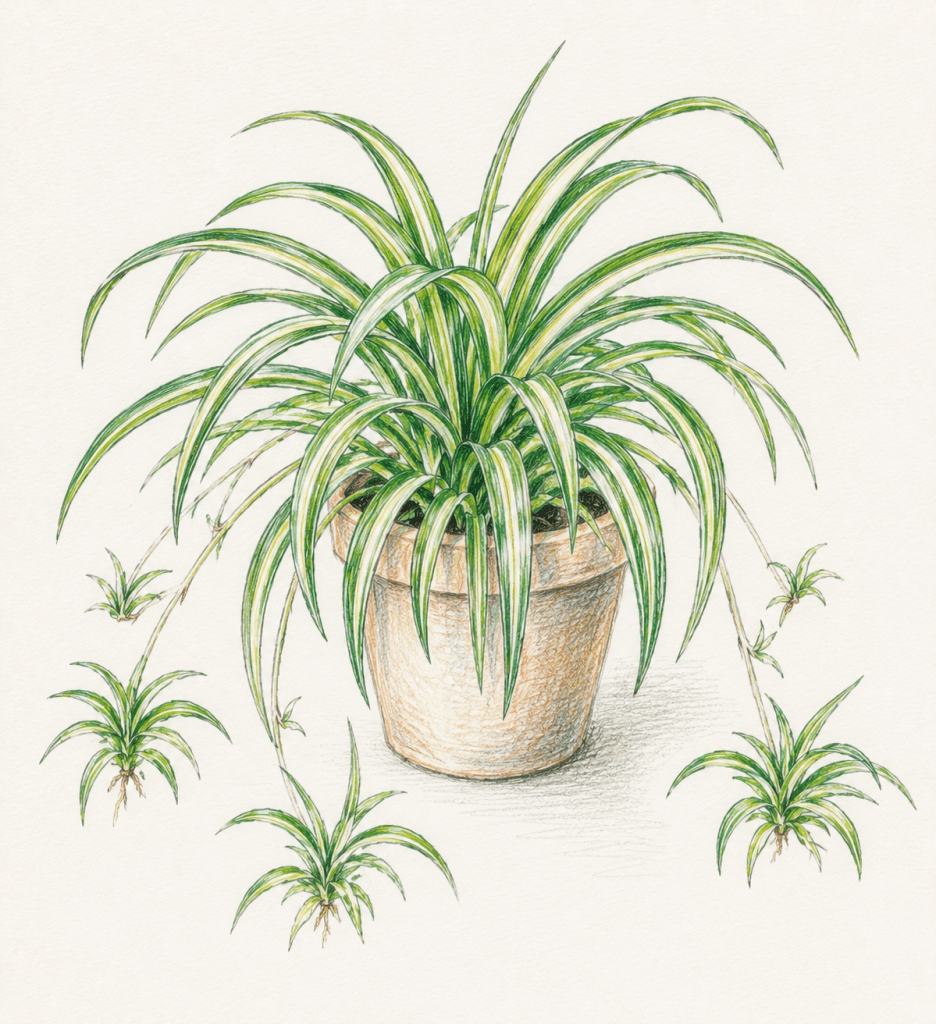
Spider Plant Chlorophytum comosum

The spider plant has a cheerful, easy-going nature that makes bedrooms feel instantly more relaxed.
Its striped leaves spill gently from shelves and hanging baskets, bringing movement into still spaces without cluttering them. And unlike fussier houseplants, spider plants seem entirely unbothered by ordinary life.
Missed a watering?
No drama.
Busy week?
Still thriving.
Perhaps that is why they remain such enduring favourites.
Bedrooms should never feel too formal. They should feel lived in. Comfortable. Slightly imperfect in the loveliest possible way.
And spider plants suit that atmosphere beautifully.
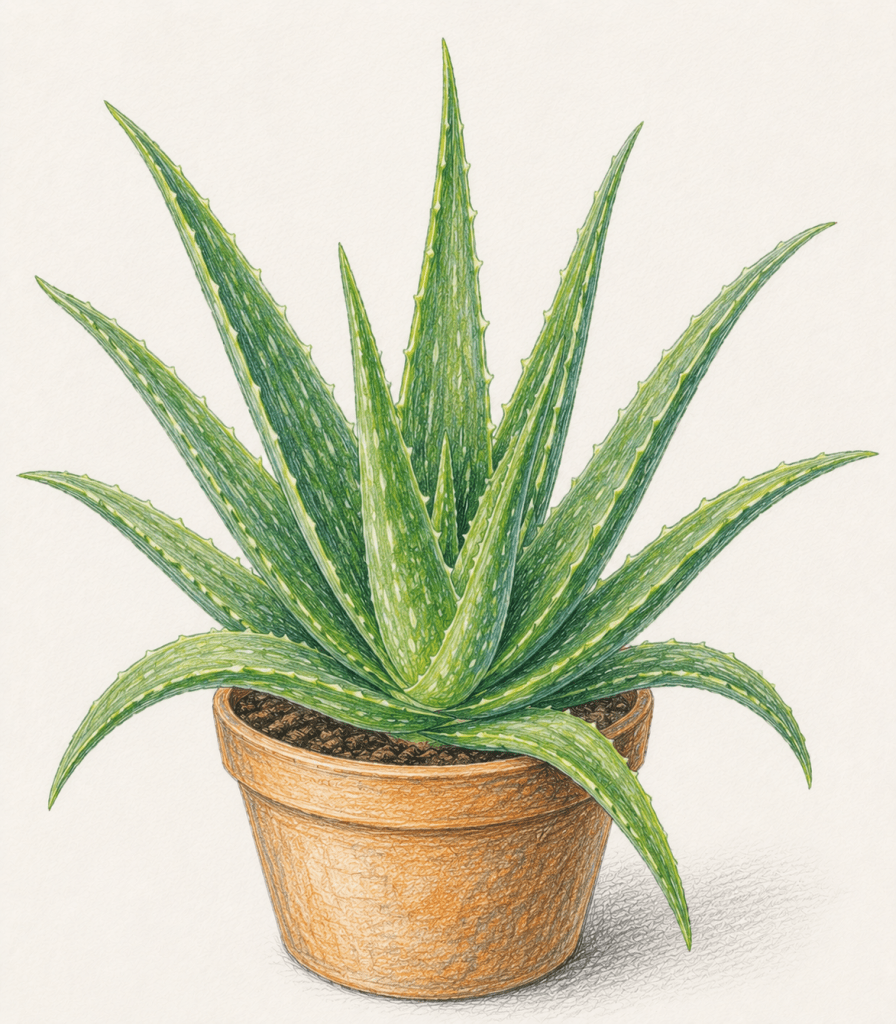
Aloe Vera Aloe barbadensis miller

Aloe vera brings calmness through simplicity.
Its sculptural green leaves rise cleanly from pots placed on sunny windowsills, creating a sense of order and stillness within the room. Particularly in modern bedrooms, aloe vera pairs beautifully with natural woods, white bedding and uncluttered spaces.
But it is not simply attractive.
For generations, aloe vera has been valued as a practical household plant too, its cooling gel used traditionally for soothing skin and small irritations.
Beautiful and useful.
A combination people have always appreciated indoors.
Boston Fern Nephrolepis exaltata
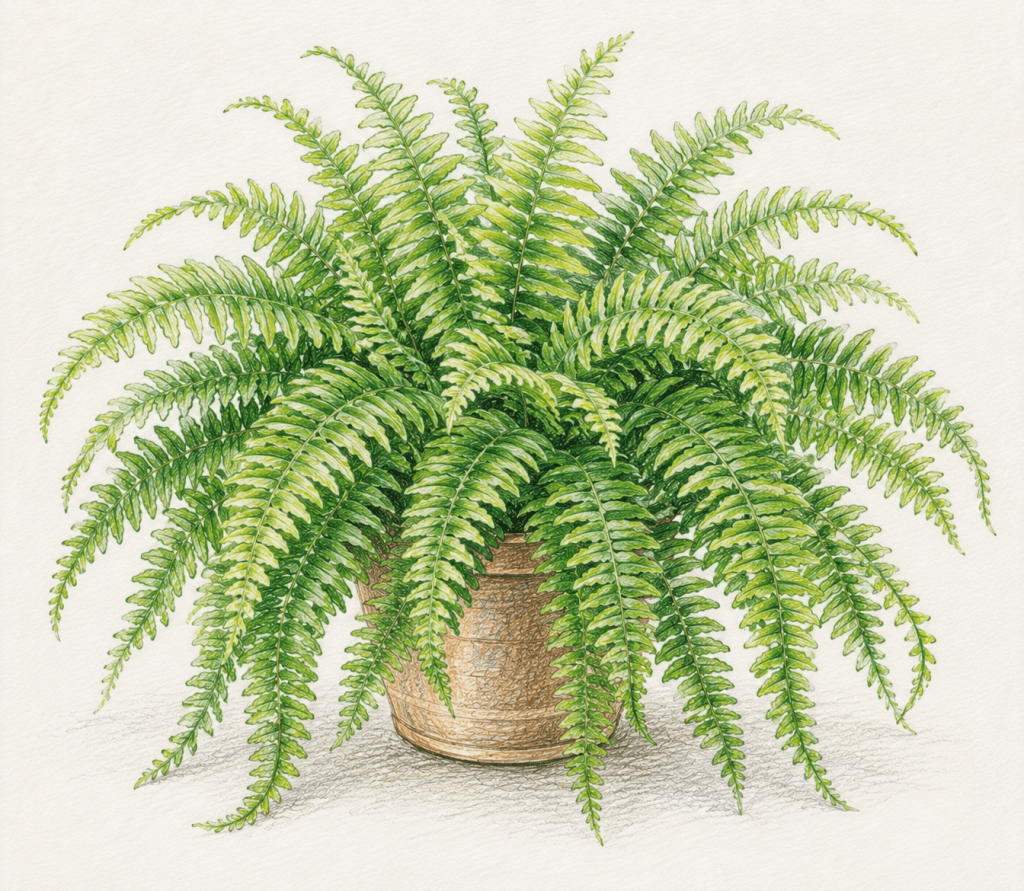
Few plants soften a bedroom quite like a fern.
The Boston fern, with its feathery fronds and rich green colour, brings fullness and texture into spaces that might otherwise feel stark or flat. Positioned on shelves or hanging gently beside windows, its leaves create movement even in still rooms.
There is something deeply calming about ferns.
Perhaps because they remind us of woodland walks, shaded gardens and damp earth after rain. They carry the feeling of quieter places indoors with them.
And bedrooms often need exactly that.
Areca Palm Dypsis lutescens
An areca palm can transform a bedroom completely.
Its arching fronds create movement, height and softness all at once, making the room feel lighter and calmer somehow. Placed near a bright window, it catches morning light beautifully, casting delicate shadows across walls and bedding.
There is an effortless elegance to palms indoors.
Not dramatic or tropical in an over-styled way.
Simply airy. Relaxed. Restful.
Like a room that has finally exhaled.
English Ivy Hedera helix
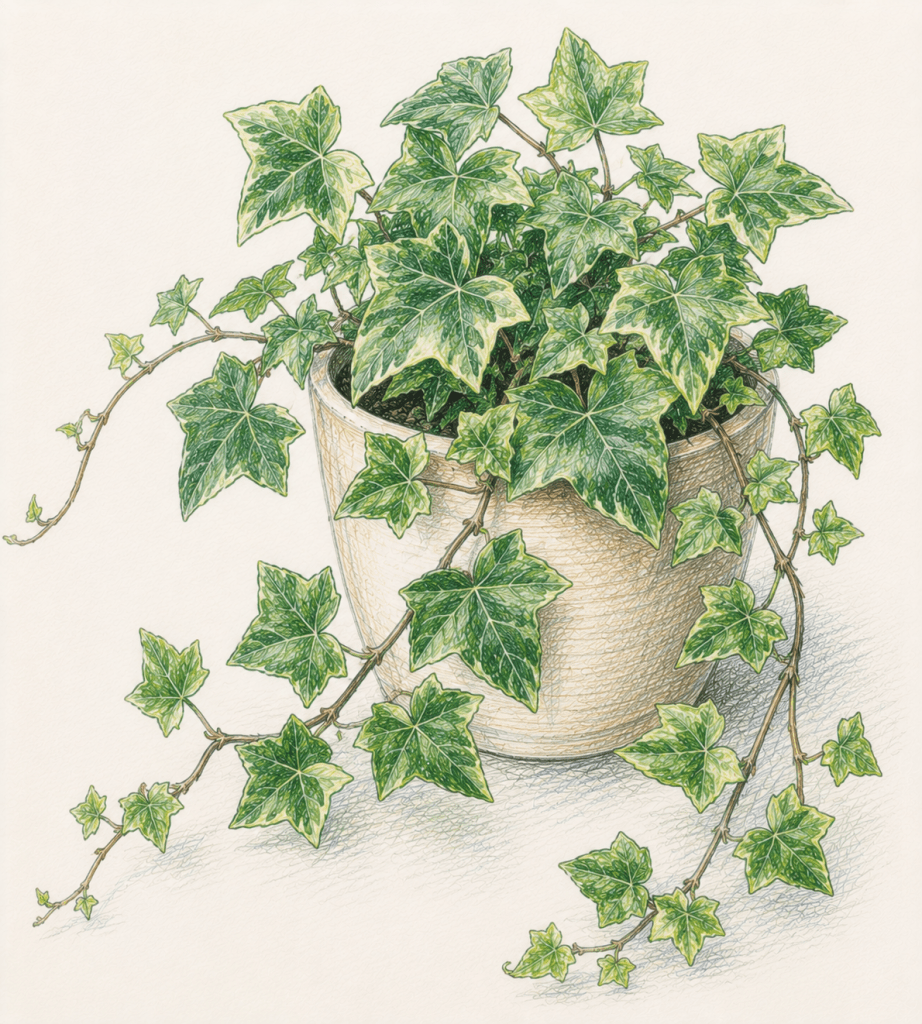
English ivy brings an older kind of beauty into bedrooms.
Trailing from shelves or winding softly around mirrors and window frames, it gives rooms a sense of familiarity and quiet age — the feeling of homes that have been loved for generations rather than perfectly arranged overnight.
Its gently cascading leaves soften bookshelves, bedside tables and furniture edges beautifully. And perhaps more than most plants, ivy creates atmosphere.
The sort of room where books pile naturally beside beds and rainy afternoons are spent beneath blankets with tea growing cold nearby.
ZZ Plant Zamioculcas zamiifolia
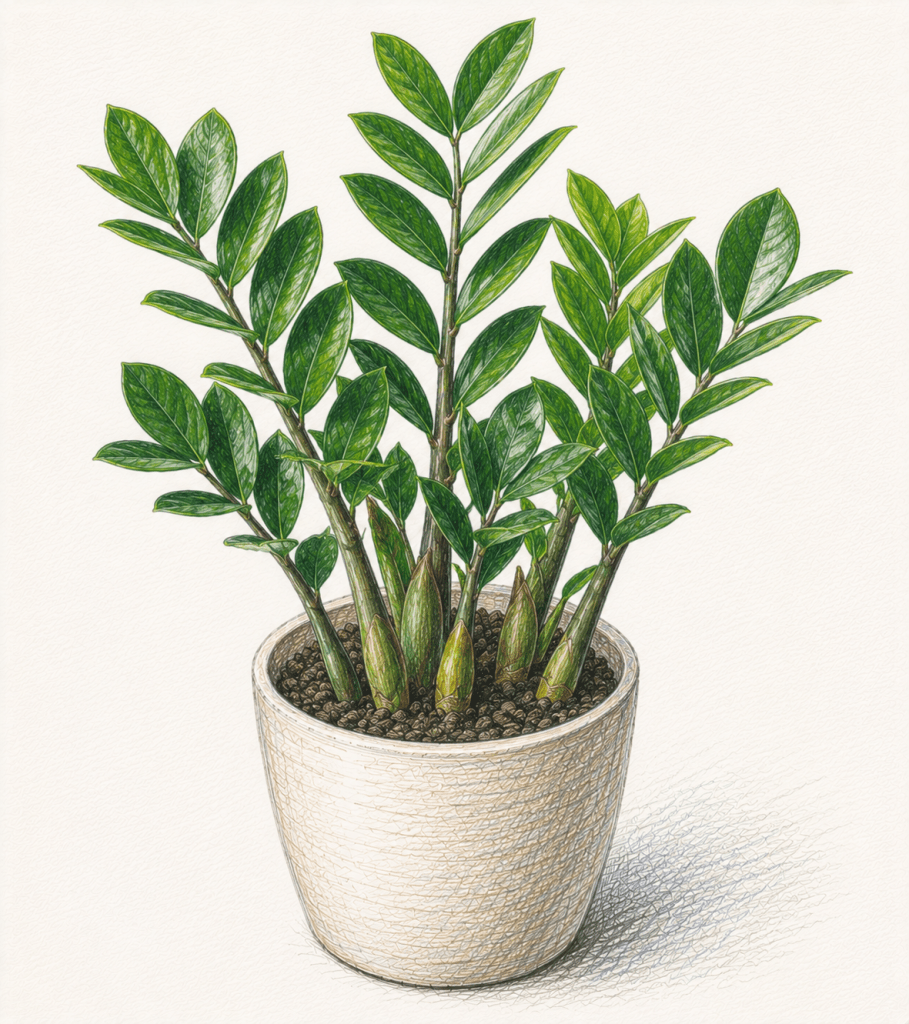
The ZZ plant is wonderfully resilient.
Its glossy dark green leaves catch and reflect light beautifully, bringing richness into bedrooms even where natural sunlight is limited. And unlike more demanding plants, it seems perfectly content with very little attention.
There is something quietly reassuring about plants that thrive without fuss.
The ZZ plant simply sits elegantly in the background making rooms feel calmer, greener and more grounded somehow.
Which, honestly, feels like a useful quality in modern life generally.
Creating a Bedroom That Feels Like Rest
Bedrooms should feel restorative.
Not simply somewhere to sleep, but somewhere to properly exhale after difficult days. Somewhere softer than the world outside the door.
Plants help create that feeling naturally.
A fern unfurling quietly in the corner.
Lavender scent drifting through warm evening air.
Ivy trailing beside stacked books.
Morning sunlight catching the leaves of an aloe vera plant beside the bed.
These details may seem small.
But they change how a room feels completely.
The air feels fresher.
The room feels calmer.
More connected somehow to seasons, gardens and the natural world waiting quietly beyond the windows.
And perhaps that is the real beauty of bedroom plants.
Not simply decoration.
But atmosphere.
A gentle reminder each morning and evening to slow down, breathe deeply and rest well.
If you’re ready to take your plant care to the next level, explore our range of houseplant tools designed to make gardening a breeze. Happy planting!
Further Reading: Medicinal Garden Herbs, The Versatile Herb Borage, Guide to Growing Herbs at Home, RHS (Royal Horticultural Society) Houseplants, Transform your Home with Houseplants, Houseplants for the Kitchen, Houseplants for the Bathroom
Inspiration: Follow Us on Instagram, Threads, BlueSky, Twitter, TikTok and Pinterest.