There is a quiet moment that often catches us by surprise in a beautiful garden.
Perhaps it happens as morning sunlight filters through the branches of a silver birch, casting dancing shadows across a winding path. Perhaps it is the first glimpse of roses climbing over an old brick wall, or the rich tapestry of autumn leaves glowing like stained glass beneath a low afternoon sun.
For a moment, we stop.
Not because the garden demands our attention, but because something within it has stirred something within us.
Our eyes are remarkable things. Before we smell the roses, hear the birds or feel the warmth of the sun on our skin, we see. Long before we understand a landscape, we instinctively respond to it. Colour, light, shape and movement all influence how we feel, often without us even realising.
A thoughtfully planted garden is far more than a collection of flowers. It is a living canvas that changes by the hour, by the weather and by the seasons, rewarding those who pause long enough to notice.
We See Before We Understand
Vision is often our first connection with the natural world.
Even from a distance, we recognise the gentle curve of a pathway inviting us forwards, the welcoming shade beneath an old tree or the cheerful brightness of flowers spilling over a border.
Research has shown that simply looking at green spaces can lower stress levels, reduce mental fatigue and improve mood. Hospitals overlooking gardens have reported quicker recovery times among patients. Schools with views of trees often see improvements in concentration. Offices that introduce plants frequently notice happier, more productive employees.
Perhaps none of this is surprising.
For thousands of years our ancestors relied upon reading landscapes for shelter, water and food. Somewhere deep within us remains an instinctive response to places that feel rich with life.
A beautiful garden speaks to something ancient.
The Language of Light
Light is one of gardening’s greatest artists.
The same border rarely looks identical twice.
In the early morning, dew transforms cobwebs into delicate strings of diamonds. Soft golden sunlight illuminates translucent petals from behind, making poppies and foxgloves seem almost luminous.
By midday, colours become stronger and shadows shorter.
As evening approaches, everything softens again. White flowers begin to glow while silver foliage reflects the fading light long after brighter colours have disappeared into dusk.
Many experienced gardeners think about where the sun will fall almost as carefully as they choose their plants.
A bench facing west becomes the perfect place to enjoy long summer evenings.
A small pond catches the changing sky.
An ornamental grass planted where low sunlight passes through it becomes a sculpture of light every autumn afternoon.
Gardens are never static.
They are performances that change with every passing hour.
Colour That Speaks Without Words
Colour has an extraordinary ability to influence emotion.
Without consciously thinking about it, we respond to different shades throughout the garden.
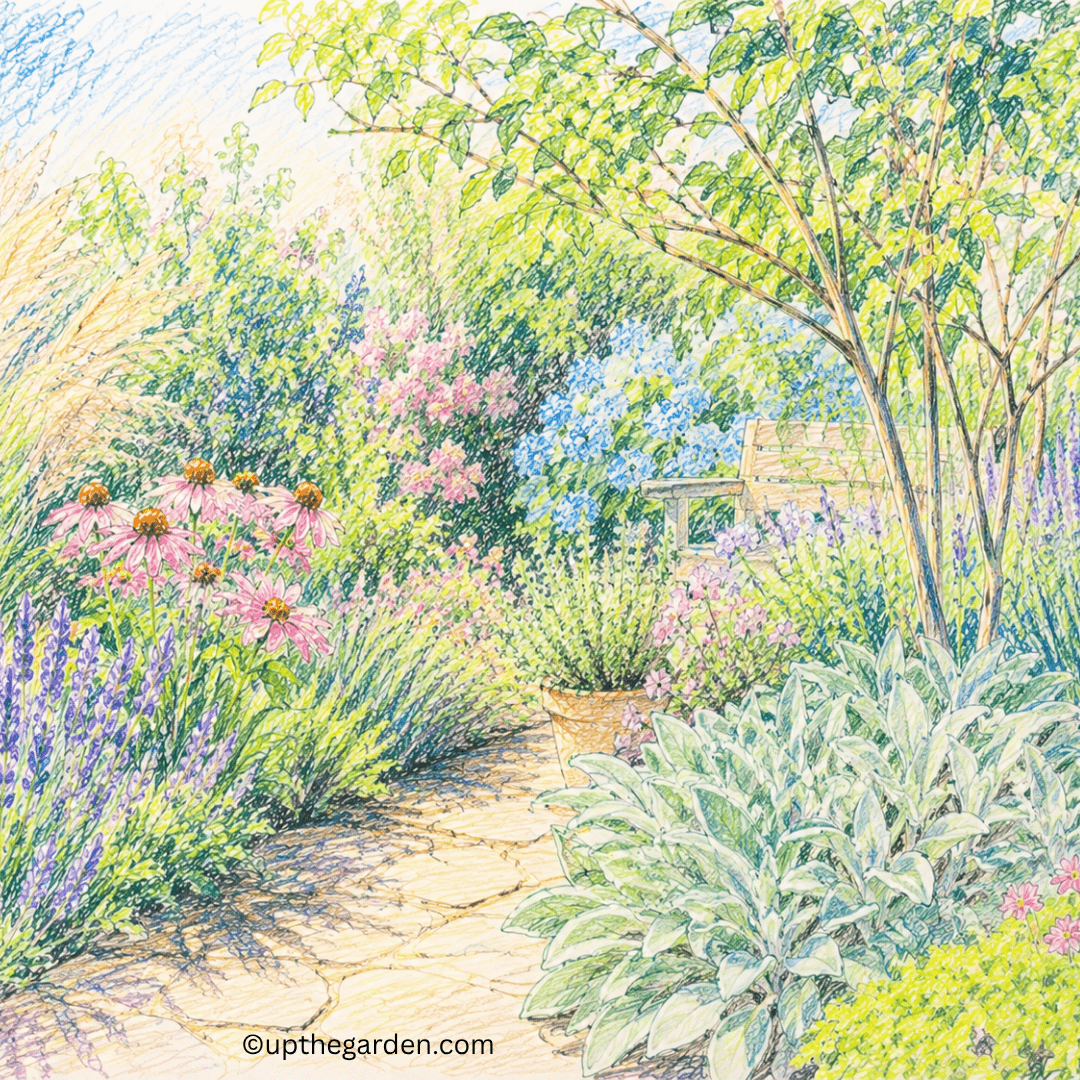
Blues and soft purples create a feeling of peace and distance. Lavender, salvias, catmint and hardy geraniums slow the eye and encourage quiet reflection.
Warm colours bring energy.
Golden rudbeckias, orange calendulas and fiery dahlias seem to radiate warmth even on cooler days.
White planting creates calm and elegance, particularly in the evening when moonlight catches pale blooms long after darker flowers have disappeared into shadow.
Some gardeners carefully limit their palette, creating borders in shades of pink or white for a harmonious effect.
Others delight in exuberant combinations where every colour competes joyfully for attention.
Neither approach is right or wrong.
Both tell different stories.
The Colour We Notice Least
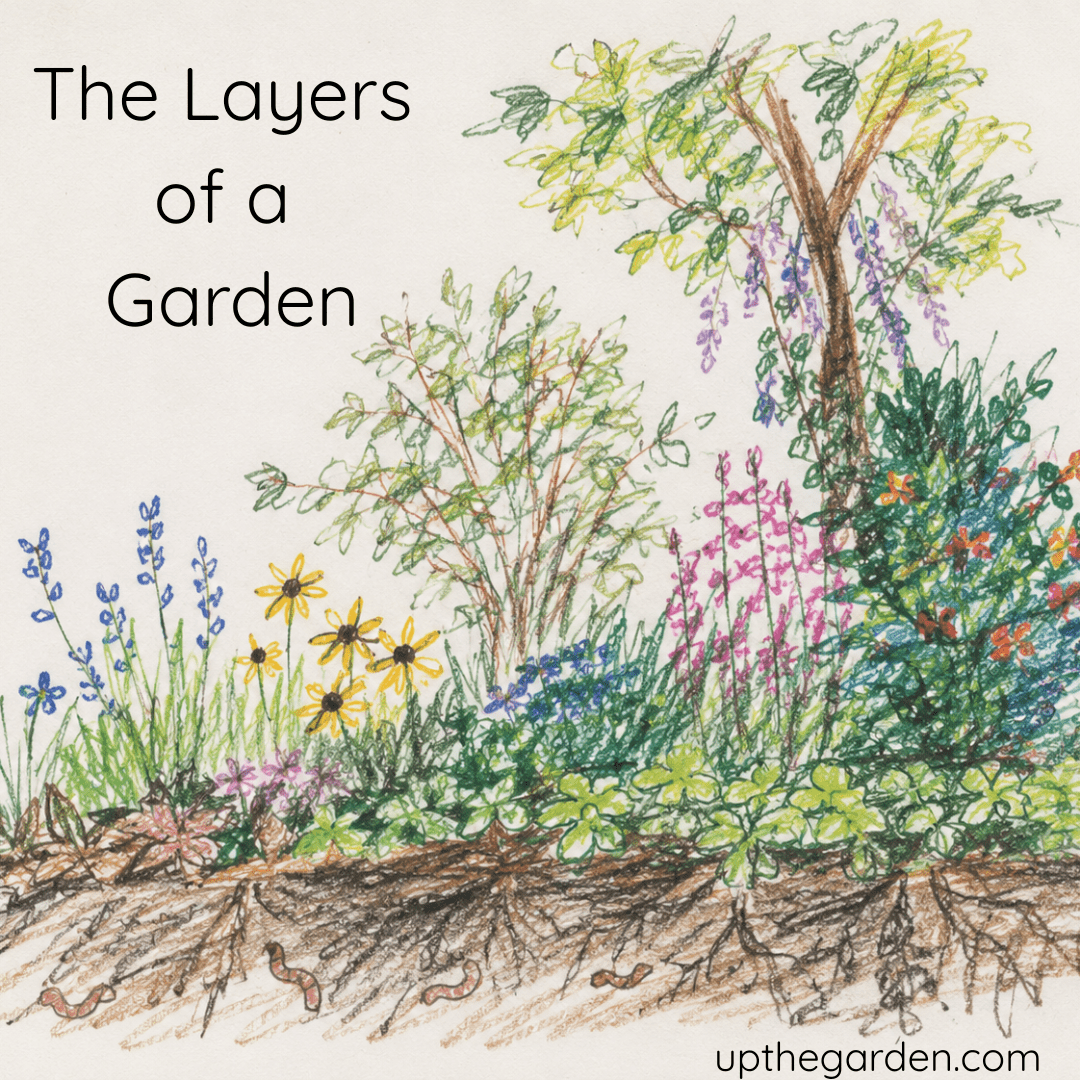
Green is everywhere in the garden.
Perhaps because it surrounds us so completely, we often overlook its remarkable diversity.
Look closely and you’ll discover hundreds of greens.
The silvery foliage of olive trees and lavender.
The fresh lime of newly unfurling fern fronds.
The rich emerald of yew hedges.
The blue-grey leaves of eucalyptus.
The deep glossy green of holly.
Together they provide the quiet backdrop against which every flower shines.
Without green, the brightest blooms would lose much of their impact.
Following the Eye
Great gardens gently guide us without our even noticing.
A winding path disappears behind a hedge, inviting curiosity.
An arch frames a distant view.
A bench appears beneath a flowering tree, offering somewhere to pause.
Height plays an important part too.
Towering delphiniums lift the eye skywards.
Graceful birch trunks provide vertical rhythm.
Trailing climbers soften walls while cascading plants tumble over raised beds and containers.
Every change in height creates movement.
Every glimpse beyond a corner encourages exploration.
The most memorable gardens rarely reveal everything at once.
Instead, they unfold like chapters in a favourite book.
Beauty in Every Season
Many people think of gardens as belonging chiefly to spring or summer.
Yet truly beautiful gardens continue telling their story throughout the year.
Spring begins with hopeful colour.
Snowdrops emerge while winter still lingers. Crocuses push through frosty lawns. Blossom transforms bare branches into clouds of white and pink.
Summer is abundance.
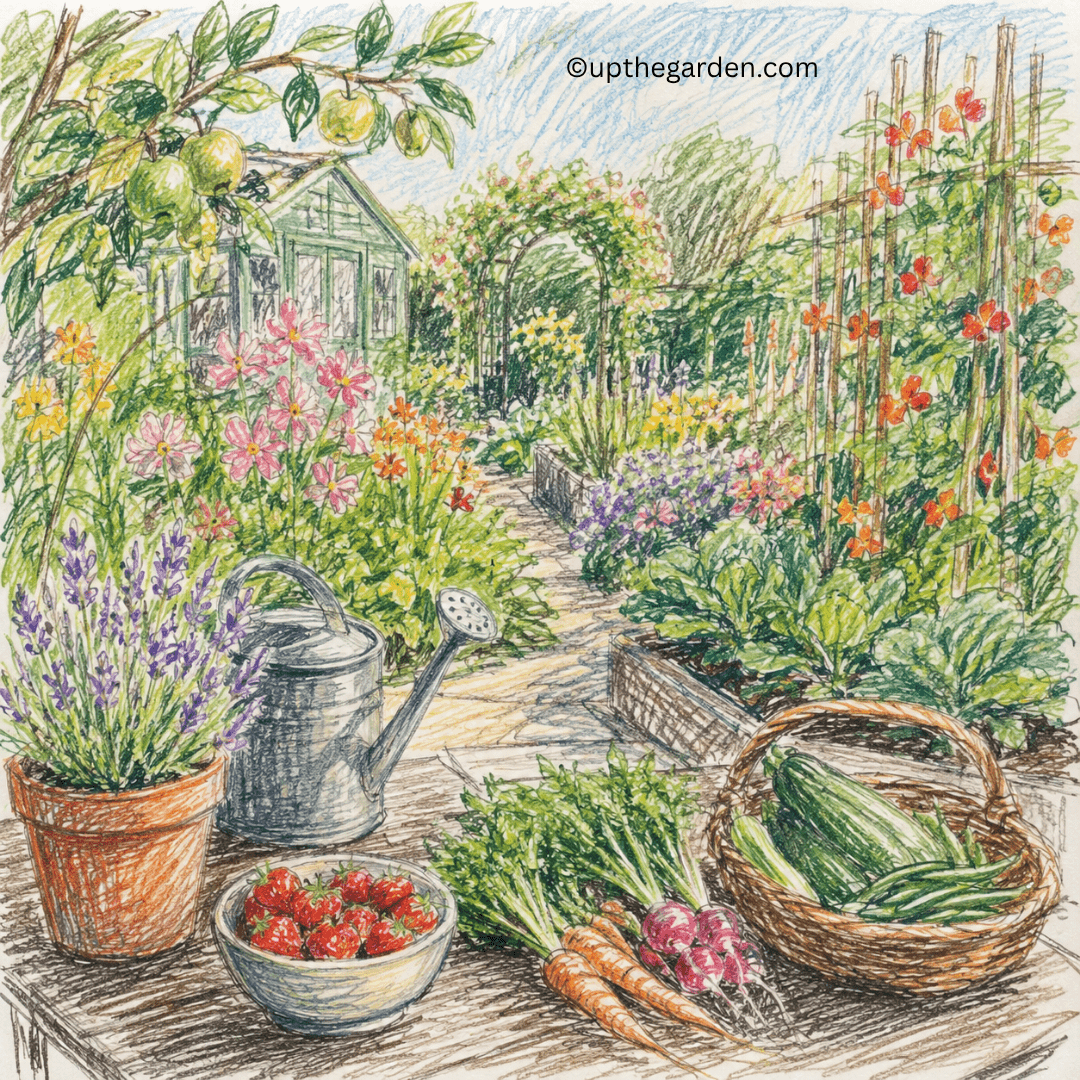
Roses perfume the air. Borders overflow. Bees drift lazily between flowers while vegetables swell in kitchen gardens.
Autumn paints the landscape in copper, crimson and gold.
Seedheads catch the morning mist. Ornamental grasses shimmer in low sunlight. Berries feed birds preparing for winter.
Even winter possesses its own quiet elegance.
Frost outlines every branch with crystal precision.
Evergreen structure becomes more apparent.
Colourful dogwoods glow against pale skies while the sculptural forms of bare trees reveal architecture hidden beneath summer leaves.
There is beauty in every month for those willing to look.
Looking Up
Many gardeners naturally focus upon borders and flower beds.
Yet some of the greatest visual pleasures lie above us.
Tree canopies filter sunlight into shifting mosaics.
Clouds drift across open skies framed by branches.
Birds circle overhead while swallows skim across warm evening air.
Looking upwards changes our perspective.
It reminds us that gardens are not enclosed spaces but part of a much larger landscape.
Even a modest courtyard can feel expansive when our gaze lifts beyond its boundaries.
Looking More Closely
The longer we spend in a garden, the more detail reveals itself.
Tiny droplets resting on lady’s mantle leaves.
The delicate geometry of a spider’s web stretched between grasses.
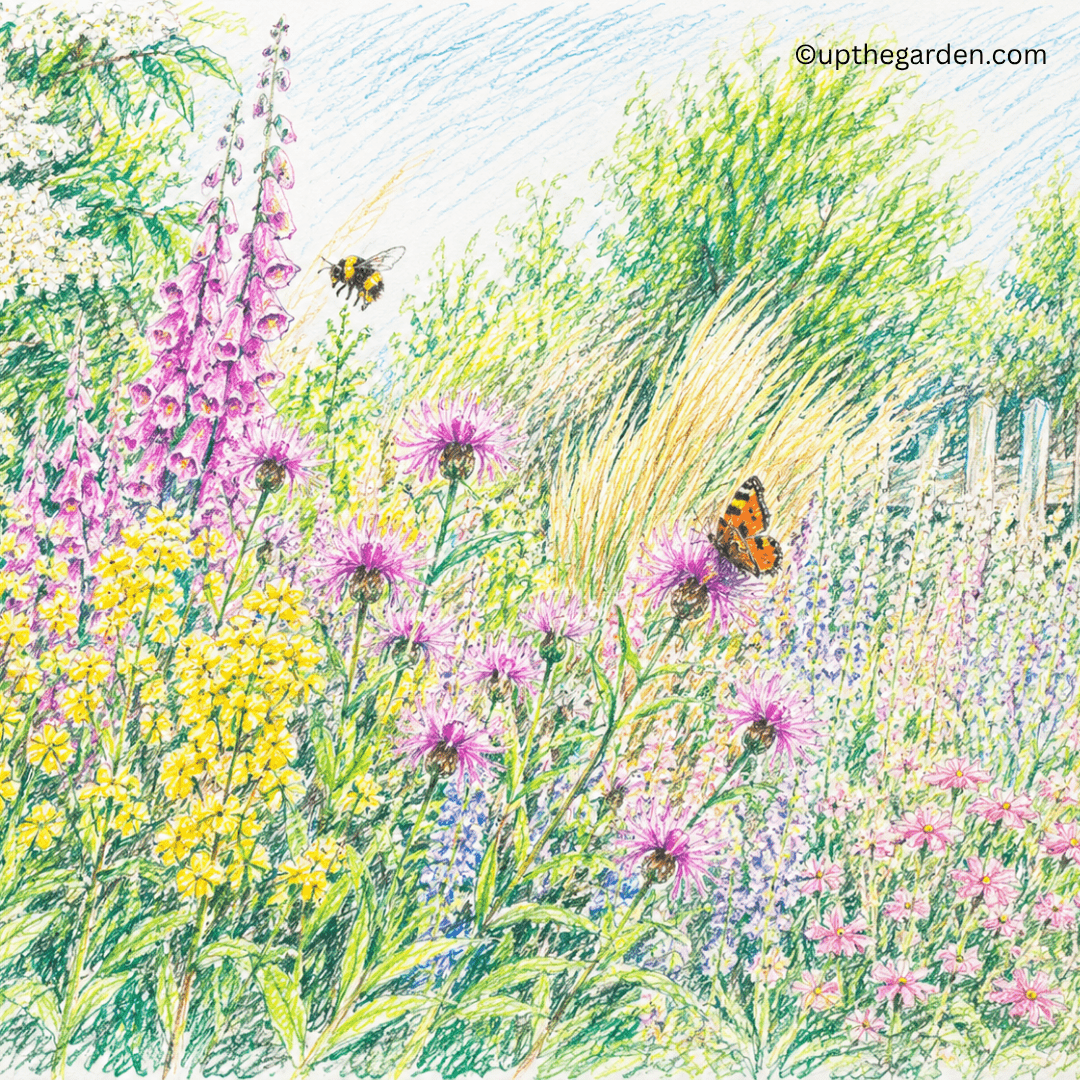
A butterfly resting briefly before continuing its journey.
The spiral unfolding of a fern.
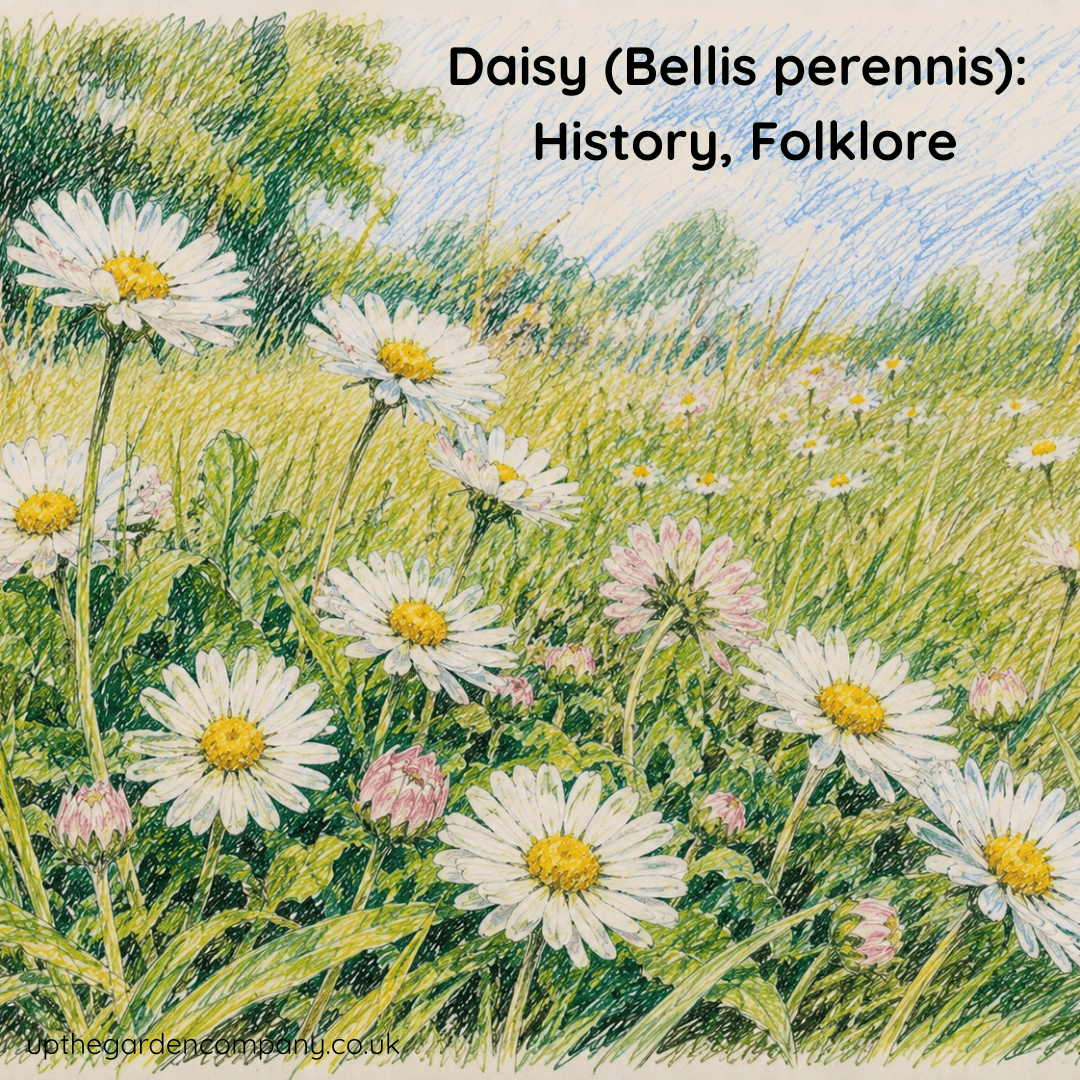
The intricate symmetry hidden within a simple daisy.
Children often notice these things instinctively.
Adults, busy with lists of jobs still to complete, sometimes need reminding to slow down.
Gardens reward attention.
The more closely we look, the more there is to discover.
Designing for the Eye
Creating visual beauty is not about owning a large garden or following fashionable trends.
Some of the most captivating spaces are surprisingly simple.
Repeating a favourite plant creates rhythm.
Mixing fine foliage with bold leaves adds contrast.
Including evergreens provides structure through winter.
Allowing one specimen tree to become a focal point gives the eye somewhere to rest.
Curved borders feel softer than straight lines.
Natural materials weather beautifully over time.
Above all, avoid trying to fill every corner.
Space allows each plant to be appreciated.
Sometimes what we leave out matters just as much as what we include.
Seeing Differently
Perhaps gardening changes our eyesight in ways we never expected.
Not physically, but emotionally.
We begin noticing the first swelling buds in February.
We recognise the subtle colour changes that signal autumn’s arrival.
We appreciate the shifting light after rain.
We celebrate tiny seedlings no taller than a thumbnail.
The garden teaches us to become observers.
To notice.
To pause.
To delight in details that might once have passed unseen.
And perhaps that is one of its greatest gifts.
In a world that so often encourages us to rush from one task to the next, the garden quietly invites us to slow down and simply look.
Because beauty is rarely something we have to chase.
More often, it has been waiting patiently all along, unfolding leaf by leaf, petal by petal and season by season, asking only that we open our eyes to see it.
The more we look, the more we discover.
And the more we discover, the more deeply we fall in love with the ever-changing world just beyond our own back door.
The Garden Through Our Eyes: Creating Beauty That Changes With Every Season
Part Three of the Gardens for the Senses Series
There is a quiet moment that often catches us by surprise in a beautiful garden.
Perhaps it happens as morning sunlight filters through the branches of a silver birch, casting dancing shadows across a winding path. Perhaps it is the first glimpse of roses climbing over an old brick wall, or the rich tapestry of autumn leaves glowing like stained glass beneath a low afternoon sun.
For a moment, we stop.
Not because the garden demands our attention, but because something within it has stirred something within us.
Our eyes are remarkable things. Before we smell the roses, hear the birds or feel the warmth of the sun on our skin, we see. Long before we understand a landscape, we instinctively respond to it. Colour, light, shape and movement all influence how we feel, often without us even realising.
A thoughtfully planted garden is far more than a collection of flowers. It is a living canvas that changes by the hour, by the weather and by the seasons, rewarding those who pause long enough to notice.
We See Before We Understand
Vision is often our first connection with the natural world.
Even from a distance, we recognise the gentle curve of a pathway inviting us forwards, the welcoming shade beneath an old tree or the cheerful brightness of flowers spilling over a border.
Research has shown that simply looking at green spaces can lower stress levels, reduce mental fatigue and improve mood. Hospitals overlooking gardens have reported quicker recovery times among patients. Schools with views of trees often see improvements in concentration. Offices that introduce plants frequently notice happier, more productive employees.
Perhaps none of this is surprising.
For thousands of years our ancestors relied upon reading landscapes for shelter, water and food. Somewhere deep within us remains an instinctive response to places that feel rich with life.
A beautiful garden speaks to something ancient.
The Language of Light
Light is one of gardening’s greatest artists.
The same border rarely looks identical twice.
In the early morning, dew transforms cobwebs into delicate strings of diamonds. Soft golden sunlight illuminates translucent petals from behind, making poppies and foxgloves seem almost luminous.
By midday, colours become stronger and shadows shorter.
As evening approaches, everything softens again. White flowers begin to glow while silver foliage reflects the fading light long after brighter colours have disappeared into dusk.
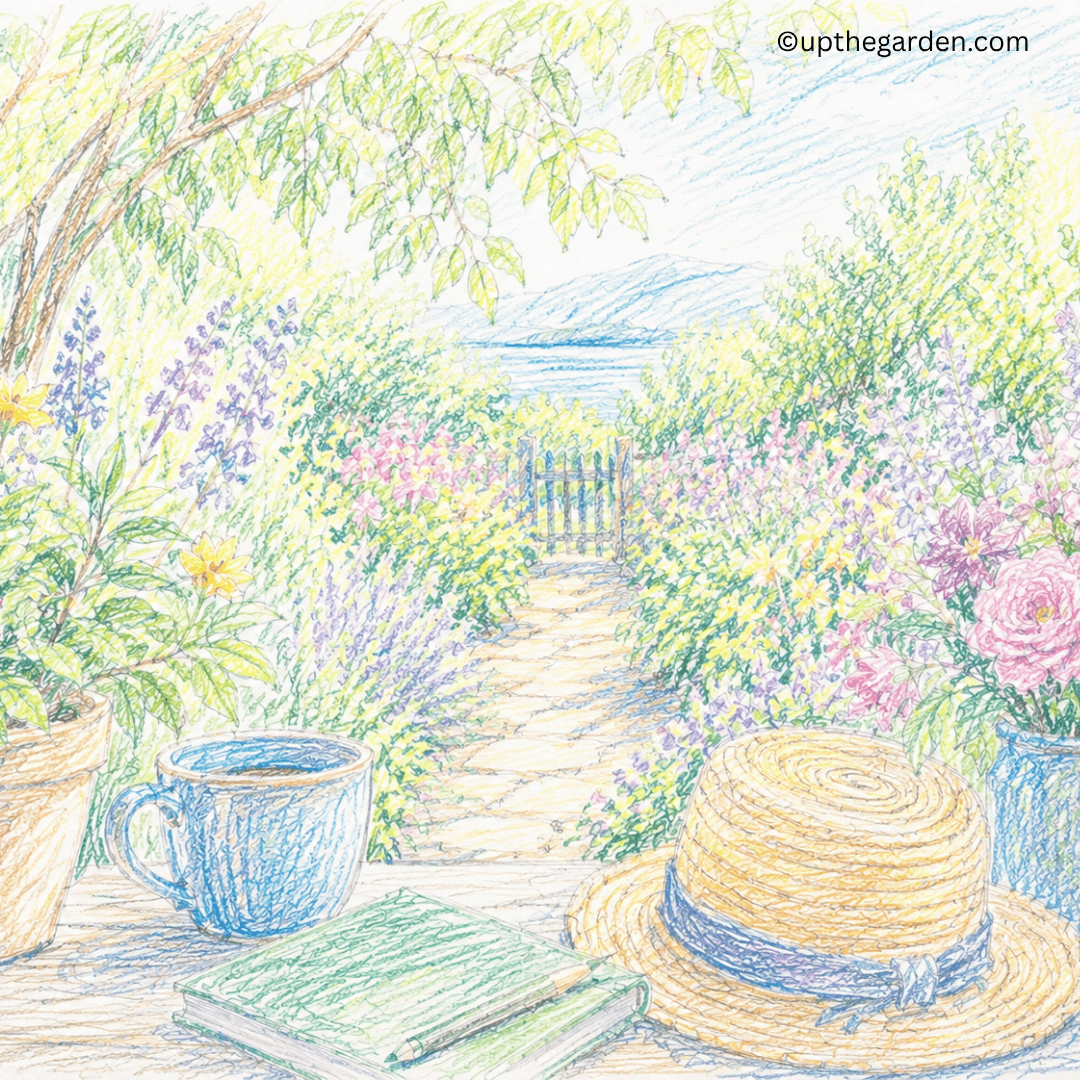
Many experienced gardeners think about where the sun will fall almost as carefully as they choose their plants.
A bench facing west becomes the perfect place to enjoy long summer evenings.
A small pond catches the changing sky.
An ornamental grass planted where low sunlight passes through it becomes a sculpture of light every autumn afternoon.
Gardens are never static.
They are performances that change with every passing hour.
Colour That Speaks Without Words
Colour has an extraordinary ability to influence emotion.
Without consciously thinking about it, we respond to different shades throughout the garden.
Blues and soft purples create a feeling of peace and distance. Lavender, salvias, catmint and hardy geraniums slow the eye and encourage quiet reflection.
Warm colours bring energy.
Golden rudbeckias, orange calendulas and fiery dahlias seem to radiate warmth even on cooler days.
White planting creates calm and elegance, particularly in the evening when moonlight catches pale blooms long after darker flowers have disappeared into shadow.
Some gardeners carefully limit their palette, creating borders in shades of pink or white for a harmonious effect.
Others delight in exuberant combinations where every colour competes joyfully for attention.
Neither approach is right or wrong.
Both tell different stories.
The Colour We Notice Least
Green is everywhere in the garden.
Perhaps because it surrounds us so completely, we often overlook its remarkable diversity.
Look closely and you’ll discover hundreds of greens.
The silvery foliage of olive trees and lavender.
The fresh lime of newly unfurling fern fronds.
The rich emerald of yew hedges.
The blue-grey leaves of eucalyptus.
The deep glossy green of holly.
Together they provide the quiet backdrop against which every flower shines.
Without green, the brightest blooms would lose much of their impact.
Following the Eye
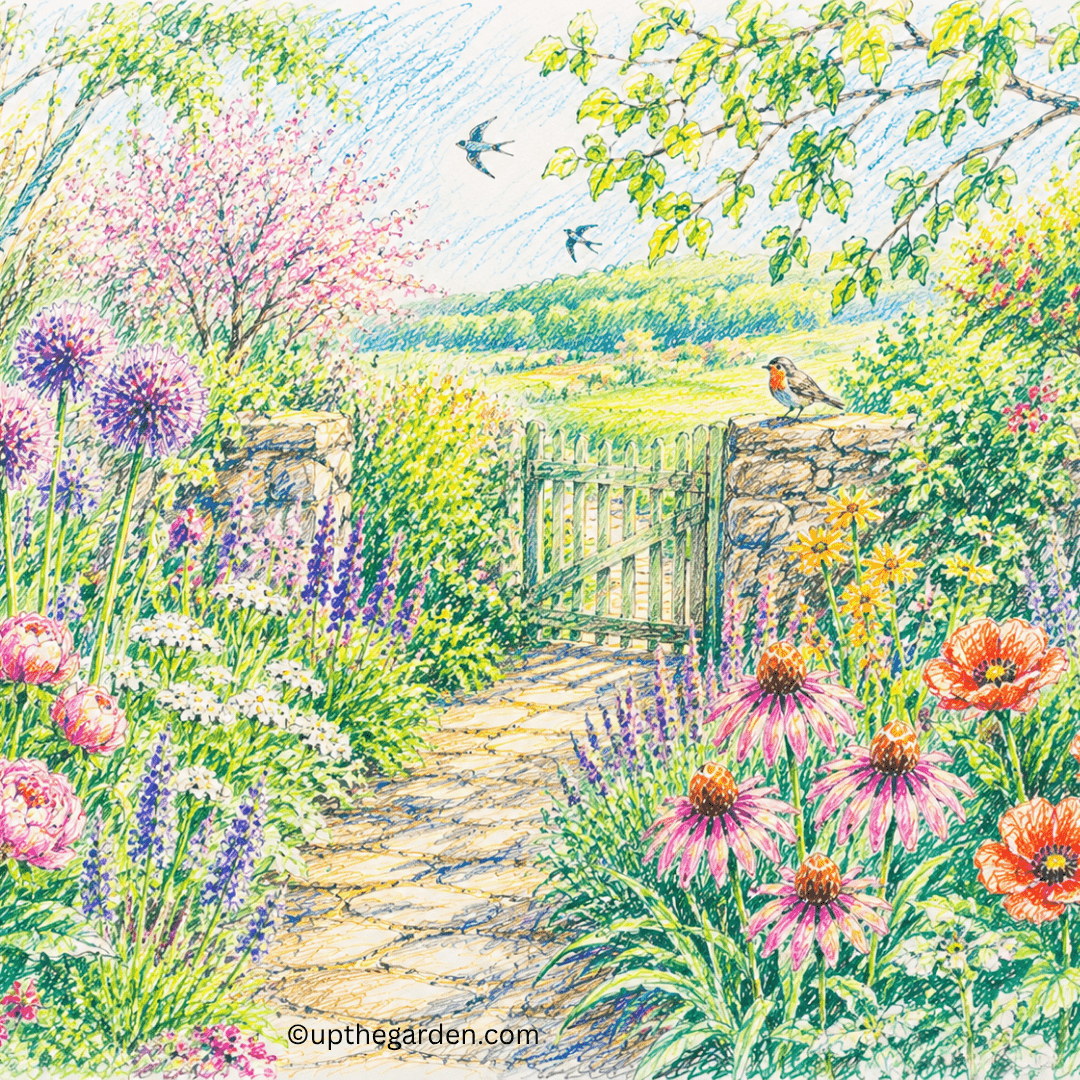
Great gardens gently guide us without our even noticing.
A winding path disappears behind a hedge, inviting curiosity.
An arch frames a distant view.
A bench appears beneath a flowering tree, offering somewhere to pause.
Height plays an important part too.
Towering delphiniums lift the eye skywards.
Graceful birch trunks provide vertical rhythm.
Trailing climbers soften walls while cascading plants tumble over raised beds and containers.
Every change in height creates movement.
Every glimpse beyond a corner encourages exploration.
The most memorable gardens rarely reveal everything at once.
Instead, they unfold like chapters in a favourite book.
Beauty in Every Season
Many people think of gardens as belonging chiefly to spring or summer.
Yet truly beautiful gardens continue telling their story throughout the year.
Spring begins with hopeful colour.
Snowdrops emerge while winter still lingers. Crocuses push through frosty lawns. Blossom transforms bare branches into clouds of white and pink.
Summer is abundance.
Roses perfume the air. Borders overflow. Bees drift lazily between flowers while vegetables swell in kitchen gardens.
Autumn paints the landscape in copper, crimson and gold.
Seedheads catch the morning mist. Ornamental grasses shimmer in low sunlight. Berries feed birds preparing for winter.
Even winter possesses its own quiet elegance.
Frost outlines every branch with crystal precision.
Evergreen structure becomes more apparent.
Colourful dogwoods glow against pale skies while the sculptural forms of bare trees reveal architecture hidden beneath summer leaves.
There is beauty in every month for those willing to look.
Looking Up
Many gardeners naturally focus upon borders and flower beds.
Yet some of the greatest visual pleasures lie above us.
Tree canopies filter sunlight into shifting mosaics.
Clouds drift across open skies framed by branches.
Birds circle overhead while swallows skim across warm evening air.
Looking upwards changes our perspective.
It reminds us that gardens are not enclosed spaces but part of a much larger landscape.
Even a modest courtyard can feel expansive when our gaze lifts beyond its boundaries.
Looking More Closely
The longer we spend in a garden, the more detail reveals itself.
Tiny droplets resting on lady’s mantle leaves.
The delicate geometry of a spider’s web stretched between grasses.
A butterfly resting briefly before continuing its journey.
The spiral unfolding of a fern.
The intricate symmetry hidden within a simple daisy.
Children often notice these things instinctively.
Adults, busy with lists of jobs still to complete, sometimes need reminding to slow down.
Gardens reward attention.
The more closely we look, the more there is to discover.
Designing for the Eye
Creating visual beauty is not about owning a large garden or following fashionable trends.
Some of the most captivating spaces are surprisingly simple.
Repeating a favourite plant creates rhythm.
Mixing fine foliage with bold leaves adds contrast.
Including evergreens provides structure through winter.
Allowing one specimen tree to become a focal point gives the eye somewhere to rest.
Curved borders feel softer than straight lines.
Natural materials weather beautifully over time.
Above all, avoid trying to fill every corner.
Space allows each plant to be appreciated.
Sometimes what we leave out matters just as much as what we include.
Seeing Differently
Perhaps gardening changes our eyesight in ways we never expected.
Not physically, but emotionally.
We begin noticing the first swelling buds in February.
We recognise the subtle colour changes that signal autumn’s arrival.
We appreciate the shifting light after rain.
We celebrate tiny seedlings no taller than a thumbnail.
The garden teaches us to become observers.
To notice.
To pause.
To delight in details that might once have passed unseen.
And perhaps that is one of its greatest gifts.
In a world that so often encourages us to rush from one task to the next, the garden quietly invites us to slow down and simply look.
Because beauty is rarely something we have to chase.
More often, it has been waiting patiently all along, unfolding leaf by leaf, petal by petal and season by season, asking only that we open our eyes to see it.
The more we look, the more we discover.
And the more we discover, the more deeply we fall in love with the ever-changing world just beyond our own back door.
Further Reading: The Scent of the Garden, The Sound of the Garden, The Garden you can Touch, The Taste of the Garden, The Garden for the Soul – For all the Senses
Inspiration: Follow Us on Instagram, Threads, BlueSky, Twitter, TikTok and Pinterest.