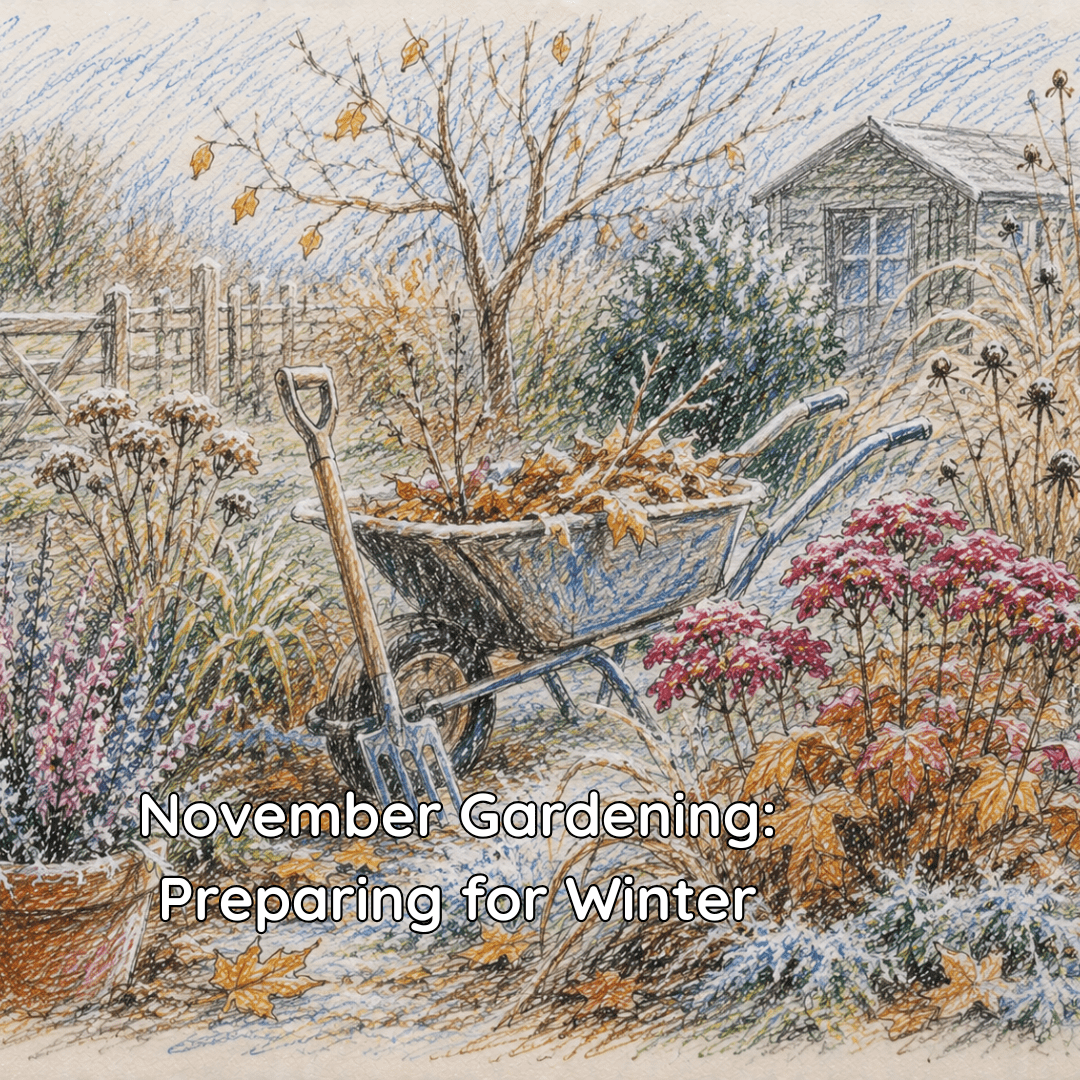
As autumn’s vibrant display begins to fade, November ushers in a quieter, more reflective period in the garden. The air grows crisp, the days shorten and the first frosts often make their appearance. But this is no time for gardeners to retreat indoors entirely. November is a crucial month for preparing your garden for the cold winter ahead and laying the groundwork for a spectacular spring.
From protecting tender plants and supporting wildlife to planting for next year’s blooms, there are many important tasks to undertake. This guide will walk you through ten essential gardening jobs for November, offering detailed advice to help you nurture your garden through the dormant season and ensure it bursts back into life with renewed vigour come spring.
1. Support Your Garden Birds
As natural food sources dwindle, our garden birds rely more heavily on what we can provide. November is the perfect time to establish a feeding routine that will sustain them through the harsh winter months. Birds not only bring life and song to a winter garden but are also invaluable allies, helping to control pests like slugs, snails, and aphids.
What to Feed Them
A varied diet will attract a wider range of species. High-energy foods are particularly important as birds need to build up fat reserves to survive the cold nights.
- Seeds and Nuts: A high-quality seed mix containing sunflower hearts, niger seeds, and chopped peanuts is a fantastic all-rounder. Sunflower hearts are beloved by finches and tits, while niger seeds are a particular favourite of goldfinches.
- Fat Balls and Suet: Commercial fat balls, suet blocks, or homemade ‘bird cakes’ provide a vital source of energy. You can make your own by melting suet and mixing in seeds, nuts, and even dried mealworms.
- Fresh Fruit: Apples, pears, and other soft fruits, either cut up or left whole, are a welcome treat for blackbirds, thrushes, and robins.
- Water: Don’t forget to provide a source of fresh water for drinking and bathing. A shallow dish or bird bath will suffice. Be sure to check it daily and break the ice on frosty mornings.
Setting Up Your Feeding Station
Place feeders in a relatively open area, away from dense shrubs where cats might hide, but close enough to cover so that smaller birds feel safe. Using multiple feeders can reduce competition and allow different species to feed peacefully. Regularly clean your feeders with a mild disinfectant to prevent the spread of disease.

2. Sow Sweet Peas for an Early Start
For many gardeners, the sweet pea (Lathyrus odoratus) is the quintessential scent of summer. Native to Sicily, Italy, and the Aegean Islands, these fragrant climbers were first sent to England in 1699 by a Sicilian monk, Francisco Cupani. By sowing them in November, you give them a head start, encouraging strong root development over winter for earlier, more abundant flowers next year.
How to Sow Sweet Peas
- Choose Your Varieties: Select hardy, autumn-sowing varieties for the best results. ‘Spencer’ types are renowned for their large, ruffled blooms and long stems, perfect for cutting.
- Use Deep Pots: Sweet peas have long root systems, so sow them in deep pots, root trainers, or even cardboard toilet roll tubes. This allows their roots to grow downwards without restriction.
- Sowing Technique: Fill your chosen containers with a good-quality, peat-free seed compost. Sow one or two seeds per pot, about 1cm deep. Water them gently and label your varieties clearly.
- Germination and Care: Place the pots in a cold frame, an unheated greenhouse, or a sheltered spot outdoors. They do not require heat to germinate. Once the seedlings appear, ensure they have plenty of light and good ventilation to prevent them from becoming leggy. Protect them from mice, who find the seeds a tasty winter snack. As soon as they germinate, move them to a frost-free place to grow on.
3. Insulate Outdoor Containers from Frost
Plants in containers are far more vulnerable to frost than those in the ground. The soil in pots freezes much more quickly, which can damage or kill the plant’s roots. Taking steps to insulate your pots is a vital November task, particularly for evergreens, borderline hardy perennials, and prized specimen plants.
Methods for Insulation
- Bubble Wrap: A simple and effective method is to wrap the outside of the pot with one or two layers of bubble wrap. Secure it with string or tape. To prevent the pot from looking unsightly, you can cover the bubble wrap with a layer of hessian (burlap).
- Grouping Pots: Huddle your pots together in a sheltered spot, such as against a house wall. This creates a microclimate where the pots protect each other from the coldest winds and share warmth.
- Lagging: For very large or permanent containers, you can create a more robust ‘jacket’. Build a simple wire-mesh cylinder around the pot, leaving a gap of a few inches, and fill this gap with insulating material like straw, bracken, or even fallen leaves.
- Raising Pots: Ensure your pots are not sitting directly on the cold, wet ground. More on this in task eight.
4. Protect Brassicas from Pigeons
The brassica family—which includes cabbages, Brussels sprouts, kale, and broccoli—is a staple of the winter vegetable patch. Unfortunately, these crops are also a favourite winter food for pigeons. A flock of hungry pigeons can strip a bed of brassicas bare in a single afternoon, so protection is essential.
Creating a Barrier
The most effective way to protect your crops is with physical netting.
- Build a Frame: Create a framework over your brassica bed using bamboo canes, wooden stakes, or flexible piping. The frame needs to be tall enough to prevent the netting from touching the plants, as pigeons will simply peck through it.
- Secure the Netting: Drape bird-proof netting over the frame, ensuring it reaches the ground on all sides. Secure the edges firmly with pegs, bricks, or by burying them in the soil. Pigeons are surprisingly clever and will find any small gaps. Check regularly to ensure the netting remains secure, especially after strong winds.
5. Plant Winter Bedding
While much of the garden is heading into dormancy, you can still inject colour with winter and spring-flowering bedding plants. Planting them in November allows them to establish their roots before the harshest weather arrives, setting them up for a fantastic display.
Choosing Your Plants
- Pansies and Violas: These are the undisputed champions of winter colour. They are incredibly hardy and will flower intermittently through mild spells in winter before putting on a spectacular show in spring.
- Primroses and Polyanthus: Offering a rainbow of bright colours, these plants are perfect for the front of borders or in containers.
- Bellis Perennis (Daisies): These charming, pom-pom-like flowers are tough and reliable, adding a cheerful touch to any winter scheme.
- Wallflowers (Erysimum): Plant bare-root wallflowers now for a fragrant and colourful display in late spring. They pair beautifully with tulips.
Plant them in well-drained soil or good-quality compost in a sunny spot. Water them in well after planting, but avoid overwatering during the damp winter months.
6. Prune Roses to Prevent Wind-Rock
Roses, beloved since ancient times and cultivated by the Greeks and Romans, require some attention in autumn. A light prune in November helps to protect them from winter gales. Tall, unpruned roses can be caught by strong winds, causing them to rock back and forth. This ‘wind-rock’ creates a gap around the base of the stem, which can fill with water, freeze, and damage the roots. It can also loosen the rootball, destabilising the plant.
How to Prune
This is not the main structural prune, which is done in late winter or early spring. The goal here is simply to reduce the plant’s height and bulk.
- Reduce Height: Cut back all stems by about one-third.
- Remove Damaged Growth: Snip out any dead, diseased, or crossing branches to improve air circulation.
- Make Clean Cuts: Use sharp, clean secateurs and make your cuts at a slight angle, just above an outward-facing bud. This directs new growth away from the centre of the plant.
- Clear Debris: After pruning, collect all fallen leaves and prunings from around the base of the plant. This helps to prevent the spread of fungal diseases like black spot, which can overwinter in the soil.
7. Plant Tulips for a Dazzling Spring
November is the prime time for planting tulips. Unlike daffodils and other spring bulbs that are best planted in early autumn, planting tulips later helps to reduce the risk of a fungal disease called ‘tulip fire’ (Botrytis tulipae), which thrives in warmer, wetter soil.
The tulip has a fascinating history, originating in Central Asia and famously causing a speculative frenzy known as ‘Tulip Mania’ in 17th-century Holland. Today, they remain one of the most popular and dramatic spring flowers.
Planting Guide
- Depth is Key: Plant tulip bulbs deep—at least three times their own height. This helps to anchor them, encourages them to perennialize, and protects them from frost and pests.
- Choose a Sunny Spot: Tulips perform best in a sunny location with well-drained soil. If you have heavy clay, add grit to the planting hole to improve drainage.
- Plant in Drifts: For a naturalistic look in borders, plant tulips in groups or ‘drifts’ of at least 7-9 bulbs rather than in straight lines. In containers, you can pack them in more tightly for a dense, impactful display.
- Pointy End Up: Place the bulbs in the hole with the pointed end facing upwards. Backfill with soil and firm it down gently.
8. Raise Containers Onto Pot Feet
Just as it’s important to protect the tops of your pots from frost, it’s equally vital to protect the bottoms from waterlogging. During the wet winter months, pots standing directly on the ground can become saturated as their drainage holes get blocked. This can lead to root rot, a common cause of plant death in winter.
The solution is simple: raise your containers onto pot feet. This small gap allows excess water to drain away freely and improves air circulation around the base of the pot. You can buy purpose-made terracotta or glazed pot feet, or simply use bricks, flat stones or even plastic bottle caps.
9. Clear Up Fallen Leaves
An autumn garden is defined by its fallen leaves, but letting them accumulate in the wrong places can cause problems.
- Ponds: Leaves that fall into a pond will sink and decompose, releasing toxic gases that can harm fish and other aquatic life. Use a net to skim them off the surface regularly. If you have a lot of deciduous trees nearby, consider stretching a fine-meshed net over the pond for the peak leaf-fall period.
- Lawns: A thick blanket of leaves on a lawn will block light and air, suffocating the grass beneath and encouraging diseases. Rake them off the lawn promptly.
- Beds and Borders: While a light layer of leaves can act as a natural mulch, a thick, wet mat can smother smaller alpine or evergreen plants. Gently remove leaves from the crowns of these plants.

10. Make Leaf Mould
Don’t let all those collected leaves go to waste! Raking them up provides you with the perfect ingredient for making leaf mould—a superb, free soil conditioner. Unlike compost, which is made from a green/brown mix and breaks down via bacterial action, leaf mould is created through a slow, cool fungal process.
How to Make It
- Collect Your Leaves: Gather all the leaves you’ve raked from lawns and cleared from ponds and beds. Oak, beech, and hornbeam leaves break down quickly and make the best-quality mould. Thicker leaves like sycamore or horse chestnut will take longer.
- Create a Cage: The easiest way to store your leaves is in a simple cage made from chicken wire and four wooden posts. This allows for good air circulation.
- Fill and Wait: Pile the leaves into the cage. If they are very dry, give them a light watering to help the decomposition process begin. And then, you wait. After about a year, you’ll have a partially decomposed mould perfect for mulching. After two years, you’ll have a fine, dark, crumbly material that is an excellent potting mix ingredient or seed-sowing compost.
Ready Your Garden for Spring
By dedicating some time to these November tasks, you are not just tidying up for winter; you are actively investing in the health and beauty of your garden for the year to come. Supporting wildlife, protecting vulnerable plants, and planting for the future are all part of the gentle rhythm of the gardening year. So, pull on your boots and a warm coat, and embrace the quiet satisfaction of preparing your patch of earth for its long winter sleep.
Further Reading: Mast Years: Why They Happen and Their Impact
Inspiration: Follow Us on Instagram, Threads, BlueSky, Twitter, TikTok and Pinterest.