Raised beds are a versatile and effective way to elevate your gardening game, quite literally! Raised beds can revolutionise the way you work with plants, offering improved conditions for growth and greater control over soil quality. So here is why raised beds are worth considering and how to create them step by step.
Why Have Raised Beds?
Raised beds are more than just a practical gardening solution; they’re a way to customise your growing space and make it work for you. Wondering why they’re so popular? Here are some compelling benefits.
1. Improved Growing Conditions
Raised beds allow you to create loose, nutrient-rich soil that drains well and warms up quicker in the spring. This means healthier roots for your plants and an extended growing season, especially in colder climates.
2. Control Soil Type
If your garden’s natural soil isn’t ideal for particular plants, raised beds give you the freedom to bring in the perfect soil mix. Match soil type to specific plants’ needs, whether you’re growing acidic-loving blueberries or vegetables that thrive in well-drained loam.
3. Nursery Beds for Germination
Use raised beds as nursery areas for starting seeds. The controlled environment makes it easier to monitor germination and care for seedlings before transplanting them elsewhere in your garden.
4. Perfect for Vegetables and Herbs
With a raised vegetable bed, it’s easier to plan crop rotation and keep pests like slugs at bay. They’re also great for compact herb gardens conveniently placed near your kitchen.
5. Space for Smaller Plants
Raised beds can serve as beautiful focal points for smaller plants like alpines and give these delicate species the better-draining conditions they crave.
Things to Consider Before Creating Raised Beds
Before you begin building raised beds, there are several important factors to keep in mind to make your project successful.
1. Aspect and Orientation
For sun-loving plants, position your raised beds to make the most of available light. A north-south orientation is ideal for maximising sunlight throughout the day.
2. Size and Depth
- Width: Beds should be no wider than 1.5 metres, so you can comfortably reach the centre without stepping on the soil.
- Depth: Opt for a depth of at least 30 cm, though deeper beds are better for root crops like carrots.
- Pathways: Ensure pathways between beds are at least 45 cm wide for easy access, or 1 m wide if you need wheelchair accessibility or space for a wheelbarrow.
3. Materials
Raised beds can be made from various materials, each with their own advantages and drawbacks:
- Brick
- Pros: Durable, long-lasting, gives a polished look.
- Cons: Higher cost and requires skilled labour for construction.
- Timber
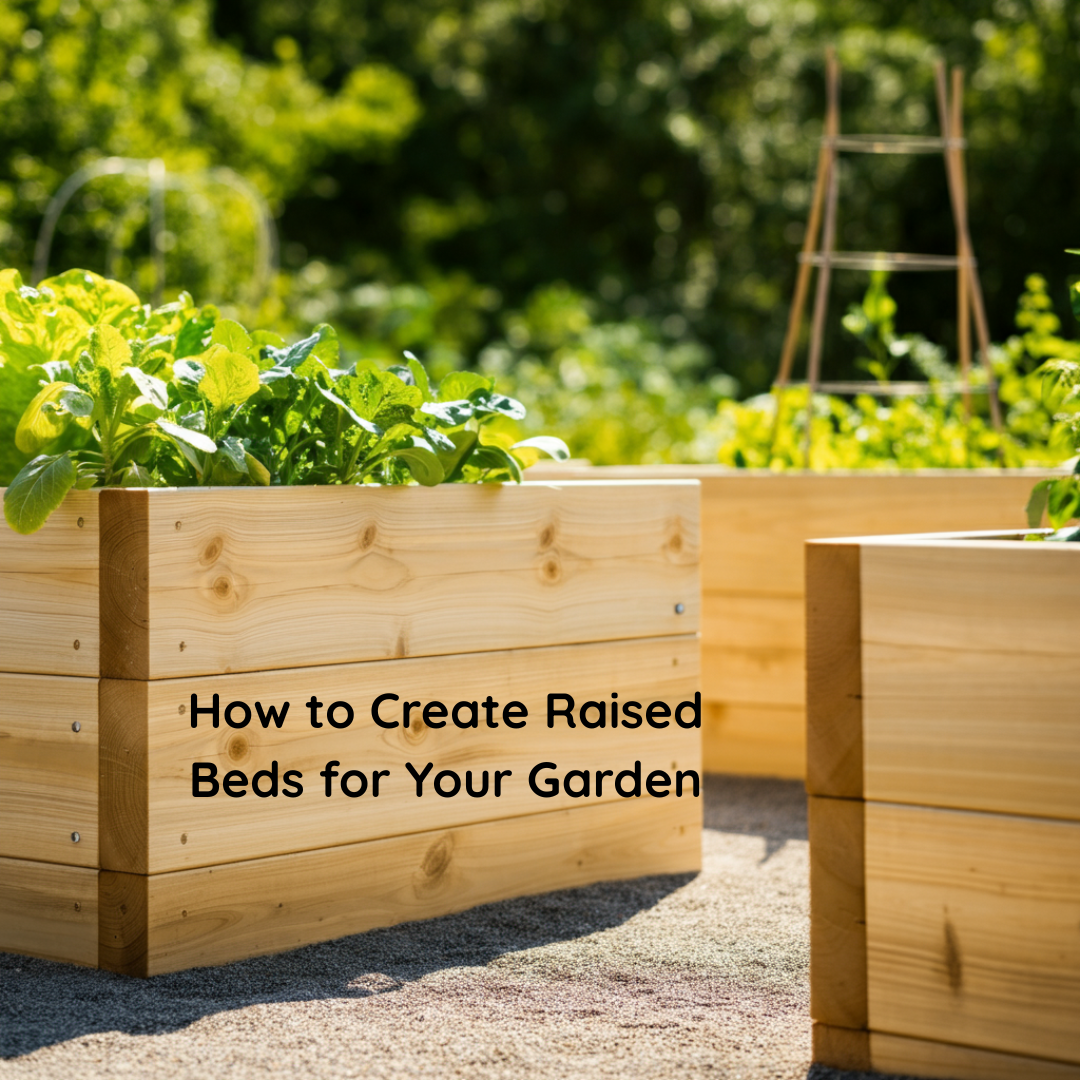
- Pros: Affordable, easily accessible, natural look.
- Cons: May rot over time; choose treated or rot-resistant wood like cedar.
- Kits
- Pros: Quick and easy to assemble, ideal for beginners.
- Cons: May offer less customisation compared to DIY options.
Step-by-Step Guide to Building Raised Beds
Once you’ve decided on the location, size and materials, it’s time to get building. Follow these steps to create the perfect raised beds for your garden.
1. Prepare the Base
- Start by clearing the site of weeds and grass. You can either dig them out manually or lay a layer of geotextile membrane to suppress regrowth.
- If drainage is an issue, add a layer of gravel or stones to the bottom of your bed for improved water flow.
2. Build the Frame
- Construct or assemble your chosen frame material (brick, timber or kit). Ensure the sides are sturdy and that corners are properly secured to prevent the frame from shifting over time.
- Double-check that the structure is level to promote even water distribution.
3. Fill the Bed
- Layer 1 (optional): Add organic materials like twigs, branches or shredded leaves to mimic a hugelkultur base.
- Layer 2: Add a rich compost-soil mix. Aim for a 70-30 ratio of soil to compost to ensure good drainage and a steady nutrient supply.
- Fill the bed to just below the rim, allowing space for watering without overflow.
4. Allow Soil to Settle
- Water the soil generously and allow it to settle for a day or two. Top up with additional soil or compost if necessary before planting.
Optional FAQ
Do I need to line my raised beds?
You can line your beds with landscape fabric to prevent soil from escaping or use mesh to deter burrowing pests like moles. Avoid plastic lining as it may restrict drainage.
What’s the best soil mix for a raised bed?
A mix of loamy soil, compost and a bit of sand for drainage works well for most plants. Tailor the composition to suit specific crops if needed.
How do you maintain raised beds?
Annual maintenance includes replenishing soil with fresh compost and ensuring your bed structure remains sturdy. Regularly weed and mulch to retain moisture and control weeds.
Transform Your Garden with Raised Beds
Now that you know the benefits and steps for creating raised beds, it’s time to bring your gardening vision to life. Raised beds not only enhance the aesthetic appeal of your garden but also make growing plants easier, more efficient and accessible.
Further Reading: Caring for your Hanging Baskets, Thriller, Filler and Spiller, How to Choose the Perfect Flower Pot for Your Crops
For Daily Inspiration; Follow us on Instagram, BlueSky, X , Pinterest or Threads.