There’s a familiar moment in every garden. A seedling emerges in spring, full of promise, and you find yourself wondering: is it the treasured perennial you planted last autumn, a self-seeded surprise, or simply a determined weed?
Gardening has always been an act of patience and faith. We sow, plant and nurture, often waiting months—or even years—to see the full result. Along the way, plant labels become quiet but valuable companions, helping us remember what was planted, where it belongs and how it might grow.
Yet despite their humble role, plant labels are often a source of frustration. Ink fades in the sunshine, plastic labels become brittle, and carefully positioned markers have a habit of disappearing just when they’re needed most. For gardeners trying to reduce waste, the abundance of single-use plastic labels can feel particularly at odds with a more sustainable approach to gardening.
Fortunately, there are many alternatives. From repurposed household objects to long-lasting natural materials, plant labels can be practical, attractive and environmentally conscious.
Why Plant Labels Matter
A well-labelled garden is more than an organised garden.
Labels help us identify young plants before they flower, remember the names of favourite varieties and keep track of planting dates. They are particularly useful in vegetable gardens, newly planted borders and collections of bulbs or perennials that spend much of the year hidden beneath the soil.
For anyone who enjoys experimenting with different cultivars, labels can also become a simple form of garden record-keeping, helping to build knowledge season after season.
The challenge is finding labels that remain legible, stay in place and withstand the changing weather.
Common Problems with Plant Labels
Plastic Waste
Traditional plastic labels are inexpensive and widely available, but many are only designed to last a season or two. Over time they can crack, fade and eventually find their way into landfill.
As more gardeners embrace sustainable practices, there is growing interest in alternatives that can be reused, recycled or composted.
Weather and Fading
Even the most carefully written label can become unreadable after prolonged exposure to sunlight and rain. Ultraviolet light gradually breaks down many inks, while winter weather can leave labels looking tired and worn.
Lost Labels
Anyone who gardens alongside birds, squirrels or curious pets will know how easily labels can be displaced. A misplaced marker can turn a carefully planned border into a guessing game.
Short Lifespan
Some materials simply aren’t built for long-term use. Labels that seem sturdy in spring may have deteriorated by the end of summer, particularly in exposed gardens.
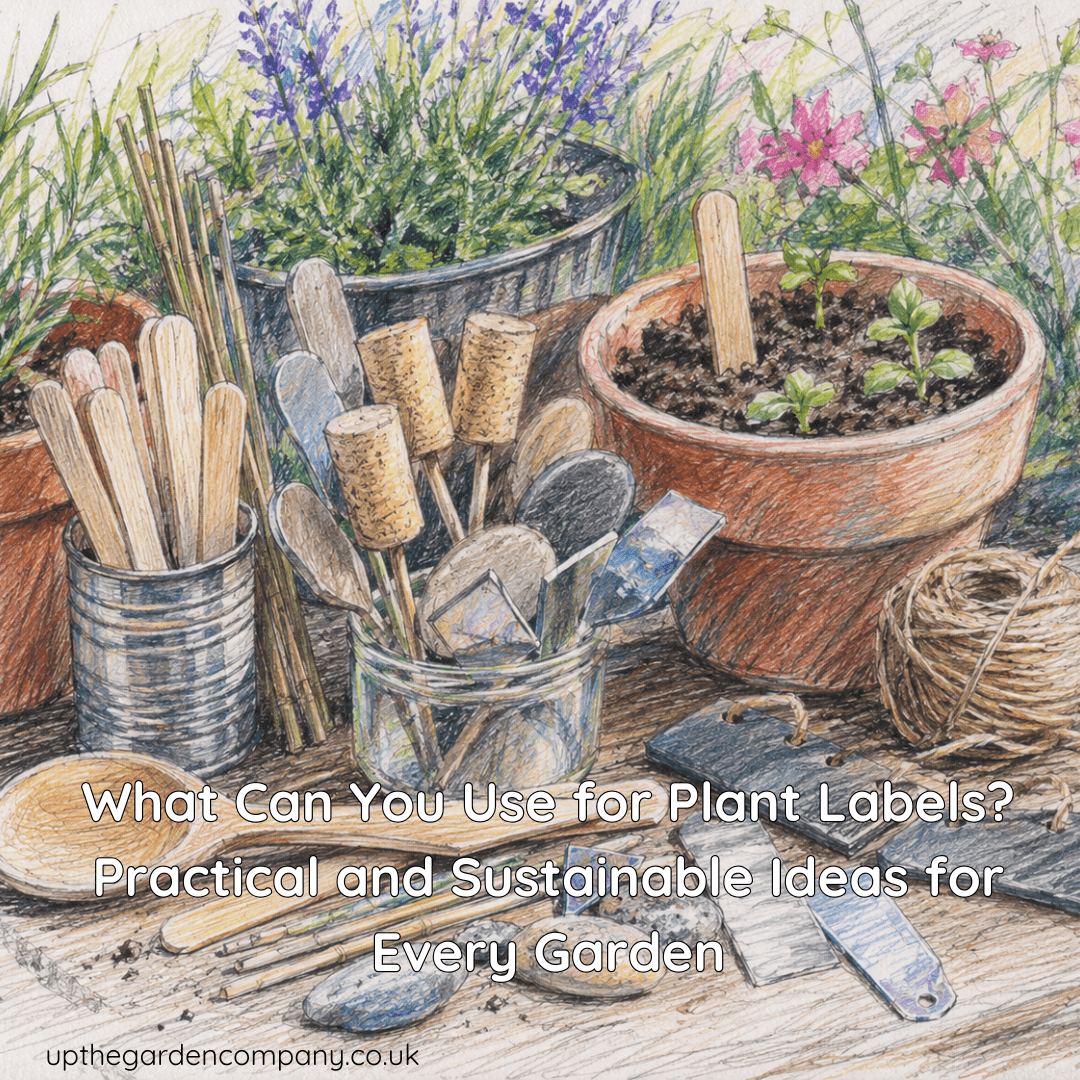
Creative Ways to Label Plants
The best plant labels are often those made from materials already at hand. Reusing everyday objects not only saves money but also gives new life to items that might otherwise be discarded.
Wooden Spoons
Old wooden spoons can be transformed into charming and practical labels. Their long handles make them easy to insert into the soil, while the broad bowl provides ample space for plant names.
Advantages
- Reuses household items
- Attractive in cottage-style gardens
- Easy to write on
Things to consider
- May fade or weather over time
- Can eventually rot in damp conditions
Wine Corks
Wine corks attached to bamboo canes or wooden skewers create simple, rustic markers that blend naturally into planting schemes.
Advantages
- Water resistant
- Lightweight and inexpensive
- Makes good use of leftover corks
Things to consider
- Can be knocked over in exposed locations
- Limited space for longer plant names
Stones and Pebbles
Few materials feel more at home in a garden than stone. Smooth pebbles or flat rocks can be painted or inscribed with plant names and placed among borders.
Advantages
- Extremely durable
- Natural appearance
- Won’t blow away in strong winds
Things to consider
- Less practical for frequent rearranging
- Heavier than other options
Repurposed CDs
Although less common today, old CDs can be cut into sections and used as reflective labels.
Advantages
- Diverts waste from landfill
- Reflective surface may deter birds
Things to consider
- Requires careful cutting and sanding
- Not suitable for every garden style
Simple DIY Plant Labels
If you enjoy making things yourself, there are plenty of straightforward options that require only a few materials.
Lolly Sticks
Wooden craft sticks remain a favourite among gardeners raising seedlings and annual flowers.
Advantages
- Affordable and widely available
- Ideal for temporary labelling
Things to consider
- Usually lasts only a season
- Can become difficult to read after prolonged exposure
Aluminium Can Labels
Strips cut from aluminium drinks cans can be embossed using a ballpoint pen, creating labels that remain readable for years.
Advantages
- Long-lasting and weatherproof
- Reuses recyclable materials
Things to consider
- Edges need smoothing for safety
- Takes a little time to prepare
Bamboo and Twine
For a softer, more natural look, attach handwritten tags to bamboo stakes using garden twine.
Advantages
- Sustainable materials
- Complements wildlife-friendly gardens
Things to consider
- Paper and fabric tags may deteriorate in wet weather
Long-Lasting Store-Bought Options
Sometimes investing in durable labels can save both time and resources in the long run.
Biodegradable Labels
Made from materials such as bamboo, wood fibre or coconut husk, these labels offer an alternative to conventional plastics.
Advantages
- Renewable materials
- Attractive natural appearance
Things to consider
- Designed to break down eventually
- Often cost more than basic plastic labels
Slate and Metal Labels
Commonly seen in botanic gardens and historic estates, slate and metal labels provide a timeless and elegant solution.
Advantages
- Exceptionally durable
- Suitable for permanent plantings
- Adds character to borders and kitchen gardens
Things to consider
- Higher initial cost
- Heavier than other alternatives
Reusable Plastic Labels
While not entirely free from environmental concerns, reusable plastic labels can offer a more sustainable option when used repeatedly over many seasons.
Advantages
- Durable and practical
- Easy to clean and rewrite
Things to consider
- Still relies on plastic materials
- Best used as a long-term rather than disposable solution
Choosing the Right Label for Your Garden
There is rarely a single solution that works everywhere.
A productive vegetable patch may benefit from simple biodegradable labels that can be replaced each season. A herbaceous border filled with treasured perennials might justify more permanent slate markers. Seed trays and young plants often need nothing more complicated than a wooden stick and a pencil.
Many gardeners find that a combination of approaches works best, balancing practicality, appearance and sustainability.
A Small Detail That Makes a Difference
Plant labels may seem insignificant compared with the flowers, foliage and harvests they help identify, yet they play an important role in the rhythm of gardening. They preserve knowledge, prevent mistakes and help tell the story of a garden as it evolves through the seasons.
Whether you choose hand-painted stones, repurposed corks or elegant slate markers, the best labels are those that help you build a closer connection with the plants you grow.
After all, gardening is as much about observation as it is cultivation—and remembering what you’ve planted is often the first step towards understanding how a garden truly grows.
Further Reading: Creating a Butterfly Garden: A Quiet Invitation to Nature, Ten Plants that butterflies love, Sustainable Hardscaping: Build a Beautiful, Eco-Friendly Garden, Why Bees Are Essential to Our Gardens, Top 10 Garden Birds in the UK (and How to Spot Them), Helping Wildlife This Winter, How to Create and Maintain a Garden Pond, Transform Your Allotment into a Biodiversity Haven
Inspiration: Follow Us on Instagram, Threads, BlueSky, Twitter, TikTok and Pinterest.