Late summer marks one of the most rewarding times for gardeners. As August transitions into September, your garden reaches peak maturity, offering the perfect opportunity to collect seeds from your favourite plants. This practice connects you directly to next year’s garden while preserving varieties you’ve grown to love.
Seed saving transforms you from a seasonal gardener into a true plant steward. Rather than purchasing packets each spring, you’ll have your own supply of seeds perfectly adapted to your local conditions. The process requires minimal equipment but delivers maximum satisfaction as you witness the complete lifecycle of your plants.
This comprehensive guide will walk you through proven methods for collecting, processing, and storing seeds from ten reliable garden plants that produce offspring true to their parent’s characteristics.
The Perfect Timing for Seed Saving
August and September provide optimal conditions for seed saving across most temperate regions. Plants have had the entire growing season to mature, and their seeds contain maximum viability. Morning collection works best, after dew has dried but before the afternoon heat causes seed pods to split prematurely.
Watch for visual cues that indicate seed readiness. Pods should feel dry and papery, while seed heads often change colour from green to brown or tan. Seeds themselves should appear plump and fully formed rather than pale or shrivelled.
Essential Seed Saving Methods
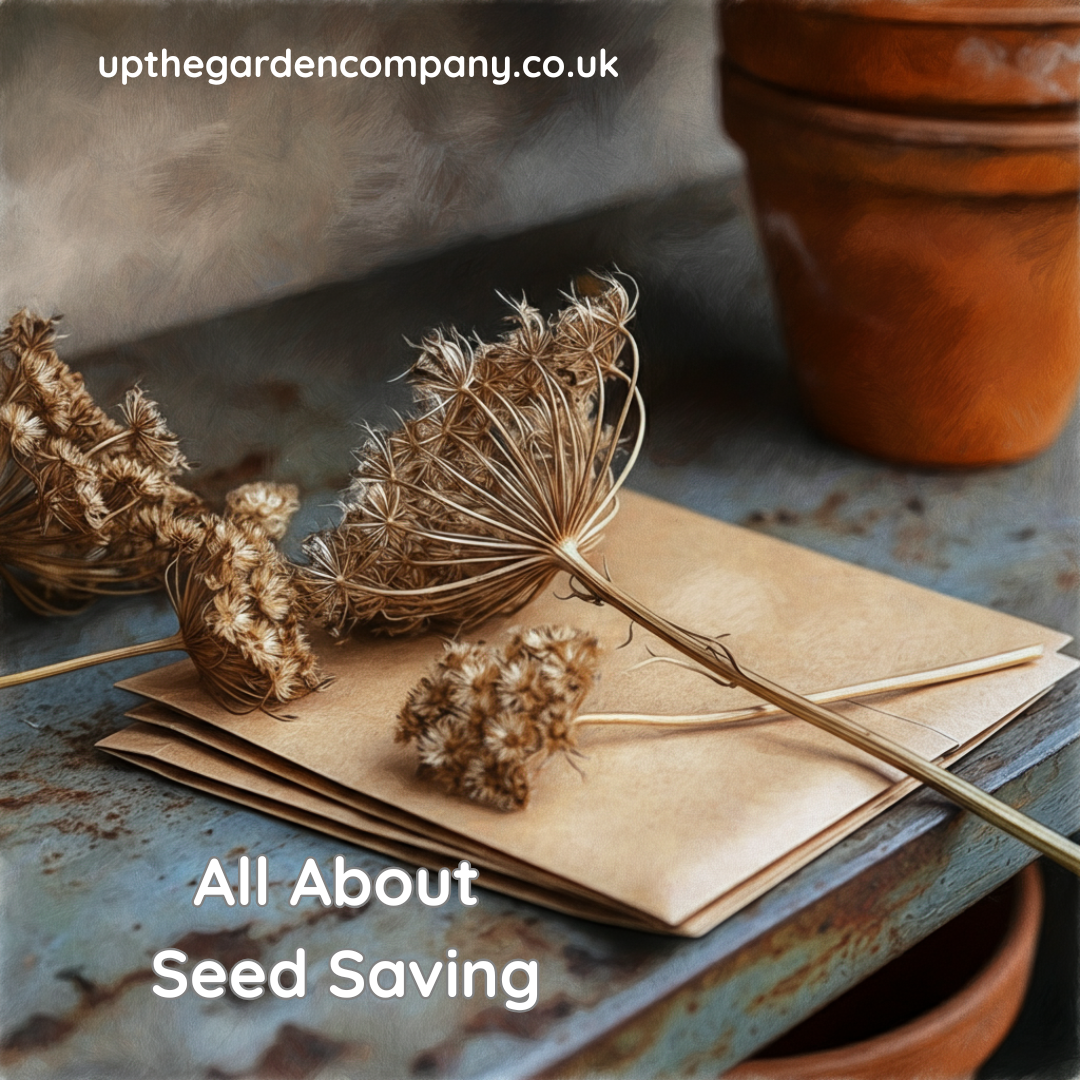
Dry Collection Method
Most garden seeds benefit from dry collection techniques. Cut entire seed heads or pods using clean secateurs, leaving a short stem for easier handling. Place collections immediately into paper bags or envelopes, never plastic, which traps moisture and encourages mould.
For plants with explosive seed dispersal like sweet peas or poppies, cover developing pods with breathable fabric bags secured with string. This captures seeds as they naturally release whilst maintaining air circulation.
Wet Collection Method
Fleshy fruits require wet processing to separate viable seeds. Scoop seeds from fully ripe tomatoes, squash or melons, then place them in water for several days. Viable seeds sink whilst pulp and poor-quality seeds float, making separation straightforward.
Professional Storage Techniques
Proper Drying Process
Spread collected seeds on newspaper or screens in a warm, well-ventilated area away from direct sunlight. Most seeds require one to two weeks of drying, depending on size and moisture content. Test dryness by bending a seed—properly dried specimens snap rather than bend.
Labelling and Organisation
Create detailed labels immediately upon collection. Include plant variety, collection date, and location within your garden. Use permanent markers on weatherproof labels, as pencil writing fades over time.
Store dried seeds in paper envelopes or small glass jars within airtight containers. Add silica gel packets or dry rice to absorb residual moisture. Label containers clearly and store in cool, dark locations such as refrigerators or unheated basements.
Ten Reliable Plants for Seed Saving
1. Marigolds (Tagetes)
These cheerful annuals produce abundant seeds that germinate reliably. Allow flower heads to dry completely on plants before collecting. Seeds store well for up to three years when kept dry and cool.
2. Sunflowers (Helianthus annuus)
Harvest seeds when the back of flower heads turn from green to brown. Cover developing heads with cloth bags to protect from birds. Each head can yield hundreds of viable seeds.
3. Nasturtiums (Tropaeolum majus)
These edible flowers produce large, easily handled seeds. Collect individual seeds as they fall naturally, or gather them from dried plants. Fresh seeds often germinate within days of planting.
4. Calendula (Calendula officinalis)
Often called pot marigold, calendula produces curved seeds that are unmistakable. Collect regularly throughout the growing season as flowers fade. These hardy annuals self-seed readily when allowed.
5. Sweet Peas (Lathyrus odoratus)
Allow pods to dry completely on vines before collection. The hard seeds benefit from scarification—gently file or nick the seed coat before planting to improve germination rates.
6. Cosmos (Cosmos bipinnatus)
These drought-tolerant flowers produce needle-like seeds attached to feathery structures. Shake dried flower heads over containers to release seeds easily. Remove chaff by gentle winnowing.
7. Zinnias (Zinnia elegans)
Wait until petals have completely dried and flower centres feel firm. Pull apart dried flower heads to reveal seeds attached to the base. Each flower can yield dozens of seeds.
8. Love-in-a-Mist (Nigella damascena)
The distinctive inflated seed pods make collection straightforward. Allow pods to dry until they rattle when shaken. Store seeds within pods until planting time for best results.
9. Lettuce (Lactuca sativa)
Allow several plants to bolt and flower for seed production. Harvest when fluffy seed heads form and begin to open. Handle gently as mature seeds detach easily.
10. Radishes (Raphanus sativus)
Leave several plants unharvested to flower and set seed. Collect dried pods when they turn brown and brittle. Each pod contains multiple round seeds that store exceptionally well.
Maximising Seed Viability
Testing Germination Rates
Before relying on collected seeds, test their viability. Place ten seeds on damp paper towels within sealed plastic containers. Check germination rates after the expected timeframe for each variety. Acceptable rates vary, but 70% or higher indicates good viability.
Genetic Considerations
The plants listed above are open-pollinated varieties that produce offspring matching their parents. Avoid collecting seeds from F1 hybrids, which produce unpredictable results in subsequent generations.
Cross-pollination can occur between related plants, so maintain distance between different varieties of the same species. For guaranteed purity, grow only one variety of each species or hand-pollinate flowers whilst covering them from insects.
Troubleshooting Common Issues
Mould Prevention
Ensure seeds are completely dry before storage. Add desiccant packets to storage containers and check periodically for moisture buildup. Discard any seeds showing signs of mould immediately to prevent spread.
Pest Management
Store seeds in sealed containers to prevent insect damage. Check stored seeds regularly and freeze any showing signs of pest activity for 48 hours to eliminate insects without damaging seeds.
Begin Your Seed-Saving Adventure
Collecting seeds from your garden creates an annual cycle of growth, harvest, and renewal that deepens your connection to the natural world. Start with just a few reliable varieties this season, then expand your collection as confidence grows.
Your garden holds countless opportunities for seed collection. Walk through your space this August with fresh eyes, identifying candidates for your first harvesting attempts. Each successful collection brings you closer to true gardening independence whilst preserving the unique characteristics of plants that thrive in your specific conditions.
Further Reading: Stunning Late Summer Autumn Perennials, A Clean Start: The Importance of Garden Hygiene, The Ultimate Guide to Garden Seed Ordering for Your Home Vegetable Patch
Follow Us on Instagram for Daily Gardening Inspiration 🌼