As the final autumn leaves turn to mulch and the garden descends into the grey slumber of winter, most of us retreat indoors. We resign ourselves to months of bare branches and muddy borders. But your outdoor space does not have to be devoid of life during the colder months. There is a way to bring brightness, texture, and vitality back to your flowerbeds even in the depths of January.
Meet Erica carnea f. alba ‘Whitehall’. While its name might sound formal, this plant is a robust, friendly, and forgiving addition to any British garden. It is a beacon of light when days are short, offering crisp white blooms against a backdrop of evergreen foliage. If you want to reconnect with your garden this winter, this hardy little shrub is the perfect place to start.
Understanding the Name and Family
To truly appreciate this plant, it helps to understand exactly what it is. Erica carnea is commonly known as the Winter Heath or Spring Heath. It belongs to the Ericaceae family, a vast group of acid-loving plants that includes rhododendrons, blueberries, and cranberries.
The botanical name gives us clues about the plant’s nature. Erica is derived from the Greek ereiko, meaning “to break,” which may refer to the brittle stems or the plant’s reputed medicinal ability to break bladder stones. Carnea means “flesh-coloured,” referring to the pink flowers of the standard species.
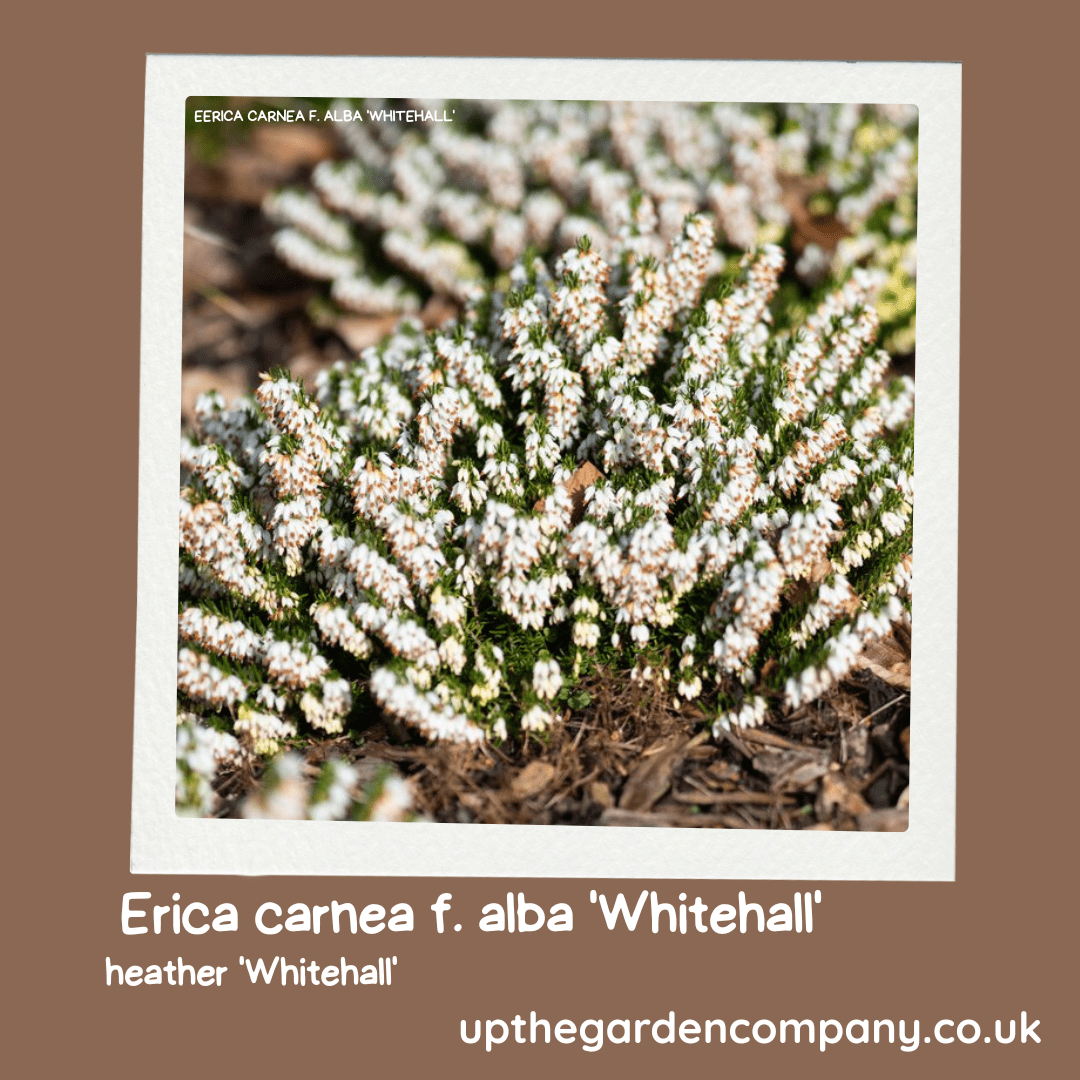
However, the plant we are discussing is f. alba—the white form. Specifically, the ‘Whitehall’ cultivar is celebrated for its purity. Unlike some white heathers that can look a bit creamy or muddy, ‘Whitehall’ produces clear, bright white flowers that stand out starkly against dark winter soil or evergreen foliage.
A Brief History of the Winter Heath
Erica carnea is native to the mountainous regions of Central and Southern Europe. It grows wild in the coniferous forests and stony slopes of the Alps, Apennines, and Balkans. This alpine heritage is exactly what makes it so tough; if a plant can survive a winter on an Austrian mountainside, it can certainly handle a frosty morning in the Home Counties.
The specific cultivar ‘Whitehall’ was developed to maximise the visual impact of the white flowering form. Gardeners and botanists selected it for its upright habit and its ability to bloom prolifically. It has become a staple in British horticulture, holding the prestigious Award of Garden Merit (AGM) from the Royal Horticultural Society—a seal of approval that confirms it performs reliably in UK growing conditions.
Where to Plant: Creating the Perfect Home
One of the reasons many gardeners shy away from heathers is the misconception that they all require highly acidic, peat-based soil. While this is true for many members of the Ericaceae family, Erica carnea is the wonderful exception. It is famously tolerant of alkaline (lime) soils, making it accessible to a much wider range of gardeners.
Here is how to give your ‘Whitehall’ the best start in life:
Soil Requirements
While it prefers acid to neutral soil, ‘Whitehall’ will grow happily in slightly alkaline conditions, provided there is plenty of organic matter. The most critical factor is drainage. This plant hates having “wet feet.” Heavy clay that sits wet in winter will likely rot the roots. If you have heavy soil, dig in plenty of grit and leaf mould to improve the structure before planting.
Lighting and Position
To get the best density of flowers, plant your heath in full sun. It loves an open, airy position. It will tolerate light shade—for example, under the canopy of a deciduous tree that is bare in winter—but if planted in deep shade, the growth will become leggy and the flowering sparse.
Climate and Hardiness
As you might expect from its alpine origins, Erica carnea ‘Whitehall’ is fully hardy. It can withstand temperatures down to -20°C (H7 hardiness rating). It does not need wrapping up or protecting from frost. In fact, frost settling on the needle-like foliage and white bells only adds to its beauty.
Legends of the White Heather
Heather has a rich history in folklore, particularly within Celtic traditions. While purple heather is associated with admiration and solitude, white heather—like our ‘Whitehall’—is a powerful symbol of good luck and protection.
The most famous legend comes from Scotland in the 3rd century. It tells of Malvina, the daughter of the poet Ossian. She was engaged to a warrior named Oscar. Tragically, Oscar was killed in battle, and when the messenger brought the news to Malvina, he also delivered a spray of purple heather that Oscar had picked for her as he died.
As Malvina’s tears fell onto the purple flowers, they turned pure white. She declared that although the heather was a symbol of her sorrow, it should bring good fortune to anyone else who found it. “May it not be symbolic of sorrow, but of good fortune to all who find it,” she is said to have wished.
This association with luck was solidified by Queen Victoria, whose love for the Scottish Highlands popularized the tradition of white heather as a lucky charm. Even today, sprigs of white heather are often included in bridal bouquets to ensure a happy marriage.
Why You Should (and Shouldn’t) Grow It
Every plant has its pros and cons. Here is an honest look at what ‘Whitehall’ brings to the garden.
The Benefits
- Biodiversity Champion: This is one of the most valuable plants for early pollinators. When bees emerge on mild winter days, food sources are scarce. The nectar-rich bells of ‘Whitehall’ provide a vital lifeline for bumblebees and honeybees.
- Weed Suppression: With a low, spreading habit (reaching about 15-20cm in height but spreading up to 45cm), it forms a dense mat. Once established, it acts as a fantastic living mulch, suppressing weeds and keeping moisture in the soil.
- Year-Round Interest: Even when not in bloom, the foliage is attractive. It is an evergreen shrub with dark green, needle-like leaves that provide structure throughout the year.
The Disadvantages
- Pruning is Essential: You cannot simply plant it and forget it forever. To keep it bushy and dense, you must shear it lightly after flowering finishes in late spring. If you skip this for a few years, the plant will become woody in the centre and unattractive.
- Short Lifespan: Heathers are not trees; they do not live for centuries. You can expect a good 10 to 15 years from your plant before it may need replacing or propagating.
Design Ideas: How to Use ‘Whitehall’
The versatility of Erica carnea ‘Whitehall’ makes it a joy to design with. Its low-growing nature makes it perfect for the front of the border, but there are many other ways to incorporate it into your landscape.
The Winter Container:
Create a welcoming display by your front door. Plant ‘Whitehall’ in a terracotta pot alongside dwarf spring bulbs like Iris reticulata or snowdrops. The white heather provides the backdrop, while the bulbs poke through for extra colour.
Rockeries and Banks:
If you have a sloping bank that is difficult to mow, mass planting heathers is a practical solution. They stabilise the soil and require very little maintenance once established. The white flowers look particularly striking against grey limestone rocks.
Underplanting:
Use it to carpet the ground beneath silver birch trees or Witch Hazels (Hamamelis). The white flowers will echo the pale bark of the birch or contrast beautifully with the fiery oranges of the Witch Hazel flowers.
Brighten Your Winter Landscape
Gardening is often viewed as a fair-weather hobby, but plants like Erica carnea ‘Whitehall’ challenge that notion. They remind us that nature does not stop just because the temperature drops. By introducing this resilient, lucky, and beautiful shrub into your garden, you ensure that even on the darkest days of the year, there is life, movement, and a bright spark of white to enjoy.
Why not head to your local nursery this weekend? Pick up a pot of ‘Whitehall’, get your hands in the soil, and plant a little bit of winter magic.
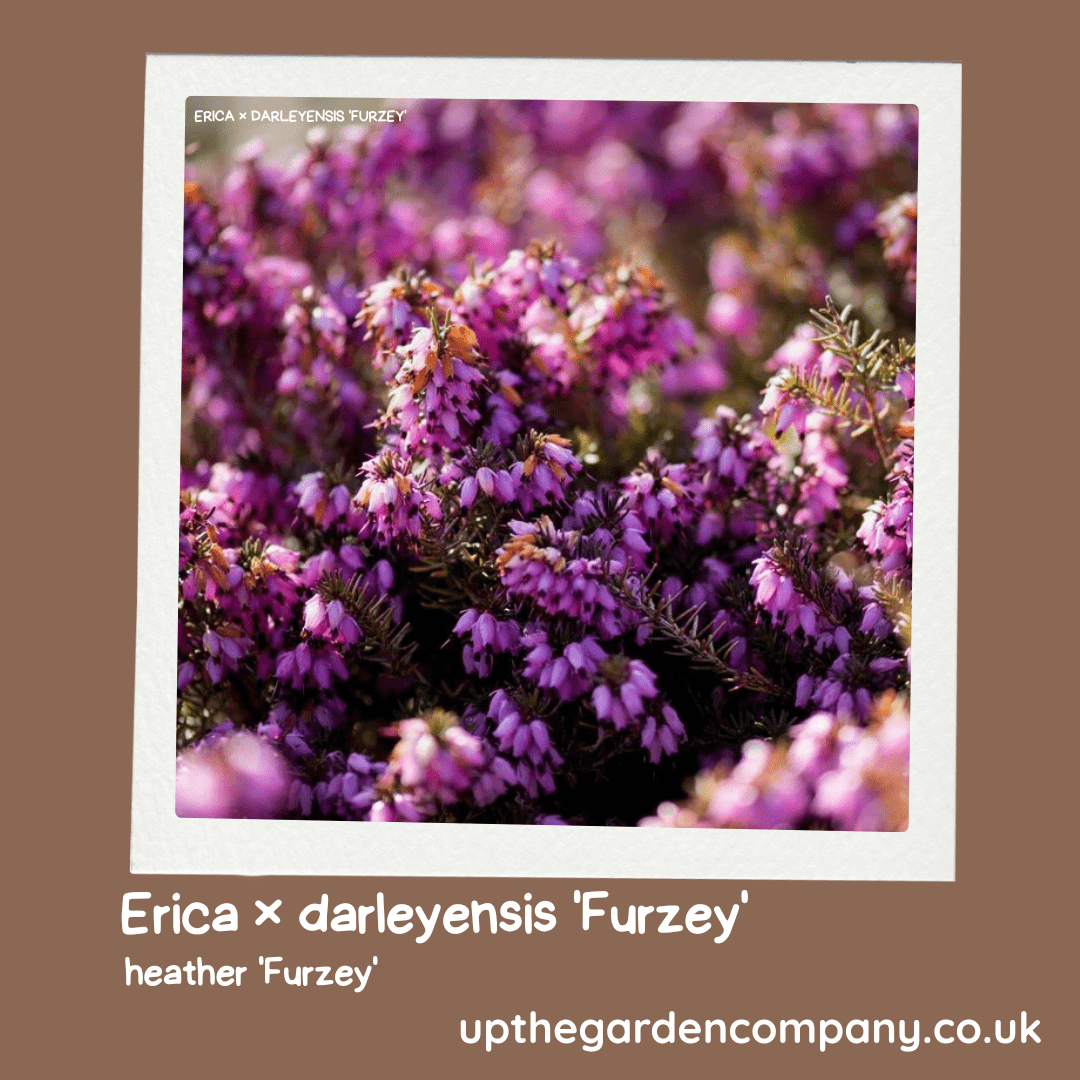
Further Reading: RHS Eranthis hyemalis – Winter Aconite, The Corylus – Witch Hazel, How to Protect Your Soil in Winter, Meet the winter warrior: Erica x darleyensis ‘Furzey’, All About Heathers
Inspiration: Follow Us on Instagram, Threads, BlueSky, Twitter, TikTok and Pinterest.