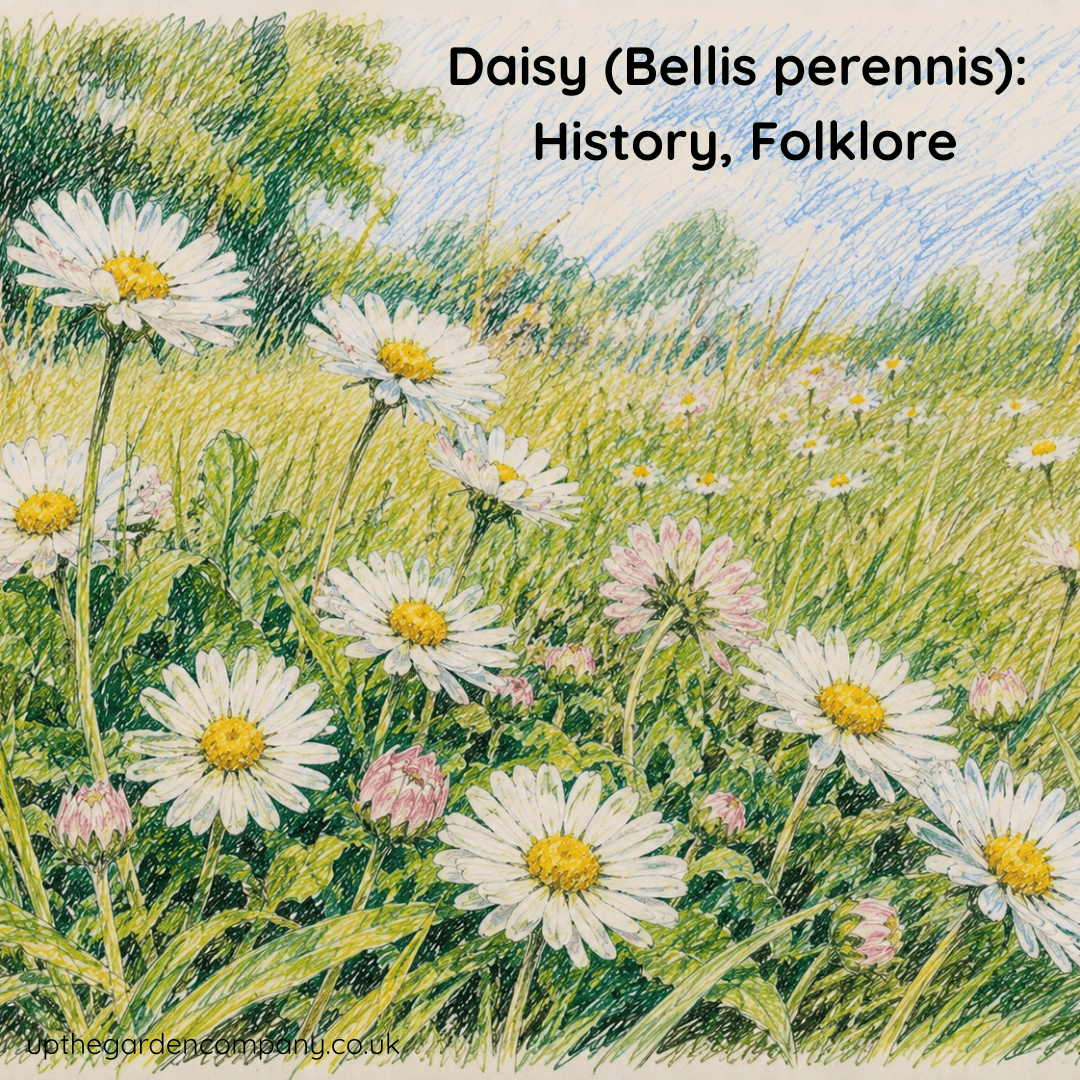
Few flowers are as instantly recognisable as the humble daisy.
Scattered across lawns, meadows and village greens, its bright white petals surrounding a golden centre seem almost synonymous with the British countryside. Children weave them into chains, pollinators seek out their nectar, and gardeners often overlook them in favour of more exotic blooms.
Yet beneath this modest appearance lies a remarkable plant with a rich history, fascinating folklore and surprising ecological value.
From ancient herbal remedies to medieval romance, the common daisy has earned its place as one of Britain’s most beloved wildflowers. Whether growing naturally in a lawn or cultivated in borders and containers, daisies bring a timeless charm that few garden plants can rival.
What Is the Botanical Name of the Daisy?
The common daisy is known botanically as Bellis perennis.
Its name comes from Latin, with Bellis meaning “beautiful” and perennis meaning “everlasting” or “perennial”. Together, the name perfectly describes this resilient little plant, which flowers repeatedly throughout much of the year and often remains green even during winter.
Daisies belong to the Asteraceae family, one of the largest flowering plant families in the world. This diverse group also includes sunflowers, asters, chrysanthemums and echinaceas.
What many people think of as a single daisy flower is actually a complex flower head made up of hundreds of tiny individual florets. The yellow centre contains numerous disc florets, while each white “petal” is a separate ray floret designed to attract pollinating insects.
Nature, as always, is more intricate than it first appears.
The History of the Daisy
The daisy’s story stretches back thousands of years.
Archaeological evidence suggests daisies were present in prehistoric grasslands long before formal gardens existed. Their resilience allowed them to thrive alongside grazing animals and human settlements, making them one of the most familiar flowers across Europe.
Ancient herbalists valued the plant for its medicinal qualities. The Romans believed daisy preparations could help soothe wounds and bruises, while medieval healers used the leaves and flowers in poultices and herbal remedies.
By the Middle Ages, the daisy had become a symbol of innocence, fidelity and true love. It frequently appeared in literature, tapestries and illuminated manuscripts.
Perhaps most famously, Geoffrey Chaucer referred to the flower in The Legend of Good Women, where the daisy represented faithfulness and virtue.
Over the centuries, its symbolism has remained remarkably consistent. Even today, daisies are commonly associated with purity, new beginnings and childhood innocence.
Folklore and Old Wives’ Tales
Like many traditional British wildflowers, daisies have inspired a wealth of folklore.
One of the most enduring customs is the familiar game of plucking petals while reciting:
“He loves me, he loves me not.”
This romantic tradition dates back centuries and remains one of the flower’s most recognised associations.
In rural folklore, daisies were also believed to offer protection.
Some traditions suggested that placing daisies near a child’s cradle would guard against mischievous fairies and unwanted spirits. Others believed carrying a daisy could bring good fortune and attract love.
An old country saying claimed:
“The more daisies in spring, the warmer the summer will be.”
While there is little scientific evidence to support the prediction, such beliefs reveal the close relationship previous generations had with the natural world.
Where Do Daisies Grow Naturally?
Daisies are native to much of Europe and western Asia and have since naturalised across many parts of the world.
In Britain, they are commonly found in:
- Lawns and grasslands
- Meadows
- Roadside verges
- Parkland
- Coastal grasslands
- Garden borders
Their ability to tolerate mowing and foot traffic makes them particularly successful in lawns, where they often flower even after repeated cutting.
Unlike many ornamental plants, daisies thrive in conditions that might challenge more delicate species.
How to Grow Daisies Successfully
One reason for the daisy’s enduring popularity is its adaptability.
Soil
Daisies are remarkably tolerant of different soil types but perform best in fertile, well-drained soil.
Heavy clay can be improved with compost or organic matter, while very sandy soils benefit from the addition of well-rotted manure or garden compost.
Sunlight
For the best flowering display, plant daisies in full sun.
They will tolerate partial shade, particularly in warmer parts of the country, but flowering may be reduced.
Watering
Once established, daisies are surprisingly drought tolerant.
Young plants should be watered regularly until settled, but mature clumps generally require little intervention except during prolonged dry periods.
Maintenance
Deadheading spent flowers can encourage further blooms, while dividing overcrowded clumps every few years helps maintain vigour.
In lawns, allowing some areas to flower naturally can create valuable habitat for pollinators while adding seasonal interest.
Why Daisies Are Valuable for Wildlife
The ecological importance of daisies is often overlooked.
Their long flowering period provides an important nectar source for bees, hoverflies and other beneficial insects, particularly during early spring when food sources may be limited.
Because they bloom close to the ground, daisies also support a variety of small pollinators that might struggle to access larger flowers.
In wildlife-friendly gardens, they contribute to biodiversity while requiring very little maintenance.
For gardeners seeking to create pollinator-friendly spaces, daisies are among the simplest and most effective plants to include.
Traditional Uses of the Daisy
Historically, daisies were valued for more than their appearance.
Herbal practitioners used the leaves and flowers in various remedies, often referring to the plant as “bruisewort” due to its association with treating bruises and minor injuries.
Young daisy leaves were sometimes added to spring salads, providing a slightly peppery flavour.
Today, while medicinal use should always be approached with appropriate professional guidance, the plant remains an interesting example of how closely gardening, food and herbal traditions were once connected.
Advantages of Growing Daisies
There is much to admire about this modest wildflower.
Easy to Grow
Daisies require little maintenance and succeed in a wide range of garden conditions.
Excellent for Pollinators
Their nectar-rich flowers support bees, butterflies and other beneficial insects.
Long Flowering Season
Many plants bloom from early spring through to autumn.
Wildlife Friendly
They contribute to biodiversity and help create healthier garden ecosystems.
Child-Friendly Plant
Their familiar flowers inspire curiosity and provide opportunities for nature-based play and learning.
Potential Drawbacks
Like any plant, daisies are not without challenges.
Can Spread Freely
In lawns and informal areas, daisies readily self-seed and may become more abundant than some gardeners desire.
May Not Suit Formal Gardens
Their naturalistic appearance can look out of place in highly structured planting schemes.
Susceptible to Pests
Occasionally aphids, slugs or powdery mildew may affect plants, particularly in damp or crowded conditions.
Fortunately, these issues are rarely severe and can often be managed through good garden hygiene and healthy growing conditions.
A Flower That Never Goes Out of Fashion
The daisy may never possess the drama of a rose or the exotic appeal of a tropical flower, yet its enduring popularity speaks for itself.
It is a plant woven into the fabric of British gardens and countryside alike. It brightens lawns, supports wildlife, inspires folklore and connects us to generations of gardeners who appreciated its simple beauty long before modern horticulture existed.
Perhaps that is the daisy’s greatest strength.
In a world increasingly drawn to the rare and unusual, the daisy reminds us that some of the most treasured plants are those that have quietly accompanied us for centuries.
The next time you notice a daisy flowering in the grass, take a moment to appreciate it. Behind those cheerful white petals lies a rich history, remarkable resilience and a timeless charm that continues to win hearts generation after generation.
Further Reading: Your Garden Matters: Creating a Wild Patch Inspired by David Attenborough, Creating a Butterfly Garden: A Quiet Invitation to Nature, All About the Common Poppy
Inspiration: Follow Us on Instagram, Threads, BlueSky, Twitter, TikTok and Pinterest.