Winter in the garden is often dismissed as a dormant season—a time of grey skies, bare branches, and sleeping soil. Yet, for those in the know, it is a season of subtle beauty and surprising vibrancy. Just when the frost bites hardest and the days feel shortest, nature offers us a gift that defies the gloom: Hamamelis x intermedia ‘Pallida’.
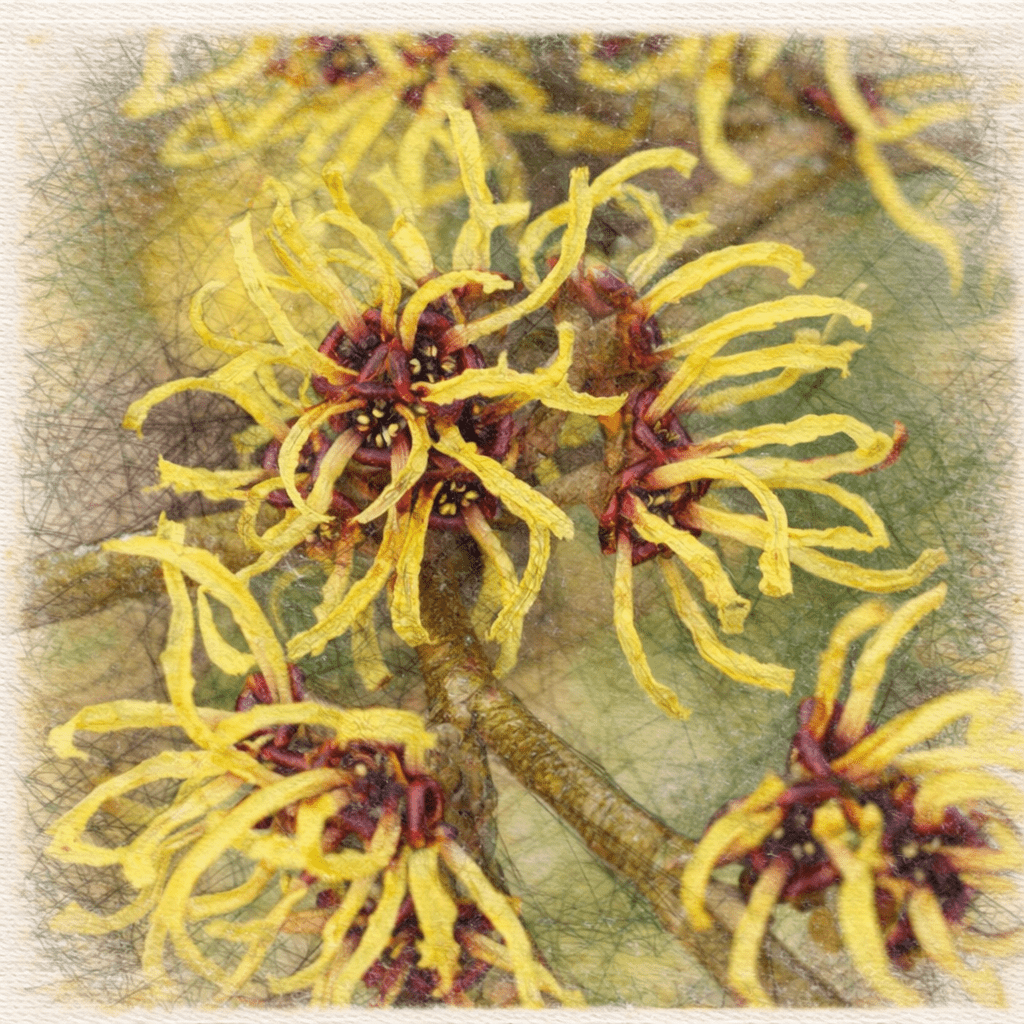
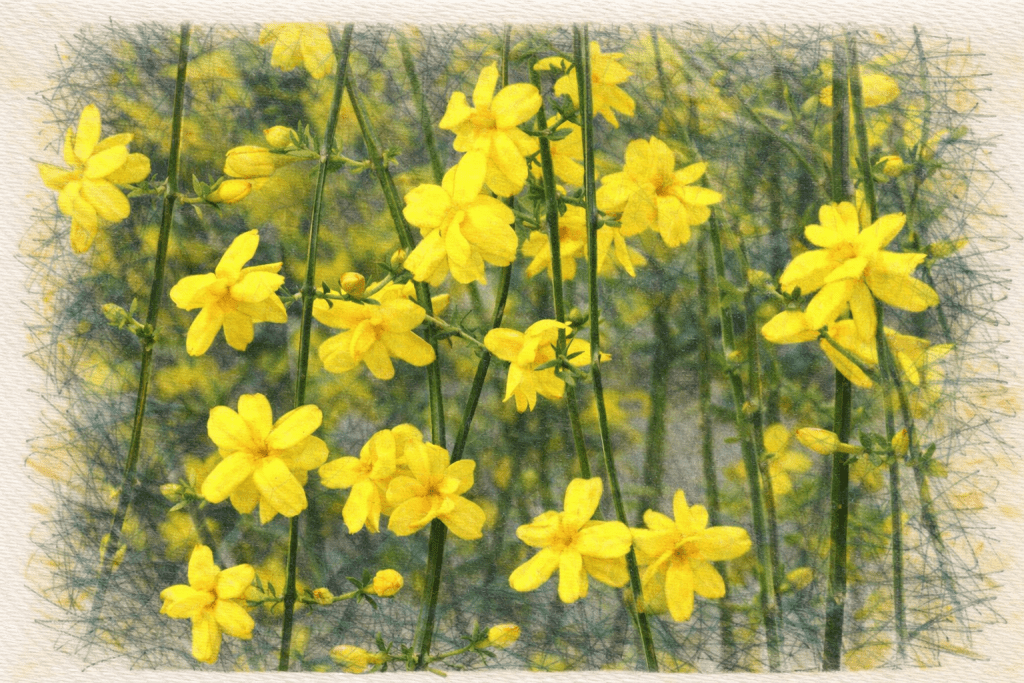
Known more commonly as Witch Hazel, this remarkable shrub is a beacon of light in the darker months. Imagine stepping out into the crisp, cold air and being greeted by sulphur-yellow blooms clinging to bare wood, glowing like trapped sunlight against a winter sky. But it isn’t just the sight that captivates; it is the scent. A rich, sweet fragrance that drifts on the breeze, promising that spring is just around the corner.
If you are looking to transform your winter landscape from bleak to brilliant, ‘Pallida’ is the perfect candidate. It invites you to bundle up, grab a hot drink, and wander into the garden to admire one of the Royal Horticultural Society’s most celebrated shrubs.
Getting to Know Hamamelis x intermedia ‘Pallida’
Before you dig a hole, it helps to know exactly what you are inviting into your garden. The plant is a hybrid, a happy marriage between the Japanese witch hazel (Hamamelis japonica) and the Chinese witch hazel (Hamamelis mollis).
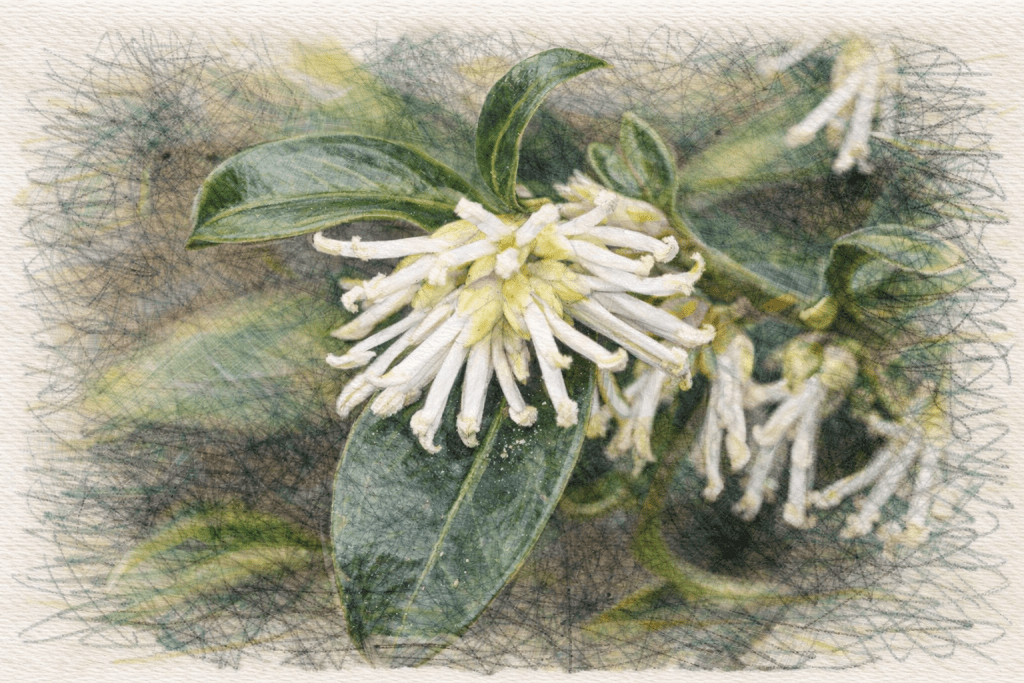
While there are many varieties of witch hazel available, ranging from copper-orange to deep reds, ‘Pallida’ is widely regarded as one of the finest. Its name, ‘Pallida’, refers to the pale, sulphur-yellow colour of its petals. These petals are distinctive—narrow, crinkled, and ribbon-like, they look almost like spidery fireworks exploding along the leafless branches.
This variety is so highly esteemed that it holds the prestigious Award of Garden Merit (AGM) from the Royal Horticultural Society. This is the gold standard for plants, assuring you that it performs reliably in British gardens, is reasonably resistant to pests, and offers excellent constitution.
A History Rooted in Resilience
The story of the witch hazel is as fascinating as the plant itself. The genus name Hamamelis comes from the Greek words hama (together) and mela (fruit), referring to the unique habit of the plant bearing flowers and fruit at the same time—a rarity in the botanical world.
The Hamamelis x intermedia hybrids were largely developed in the early 20th century. However, ‘Pallida’ specifically gained prominence for its exceptional flowering habit. It was first noticed in the famous RHS Garden Wisley in the 1930s, standing out amongst seedlings for its intense fragrance and heavy flowering. Since then, it has become a staple for landscape designers and home gardeners alike who crave structure and scent in the off-season.
The Magic Behind the Name
The common name “Witch Hazel” conjures up images of cauldrons and spells, but the etymology is far more grounded. “Witch” in this context derives from the Middle English word wiche, meaning pliant or bendable.
Early settlers in North America used the flexible forked branches of the native witch hazel (Hamamelis virginiana) for dowsing—an ancient practice used to locate underground water sources. While ‘Pallida’ is an ornamental hybrid rather than the native medicinal variety, it carries this lineage of “water witching” history in its very timber.
Finding the Perfect Spot
To get the absolute best out of your ‘Pallida’, you need to mimic its natural preferences. It is not an overly fussy plant, but it does have specific requirements to thrive rather than just survive.
Soil Requirements
This is the most critical factor. Witch hazels are woodland plants at heart. They crave:
- Acid to Neutral Soil: They generally dislike chalk. If your garden sits on chalky bedrock, you will struggle to keep ‘Pallida’ happy in the ground. In this case, opt for a large container filled with ericaceous compost.
- Moisture: They love moisture-retentive soil. They do not want to sit in a swamp, but they hate drying out in summer.
- Drainage: Good drainage is essential to prevent root rot in winter.
Light and Situation
Where you plant your witch hazel dictates how well it flowers.
- Sun vs. Shade: An open, sunny spot is ideal. While they will tolerate partial shade, the flowering is always more profuse in full sun.
- Shelter: Try to plant ‘Pallida’ in a spot sheltered from harsh, drying winds. This protects the delicate winter blooms and keeps the scent lingering in the air.
- Space: This is not a plant for a tight corner. ‘Pallida’ has a beautiful, vase-shaped habit that spreads outwards. It needs room to stretch its arms.
A Sensory Experience
Think about where you will be in winter. Don’t hide this shrub at the back of a border you only visit in July. Plant it near a path, a front gate, or a doorway. You want to be able to smell that incredible perfume every time you leave the house.
The Advantages of Growing ‘Pallida’
Why choose ‘Pallida’ over other winter shrubs? The benefits are plentiful for the patient gardener.
Unrivalled Winter Scent
The fragrance of ‘Pallida’ is widely considered the strongest of all the witch hazels. It has a sweet, citrusy aroma that can carry for yards on a still day. It provides a sensory experience when most other plants are dormant.
Autumn Colour
It isn’t just a one-trick pony. Before the leaves fall to reveal the winter flowers, ‘Pallida’ puts on a spectacular autumn show. The broad, green leaves turn a buttery yellow, lighting up the garden in October and November.
Wildlife Friendly
For early pollinators braving the cold, witch hazel provides a vital source of nectar. Seeing a bumblebee navigating the crinkled yellow petals in February is a joy for any nature lover.
Low Maintenance
Once established, ‘Pallida’ requires very little pruning. In fact, it prefers to be left alone to develop its natural, elegant shape. Simply remove any dead or crossing wood in late spring after flowering has finished.
Considerations and Drawbacks
No plant is perfect, and it is important to be realistic about whether ‘Pallida’ suits your garden.
- Patience is Key: Witch hazels are slow growers. Do not expect it to fill a space overnight. It is an investment in time.
- Cost: Because they are slow to propagate and grow, buying a mature specimen can be expensive compared to faster-growing shrubs.
- Summer Appearance: During the height of summer, the shrub is essentially a background of green leaves. It is a “quiet” plant during the warmer months, allowing summer perennials to take centre stage.
- Suckering: Grafted plants can sometimes send up suckers from the rootstock. These need to be removed promptly, or they can overtake the main plant.
Transform Your Winter Landscape
Gardening is often about anticipation—planting bulbs in autumn for spring colour, or sowing seeds in March for summer salads. Planting a Hamamelis x intermedia ‘Pallida’ is a promise to yourself that winter will no longer be a time of garden absence.
By welcoming this shrub into your outdoor space, you ensure that even on the coldest, darkest days of the year, there is life, vibrancy, and a scent that lifts the spirits. Whether you have a sprawling country estate or a modest urban courtyard, the luminous yellow flowers of ‘Pallida’ serve as a reminder that nature never truly sleeps.
Visit your local nursery or specialist grower this weekend. Seek out the distinctive spidery blooms of ‘Pallida’, and bring a touch of winter sunshine home.
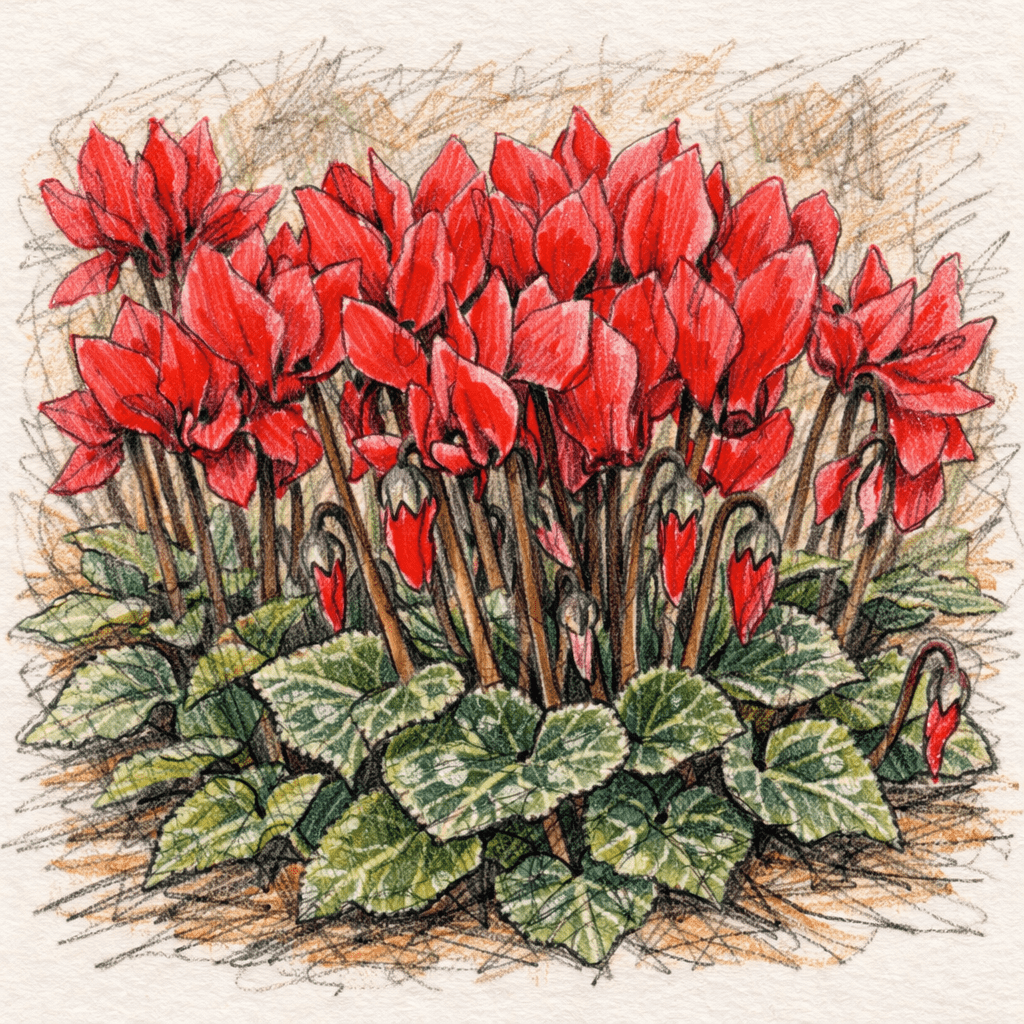
Further Reading: RHS Eranthis hyemalis – Winter Aconite, The Corylus – Witch Hazel, How to Protect Your Soil in Winter, A Ruby Gem for Winter: Meeting Cyclamen persicum ‘Verano Red’, Bringing Life to Winter: The Resilience of Eastern Cyclamen
Inspiration: Follow Us on Instagram, Threads, BlueSky, Twitter, TikTok and Pinterest.