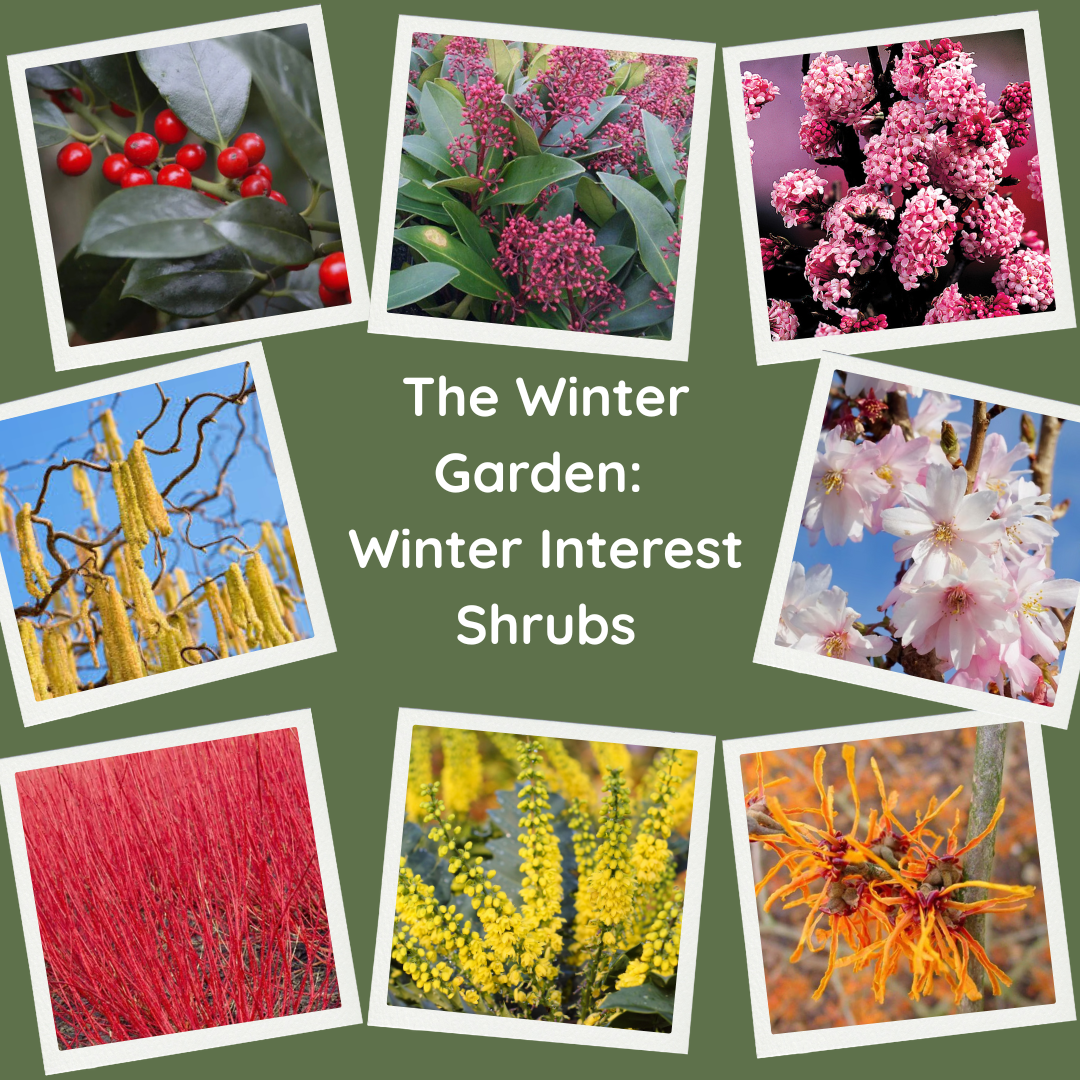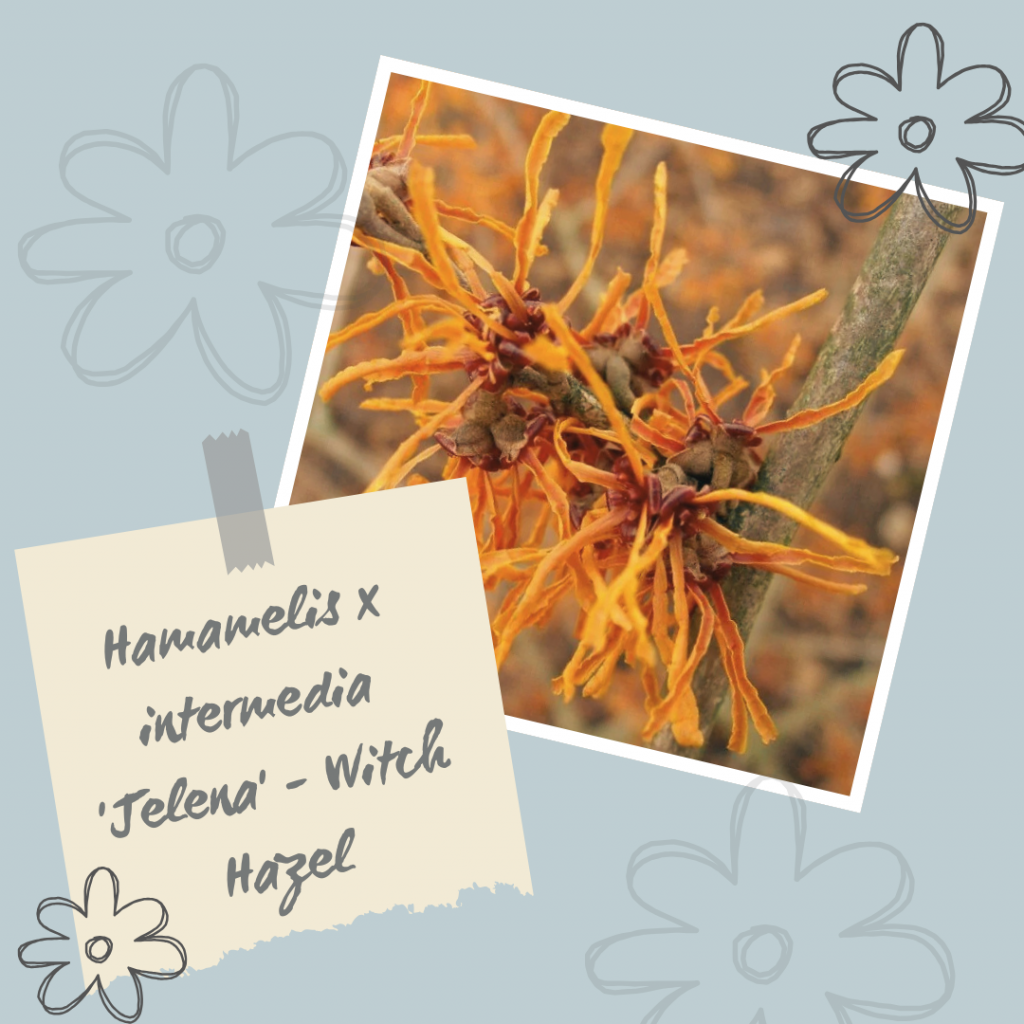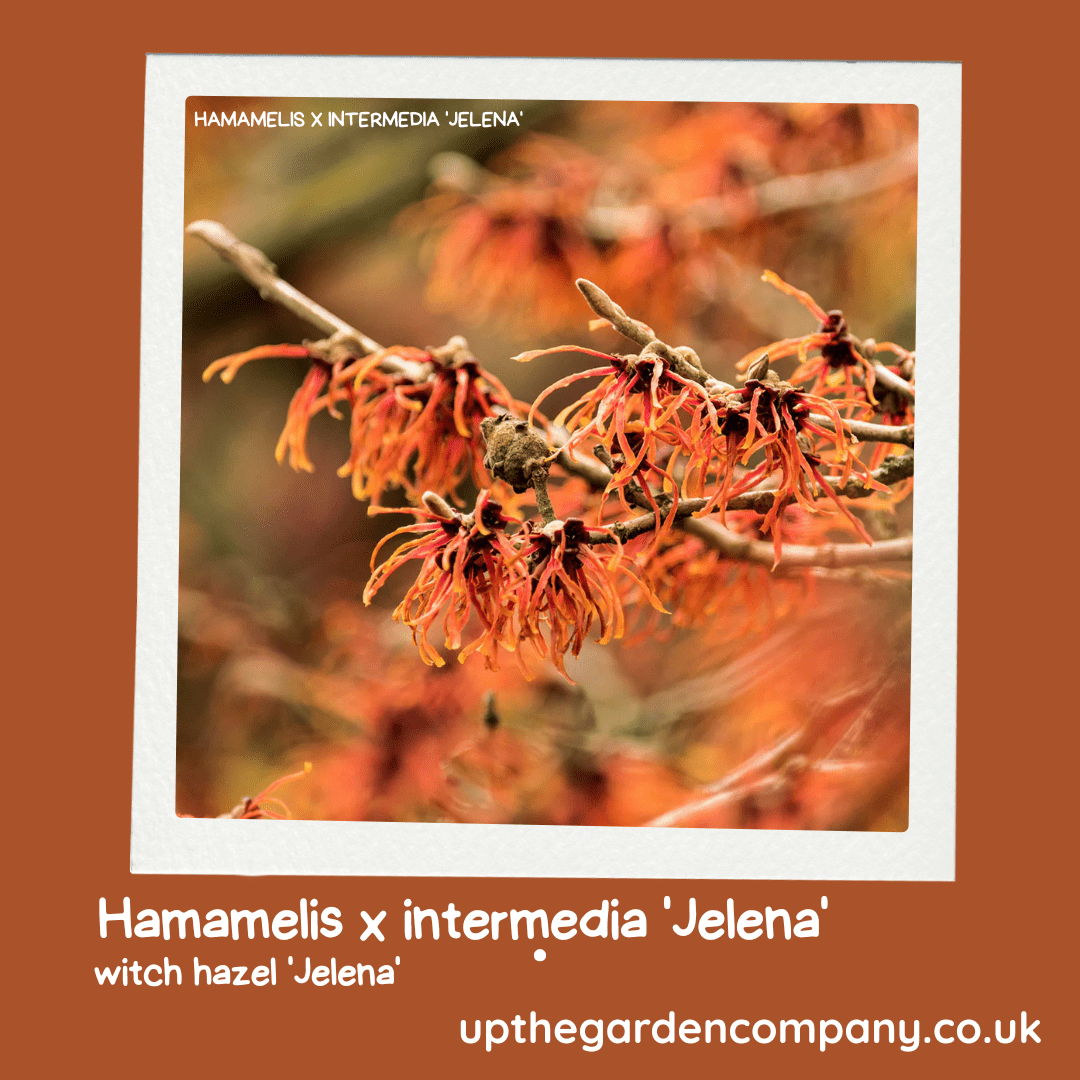
Gardens in winter are often dismissed as dormant, grey spaces waiting for the first breath of spring. We tend to retreat indoors, ignoring the potential beauty that cold months can offer. But nature has a way of surprising us, and few plants deliver that surprise quite like the Witch Hazel. Specifically, the Hamamelis x intermedia ‘Jelena’.
This isn’t just a shrub; it is a fiery beacon in the bleakest months of the year. When frost covers the ground and other plants have withered back, ‘Jelena’ bursts into life with copper-orange blooms that defy the chill. If you want to transform your outdoor space from a winter wasteland into a vibrant landscape, this is the plant to know.
A Meeting of East and West: The Origins of ‘Jelena’
To understand ‘Jelena’, we first need to look at its family tree. The plant is a hybrid, known botanically as Hamamelis x intermedia. This “intermedia” part of the name refers to it being a cross between two Asian species: the Japanese witch hazel (Hamamelis japonica) and the Chinese witch hazel (Hamamelis mollis).
The specific cultivar ‘Jelena’ has a rather romantic history. It was raised at the famous Kalmthout Arboretum in Belgium by Robert and Jelena de Belder. The de Belders were renowned horticulturists who significantly influenced the world of garden design and plant breeding in the 20th century. Robert named this specific seedling after his wife, Jelena, in 1954. It was a fitting tribute—a beautiful, resilient, and unique plant named for a woman who dedicated her life to botany.
Since its introduction, ‘Jelena’ has gained the prestigious Award of Garden Merit (AGM) from the Royal Horticultural Society, cementing its status as a reliable and superior plant for British gardens.
Why You Need ‘Jelena’ in Your Garden
There are many winter-flowering shrubs, but few command attention like this one. Here is why you should consider digging a hole for it this season.
Unrivalled Winter Colour
The primary reason gardeners fall in love with ‘Jelena’ is the flowers. Appearing from late December through to February (depending on the weather), the petals are like crimped ribbons. They start red at the base, transition to orange in the middle, and finish with yellow tips. From a distance, this blends into a rich, glowing copper that warms up even the coldest January day.
Incredible Fragrance
Winter gardens can lack scent, but ‘Jelena’ solves this. On a still, sunny winter day, the flowers release a delicate, spicy fragrance. It isn’t overpowering, but rather a subtle perfume that invites you to lean in closer.
Autumn Interest
This plant isn’t a one-trick pony. While it is famous for winter blooms, the foliage in autumn is equally spectacular. The broad, oval green leaves turn magnificent shades of orange, red, and scarlet before falling to reveal the flower buds ready for winter. It works hard for its place in your border for most of the year.
Finding the Perfect Spot: Growing Conditions
Witch Hazels have a reputation for being slightly fussy, but if you get the conditions right, they are generally trouble-free. Here is what ‘Jelena’ loves.
Sun and Shelter
Ideally, plant your Witch Hazel in an open, sunny position or dappled shade. Sun is vital for ripening the wood, which ensures better flowering the following winter. However, try to avoid an exposed, windy site. The flowers are hardy, but strong winds can strip them away prematurely. An open woodland setting is often perfect.
Soil Requirements
‘Jelena’, like most witch hazels, thrives in neutral to acid soil. It prefers a pH of 6.5 or lower. If you are gardening on chalk, you will likely struggle to keep it happy in the ground. In that case, consider a large container filled with ericaceous compost.
The soil needs to be moisture-retentive but free-draining. These plants hate having “wet feet” in winter, but they also dislike drying out completely in summer. A good mulch of leaf mould or compost in the spring helps retain that essential moisture during dryer months.
Space to Spread
This is a deciduous shrub with a spreading habit. Over 10 to 20 years, it can reach a height and spread of 4 metres by 4 metres. It creates a beautiful, vase-shaped silhouette, so give it room to breathe. Avoid crowding it with aggressive competitors.
Perfect Partners: Designing a Winter Scheme
Because ‘Jelena’ has such a distinct shape—bare branches adorned with spidery flowers—it looks best when underplanted. You want companions that highlight its copper tones without competing for height.
Snowdrops (Galanthus): The pure white of snowdrops provides a crisp contrast to the warm orange of the witch hazel. A carpet of white beneath the copper branches looks stunning in February.
Cyclamen (Cyclamen coum): For a splash of colour at ground level, pink or magenta Cyclamen work beautifully. The rounded leaves of the cyclamen contrast well with the spidery nature of the witch hazel flowers.
Hellebores (Helleborus): The Lenten Rose or Christmas Rose offers architectural foliage and nodding flowers that complement the woodland feel of the witch hazel. Look for white or pale yellow varieties to act as a foil for the copper blooms above.
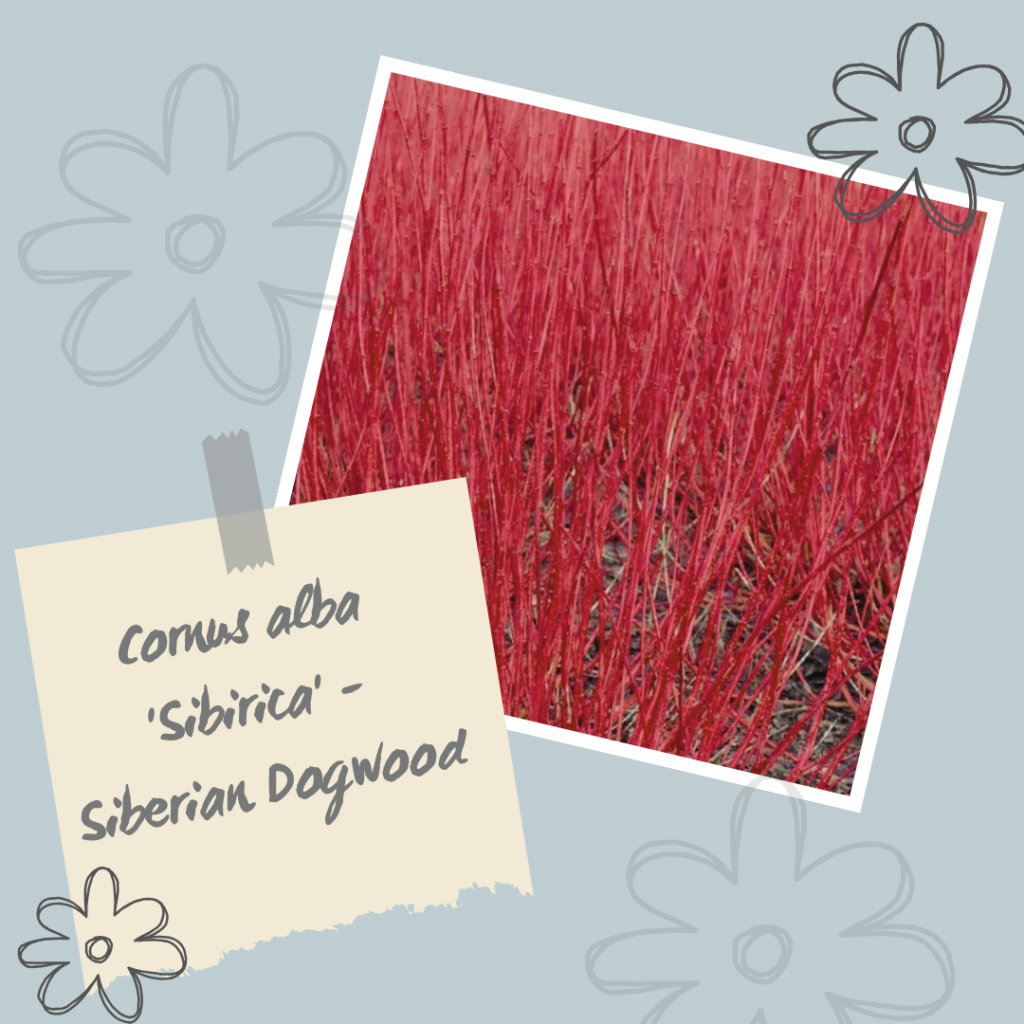
Dogwood (Cornus): If you have a large space, planting red-stemmed or yellow-stemmed dogwood nearby can create a striking “fire and ice” effect, though ensure the dogwood doesn’t crowd the witch hazel.
Beyond the Garden: Uses and Benefits
While Hamamelis x intermedia ‘Jelena’ is primarily ornamental, the wider Witch Hazel family has a long history of utility.
Medicinal Heritage
The North American native species (Hamamelis virginiana) is the source of the witch hazel found in medicine cabinets worldwide. Native Americans used the bark and leaves to treat skin irritations and swellings. Today, distilled witch hazel is a common ingredient in toners and skincare products due to its astringent properties. While ‘Jelena’ is grown for beauty rather than the apothecary, it shares this rich botanical lineage.
Wildlife Haven
In the depths of winter, food sources for pollinators are scarce. On mild winter days, the flowers of ‘Jelena’ can provide a lifeline for early-emerging insects.
Cut Flowers
Don’t be afraid to snip a few branches. Bringing a flowering branch of ‘Jelena’ indoors is a wonderful way to enjoy the scent. The warmth of the house will help the perfume diffuse, filling a room with a clean, spicy aroma.
Myths and Folklore: The Water Witch
The common name “Witch Hazel” is steeped in folklore, though it has nothing to do with witches in the Halloween sense.
The “Witch” part of the name comes from the Old English word wice, meaning “pliant” or “bendable.” Early settlers in America observed Native Americans using the flexible branches of the native Hamamelis for dowsing—the practice of searching for underground water sources.
Because the leaves of the American Witch Hazel resembled the English Hazel tree (to which it is unrelated), the name stuck. The forked twigs were believed to dip downward when held over water, a practice that many dowsers still swear by today. So, when you look at your ‘Jelena’, you are looking at a plant historically associated with hidden depths and discovery.
Interesting Facts About ‘Jelena’
- Weatherproof Mechanisms: The petals of ‘Jelena’ have a clever survival trick. On extremely cold, frosty nights, the petals curl up tightly towards the centre of the flower to protect themselves. As the sun comes out and the temperature rises, they unfurl again. This extends the flowering period significantly compared to other winter blooms.
- Slow Burner: Witch hazels are not plants for the impatient. They grow relatively slowly, which makes them ideal for low-maintenance gardens as they rarely need pruning.
- The “Spider” Flower: Children are often fascinated by the blooms, referring to them as “spiders” or “confetti” due to their crimped, ribbon-like appearance.
Embrace the Cold Season
It is easy to shut the curtains on the garden when the temperature drops, but plants like Hamamelis x intermedia ‘Jelena’ remind us that nature doesn’t stop. It offers colour, scent, and architectural beauty even in the depths of winter.
Whether you have a sprawling country estate or a modest suburban border, there is space for this copper-coloured gem. It connects us to the season, encourages us to step outside, and bridges the gap between the last leaf of autumn and the first bulb of spring.
So, wrap up warm, grab a spade, and invite ‘Jelena’ into your garden. Your winter view will never be the same again.
Further Reading: Winter Flowering Shrubs, Winter Wildlife Garden
Inspiration: Follow Us on Instagram, Threads, BlueSky, Twitter, TikTok and Pinterest.