Imagine walking through a serene English garden, the scent of blooming flowers fills the air and neatly trimmed box hedges frame picturesque landscapes. Now, imagine those same hedges riddled with brown patches and defoliating branches—a sight every gardener dreads. Welcome to the silent yet devastating world of box blight, a disease that’s wreaking havoc across the UK’s green sanctuaries.

Box blight is a fungal disease affecting boxwood (Buxus) plants, and it has become a significant concern for gardeners in the UK. The disease is primarily caused by two types of fungi, Cylindrocladium buxicola and Volutella buxi. While these names might sound like something out of a science fiction novel, the reality is far more concerning for our beloved box plants.
Box blight thrives in damp, humid conditions—often the exact environment you’ll find in the UK. It spreads rapidly through spores and can quickly turn a lush, green hedge into an unsightly mess. The fungi infect the leaves and stems, causing them to turn brown and drop prematurely, thus severely affecting the plant’s aesthetics and health.
Recognising the early signs of box blight is crucial for effective management. The disease often starts subtly, making it easy to miss until significant damage has occurred.
One of the first indicators of box blight is the appearance of dark brown or black spots on the leaves. These spots may seem harmless at first but can quickly spread, leading to widespread defoliation.
Another tell-tale sign is the presence of dark streaks or lesions on the stems. These lesions can girdle the stem, restricting the flow of nutrients and water, which eventually kills the affected branches.
Severe infection leads to rapid leaf drop, leaving behind bare, twiggy stems. This defoliation is not only unsightly but also weakens the plant, making it vulnerable to other diseases and environmental stressors.
Unfortunately, there is no definitive cure for box blight. Once a plant is infected, managing the disease becomes a matter of containment and mitigation rather than eradication.
While fungicides can help control the spread of the disease, they are not a fool proof solution. Regular application is necessary, and even then, results can be inconsistent. Some commonly used fungicides include tebuconazole and myclobutanil, but always consult with a local gardening expert before application.
Pruning infected branches can help reduce the spread of the disease. Make sure to sterilise your tools between cuts to avoid transferring spores. Dispose of the infected material carefully, preferably by burning or bagging and removing from the site.
Improving air circulation around your plants can help reduce the humidity levels that box blight thrives in. Planting boxwood in well-drained soil and avoiding overhead watering can also make a significant difference.
Prevention is better than cure, especially when dealing with box blight. Here are some proactive steps to protect your box plants.
Consider planting blight-resistant varieties of boxwood. While no variety is entirely immune, some, like Buxus sempervirens ‘Rotundifolia,’ show greater resistance to the disease.
Ensure adequate spacing between plants to improve air circulation and reduce humidity. Crowded conditions provide the perfect breeding ground for fungal spores.
Regularly inspect your plants for signs of disease, especially during wet, humid periods. Early detection can make management considerably easier.
The future of box plants in the UK is uncertain. With no cure in sight and the disease continuing to spread, gardeners must adapt to new realities and explore alternative options.
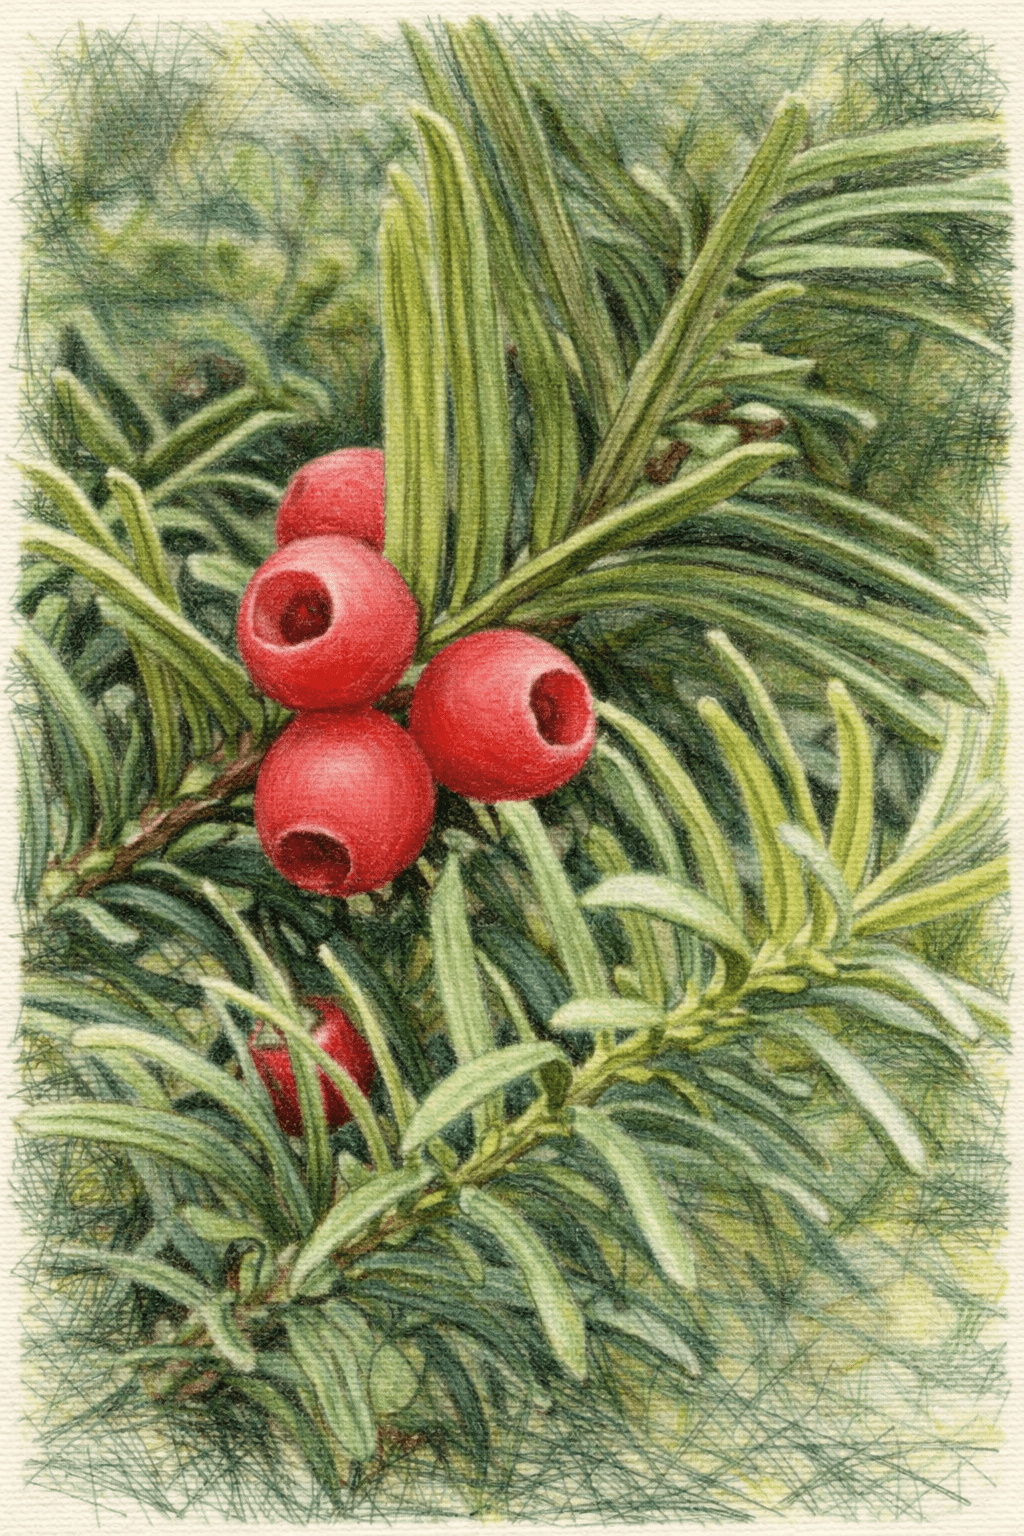
Consider replacing heavily infested boxwood with alternative hedging plants like yew (Taxus baccata) or holly (Ilex crenata). These alternatives offer similar aesthetic appeal without the high risk of blight.
Researchers are continually exploring new methods to combat box blight. From breeding more resistant varieties to developing more effective fungicides, the fight against this disease is far from over.
Community awareness and collective action can play a significant role in managing box blight. Engaging with local gardening clubs and participating in knowledge-sharing activities can help spread effective strategies and solutions.
Box blight is a formidable adversary for UK gardeners, but with vigilance, proper care and community effort, it is possible to manage its impact. By understanding how to identify the disease, exploring management options and staying informed about ongoing research, we can protect our cherished box plants and maintain the beauty of our gardens.
Are you struggling with box blight in your garden? We are here to help. Book a consultation today and take the first step towards a healthier, more resilient garden.
Further Reading: RHS Box Blight, Walled Garden with some Box Hedging