Unveiling the Beauty of Lily of the Valley

Elegant, fragrant and steeped in timeless lore—lily of the valley or Convallaria majalis, is a flower of delicate charm and historical significance that continues to captivate gardeners and flower enthusiasts alike. Whether you’re cultivating a verdant corner of your garden, seeking a touch of nostalgia or simply love plants with a story to tell, this bloom is an irresistible treasure to grow and admire.

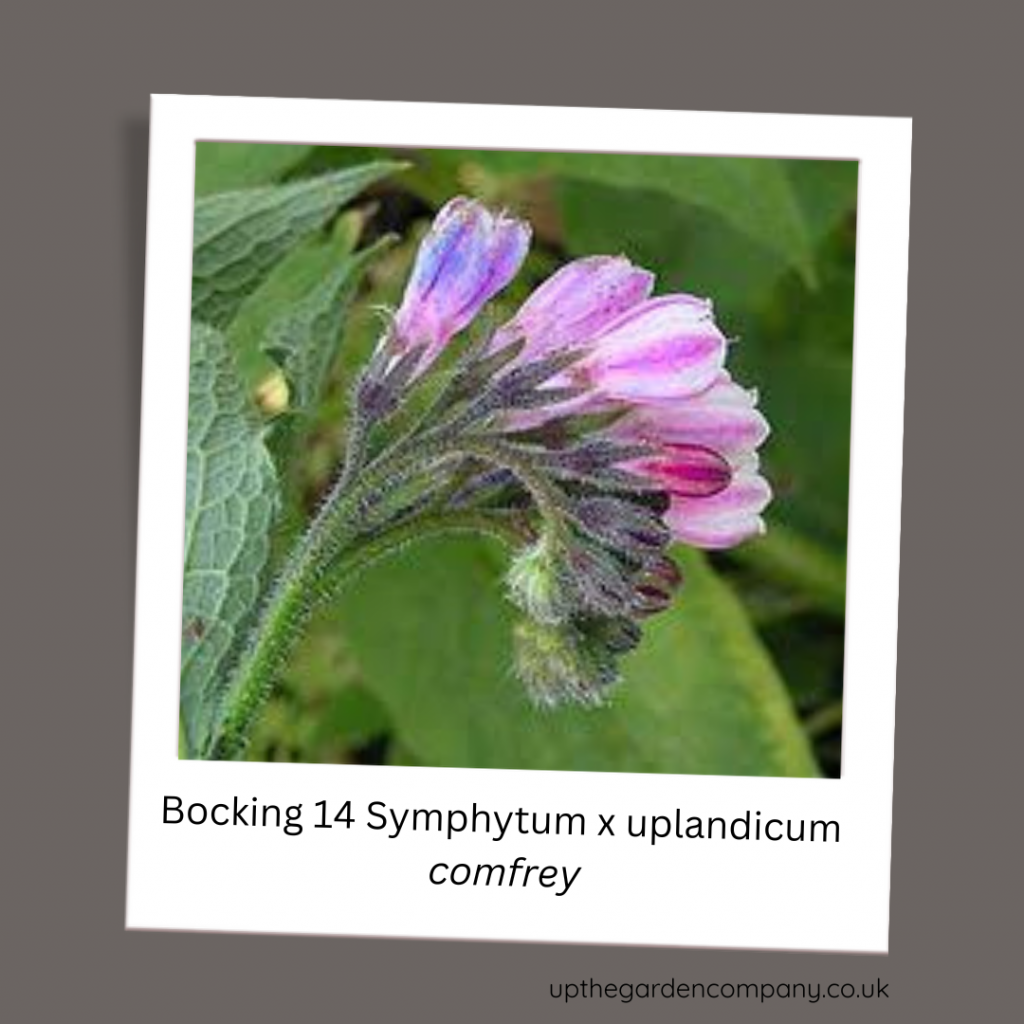
Framed Picture of Lily of the Valley.
Pretty Fluted Bell Shape Flowers with Lush Green Spire Leaves

What is the Lily of the Valley

The lily of the valley (Convallaria majalis) is a perennial plant famed for its delicate, white, bell-shaped flowers and intoxicatingly sweet fragrance. Native to the cooler regions of Europe, Asia and North America, it thrives in lush woodlands, often blanketing the forest floor in spring with its charming blooms.

This plant’s botanical name, majalis, means “belonging to May” in Latin—an ode to its traditional flowering month. It’s no wonder this delightful flower has become a symbol of spring’s renewal and fresh beginnings!

A Bloom with History and Lore

Did you know that the lily of the valley has been cherished for centuries? Its history is as rich as its fragrance.

Historical Notes

Lily of the valley was first cultivated in the Middle Ages, often grown in monastery gardens for its association with humility, purity and spirituality. It also featured prominently in royal celebrations, becoming a favourite flower of French kings and brides alike. To this day, lily of the valley is celebrated in France on May 1st, known as “La fête du Muguet” (Lily of the Valley Day), where it symbolises good luck and happiness.

Fascinating Folklore

This fairytale-like bloom is steeped in myths and stories. According to legend, lily of the valley sprang from the tears of the Virgin Mary as she wept at the crucifixion of Christ, earning it the nickname Our Lady’s Tears. Another tale tells of the flower blossoming from St. Leonard’s blood as he battled a dragon, cementing its reputation as a symbol of resilience and rebirth.

Its other endearing names—like “May bells” and “ladder to heaven”—only add to its poetic allure.

Where Does Lily of the Valley Grow Best?

If you’re thinking about adding this classic gem to your garden, here’s the good news—it’s surprisingly easy to cultivate!

Lily of the valley thrives in partial to full shade, making it perfect for those shaded spots under trees or alongside walls. It prefers moist, well-drained soil rich in organic matter, mimicking the forest floor it calls home. With the right care, this resilient plant will reward you with a carpet of enchanting blooms year after year!

How to Care for Lily of the Valley

  • Planting: This perennial grows from rhizomes called “pips.” Plant these about 1–2 inches below the soil in autumn or early spring.
  • Watering: Keep the soil consistently moist but not waterlogged. If it’s dry, your lily of the valley will thank you for a drink.
  • Spreading: Be mindful—this beauty can be a bit of a wanderer! Use barriers or pots to prevent it from spreading too aggressively.
  • Mulching: A layer of mulch helps protect the roots and retain soil moisture.

Lily of the valley is remarkably low-maintenance once established—it practically grows itself!

Benefits of Lily of the Valley

Beyond its breathtaking beauty, the lily of the valley brings a host of benefits to those who cultivate it.

1. A Fragrance Like No Other

The exquisite scent of its flowers is used in perfumes and aromatherapy, with its delicate aroma often symbolising elegance and romance.

2. Medicinal Uses

Historically, lily of the valley has been used in traditional medicine for heart health, though it is toxic if ingested without proper preparation. Always seek professional advice before considering any therapeutic use.

3. Wildlife Friendly

While the plant is toxic to humans if consumed, its blossoms attract pollinators such as bees, bringing life to your garden.

4. Decorative Appeal

From wedding bouquets to table arrangements, lily of the valley is a perennial favourite for floral decorations, bringing an air of timeless sophistication to any occasion.

Why Grow Lily of the Valley in Your Garden?

Imagine kneeling down in your shaded yard, the earthy scent of damp soil filling the air as you plant these delicate pips. Fast forward to spring and your garden is alive with tiny white bells swaying gently in the breeze, their subtle perfume conjuring joy with every whiff.

Few flowers inspire such effortless elegance and nostalgia, making lily of the valley a must-grow for any gardener or flower enthusiast looking to add timeless beauty to their outdoor space.

Your Garden, Your Story

Have you fallen in love with lily of the valley yet? Whether you’re drawn by its history, folklore or irresistible charm, we’re certain your garden will never be the same once you welcome this enchanting bloom.

Now it’s your turn—make space in your garden, nurture these magical flowers, and create a little woodland sanctuary right at home! Happy planting! 🌿

Further reading: RHS (Royal Horticultural Society), Celebrating the Primrose, Bluebells: A Deep Dive into Nature’s Most Charming Blooms, The Enigmatic Beauty of the Hellebores

Identifying and Managing Common Weeds for British Gardeners

Weeds—the uninvited guests of your garden. We’ve all been there, kneeling down to inspect a cherished flower bed, only to find an army of stubborn weeds threatening to take over. But fear not! This guide will help you identify the most common weeds found in UK gardens and provide you with practical tips for keeping them in check.

What is a weed? A plant whose virtues have never been discovered.

Ralph Waldo Emerson

Why Weeds Need Tackling

Weeds might seem harmless at first glance, but they’re fierce competitors for sunlight, water, and nutrients. Left unchecked, they can smother your prized plants and disrupt your carefully crafted garden. The good news? With a little knowledge and the right approach, you can fend them off and restore harmony to your green sanctuary.

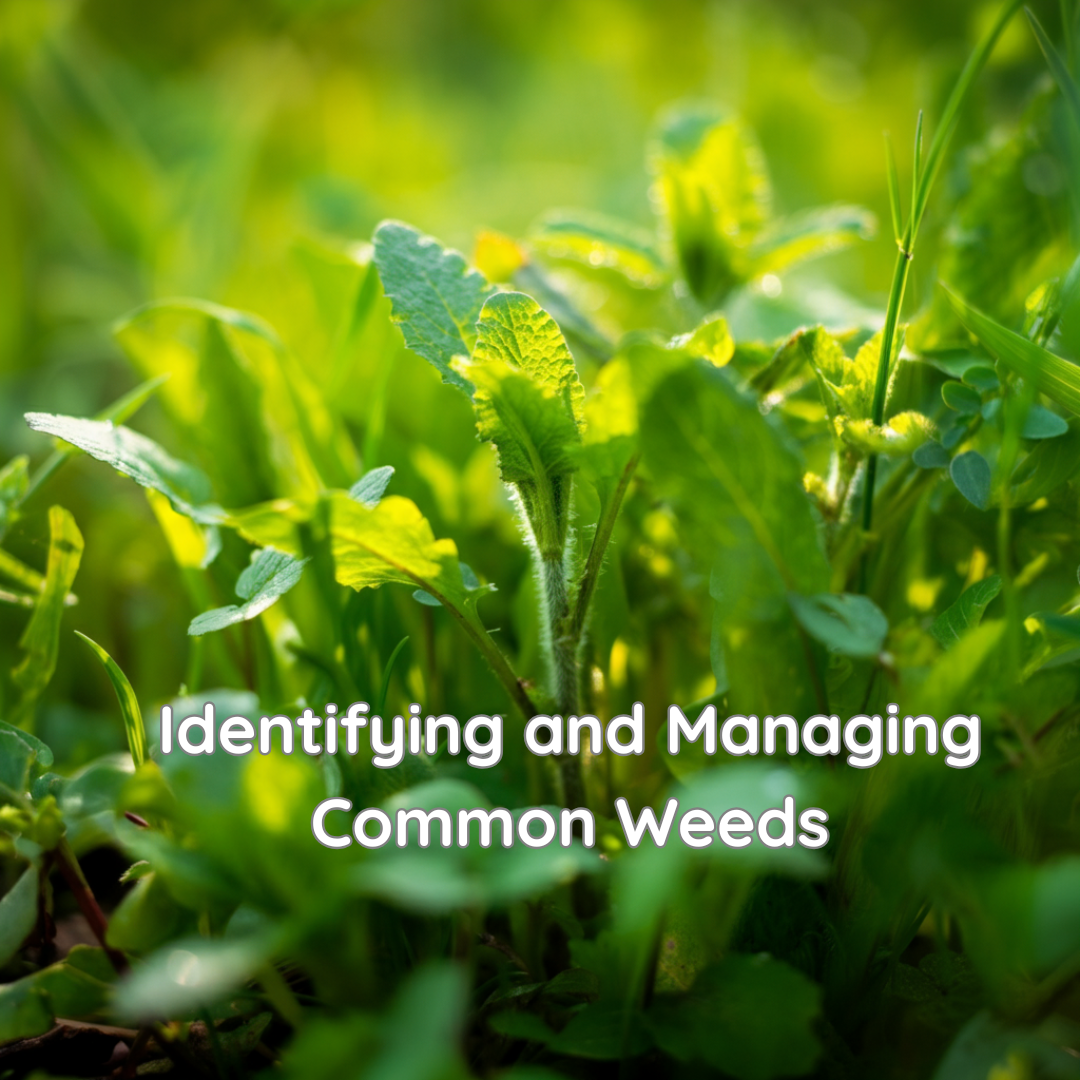
Framed Picture of Garden Weeds

Spotting the Culprits

To tackle weeds effectively, you first need to know who you’re dealing with. Here’s how to identify some of the most common troublemakers in UK gardens.

1. Dandelion (Taraxacum officinale)

With its iconic fluffy seed heads and taproot system, the dandelion is practically the poster plant for weeds. Its cheerful yellow flowers may look harmless, but they spread rapidly and dig deep into the soil.

How to Control:

  • Dig out individual plants, making sure to remove the long taproot completely.
  • Avoid disturbing the fluffy seed heads to prevent further spread.

2. Bindweed (Convolvulus arvensis)

Bindweed is the clingy friend your garden never asked for. Its twisting vines can strangle plants, and its white trumpet-shaped flowers look innocent enough, but don’t be fooled.

How to Control:

  • Pull out the vines by hand, tracing them back to their roots.
  • Consider smothering it with a garden membrane as it thrives on disturbed soil.

3. Creeping Buttercup (Ranunculus repens)

A glance might tell you “buttercup = cute,” but this cheeky weed spreads like wildfire across damp, compacted soil. Its golden-yellow flowers and sprawling runners rapidly colonise your lawn and beds.

How to Control:

  • Improve soil drainage to make conditions less appealing.
  • Remove the runners and roots manually to stop it in its tracks.

4. Chickweed (Stellaria media)

This small, pale-green plant seems harmless, but chickweed grows quickly and produces seeds with astonishing speed. It thrives in the cooler months, making early spring and autumn prime time for its takeover efforts.

How to Control:

  • Pull it up before it flowers to curb seed production.
  • Mulch bare soil to suppress future growth.

5. Ground Elder (Aegopodium podagraria)

Known as “the bane of gardeners,” ground elder forms a dense mat of pretty light-green leaves, choking out any competition. While its young leaves are technically edible, it’s best kept out of your borders.

How to Control:

  • Dig deep to remove all root fragments.
  • Persist, as any small piece left behind can regrow.

Weed Control That Works

Now that you know your foes, it’s time to gear up for battle! Here are some effective strategies for keeping weeds under control:

1. Smother Them

Cover bare soil with mulch, landscape fabric or even cardboard to block sunlight and prevent weed seeds from germinating.

2. Hand Weeding

There’s something deeply satisfying about pulling out weeds by the root. Just make sure to strike after a rainfall, when the soil is soft, to get roots out cleanly.

3. Use a Hoe

For those weeds sprouting in open patches of soil, a sharp hoe can slice them down at the base—quick, effective and oddly enjoyable!

4. Improve Soil Health

Healthy, well-draining soil creates an environment where your ornamental plants can thrive but weeds struggle to gain a foothold.

5. Try Weed Membranes

Lay down weed-suppressing membranes when planting new beds. They allow water and nutrients through while seriously dampening weed growth.

Prevention is Key

The best defence against weeds is a proactive approach. Keep an eye out for early growth and nip it in the bud (literally). And don’t forget—creating dense planting schemes can crowd out weeds before they get a chance to take root.

Make Weeding a Breeze

Weeding doesn’t need to be a dreaded chore. By identifying and targeting the right weeds, and using smart strategies, you’ll keep your garden in tip-top shape.

Grab your gloves, arm yourself with knowledge and reclaim your garden from those pesky invaders. Your daisies, dahlias and daffodils will thank you!

Want More Expert Tips?

Subscribe to our newsletter for seasonal advice, gardening hacks, and more tips for tackling stubborn weeds. Happy gardening!

Further Reading: How to Weed your Garden

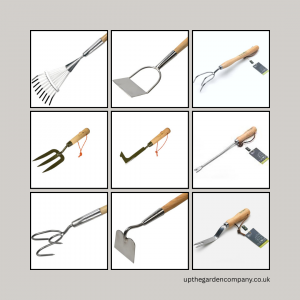
Take a look at our weeding tools here

Get Daily Gardening Inspiration: Follow us on Instagram

How to Weed your Garden

A beautiful garden begins with a commitment to one of the most vital gardening tasks—weeding. Whether you’re an experienced gardener or just dreaming of vibrant flower beds, knowing how to manage those persistent weeds is the key to a flourishing garden. Let’s dig into all you need to know to tackle weeds confidently and create a thriving outdoor space you’re proud of!

Framed Image of a Burgon & Ball Wooden Garden Trug filled with weeds and a Burgon & Ball Weeding Finger.

What Is Garden Weeding?

Weeding is the process of identifying and removing unwanted plants (weeds) from your garden. These invasive plants compete with your cherished flowers, herbs and vegetables for vital resources like sunlight, water and nutrients. Left unchecked, weeds can overrun your garden and stunt the growth of your prized plants.

But there’s more to it than just pulling them out—it’s about understanding their impact and knowing how to remove them effectively while ensuring they don’t return.

How Do You Weed a Garden?

Weeding your garden can be simple and therapeutic when approached the right way. Here’s a step-by-step breakdown to help you get started:

  1. Prepare Your Tools:

Equip yourself with essentials like gardening gloves, a hand trowel, a hoe, a bucket (for collecting the weeds) and a kneeling pad for comfort.

  1. Identify the Weeds:

Learn to spot weeds among your plants. They often look different from your cultivated plants, but taking time to learn the common garden invaders helps ensure you don’t remove desirable plants.

  1. Loosen the Soil:

Moist soil makes weed removal much easier. Try weeding a day after rain or lightly water the area before starting.

  1. Remove Weeds by Hand or Tools:

Grip the weed firmly at its base to ensure its root comes out. For tougher weeds, use a trowel or hoe to dig around the base and dislodge the roots.

  1. Dispose of the Weeds:

Avoid leaving uprooted weeds in your garden—they can regrow! Add them to your compost heap unless they’ve gone to seed, as that can spread them further.

  1. Maintain Regularly:

Set aside time each week for quick weeding sessions. Regular maintenance helps prevent your garden from being overrun.

Top Tips for Stress-Free Weeding

Want to make the task easier and more effective? Here are tips every gardener should know:

  • Weed Early and Often:

Young weeds are easier to remove and clearing them regularly ensures they don’t gain a foothold.

  • Mulch for Defence:

A layer of organic mulch around your plants blocks sunlight from reaching weed seeds, preventing them from growing.

  • Focus on Roots:

Pulling off the top isn’t enough—leaving roots behind leads to regrowth. Always aim to remove the entire plant.

  • Weed After Rain:

Wet soil loosens weeds, making it easier to get them out by the roots (and saving effort!).

  • Know Problem Weeds:

Some weeds are exceptionally persistent (like bindweed or dandelions), requiring special attention. Learn to recognise them to act quickly.

Why Is It Important to Weed Your Garden?

The task may seem tedious, but the benefits of consistent weeding are immense. Here’s why it’s worth the effort:

  • Healthier Plants:

Weeds compete fiercely for water, nutrients, and sunlight, leaving your plants weaker and less productive. Clearing weeds lets your garden grow to its full potential.

  • Better Aesthetics:

A weed-free garden looks tidy and inviting, becoming a serene space you enjoy spending time in.

  • Disease Control:

Weeds can host pests and diseases that may spread to your plants. Keep them in check to avoid infestations and infections.

  • Improved Soil Quality:

Certain weeds can rob the soil of its nutrients. Regular removal keeps your garden soil rich and fertile.

  • A Sense of Accomplishment:

Few tasks match the satisfaction of seeing a weed-free space, knowing it’s a result of your dedication. Plus, it’s great light exercise too!

Empower Your Garden Today

Armed with the right knowledge and tools, you’re ready to win the battle against weeds and nurture a thriving, vibrant garden. By making weeding part of your gardening routine, you’ll see the transformation—healthier plants, stunning beds and the joy of knowing you’re in full control.

Take a look at our fabulous weeding tools here

Further Reading: No-Dig Gardening, Discover Your Soil Type: A Gardener’s Guide, Ways to Improve your Soil

For Daily Inspiration: Follow us on Instagram

Top 10 Garden Birds in the UK (and How to Spot Them)

Step outside, take a deep breath and listen. That chirping, trilling and tweeting you hear? It’s the joyful soundtrack of garden birds bringing colour, life and melody to your back garden. Grab your binoculars and your favourite brew because we’re about to explore 10 of the UK’s favourite garden birds—their characteristics, fascinating facts and tips on how to identify them.

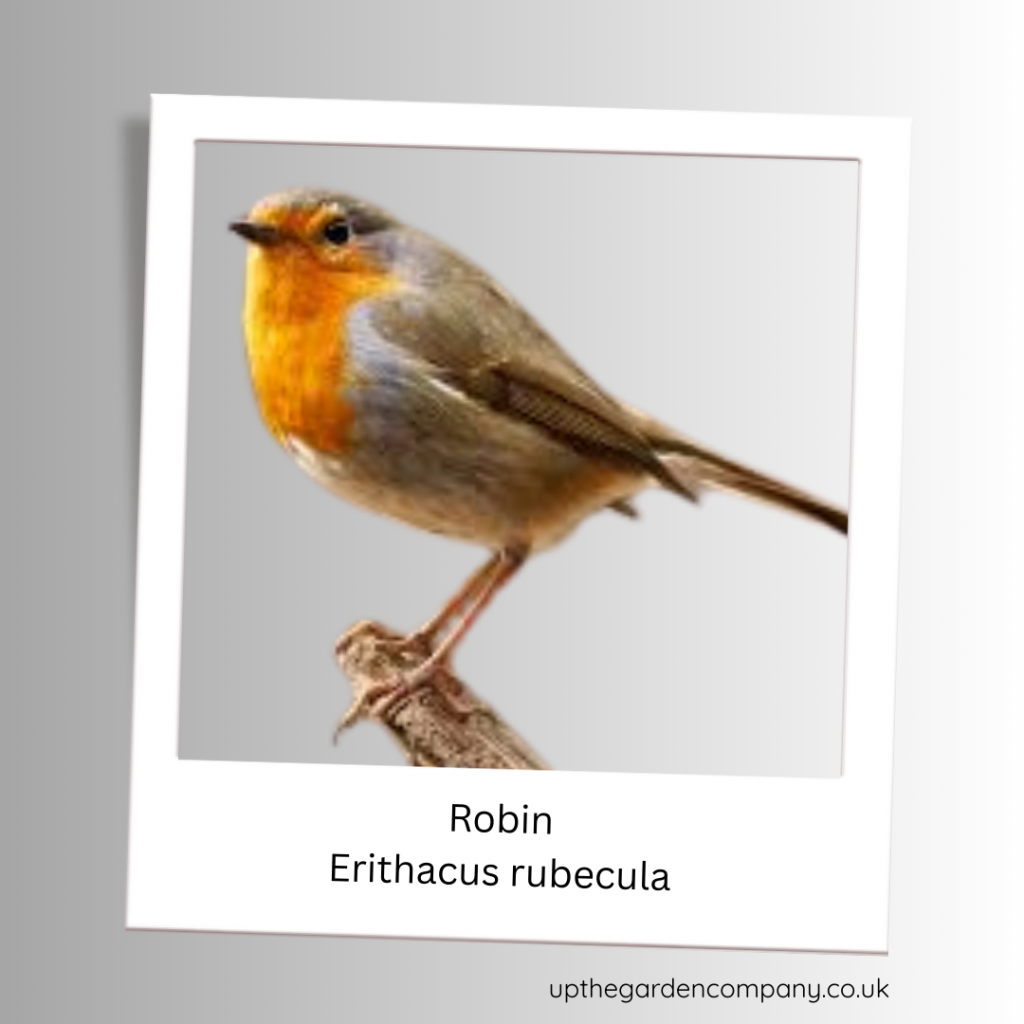
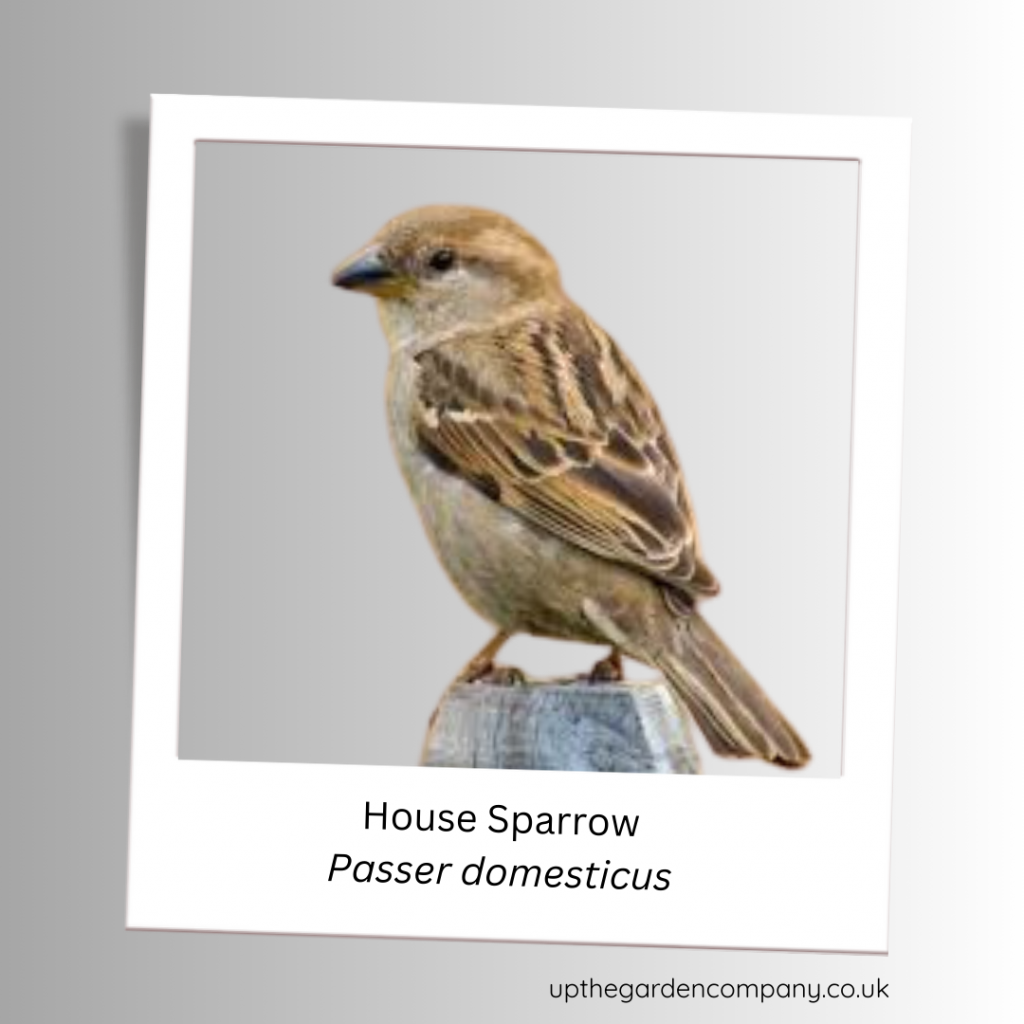
Framed Image of Garden Birds, Two Robins and a House Sparrow

1. Robin

With its distinctive bright red breast, the robin is undoubtedly an icon of British gardens—and a staple on our Christmas cards. These bold little birds are known for their curious nature and it’s not uncommon to find one perched nearby as you garden.

How to Spot:

  • Size: About 14cm long, with a small, round body.
  • Colours: Bright red breast, brown back and a white belly.
  • Fun Fact: Robins are fiercely territorial and will defend their patch year-round.

Tip to Attract Robins:

They adore mealworms and suet pellets. Place these on a bird table or the ground where they feel safe to feed.


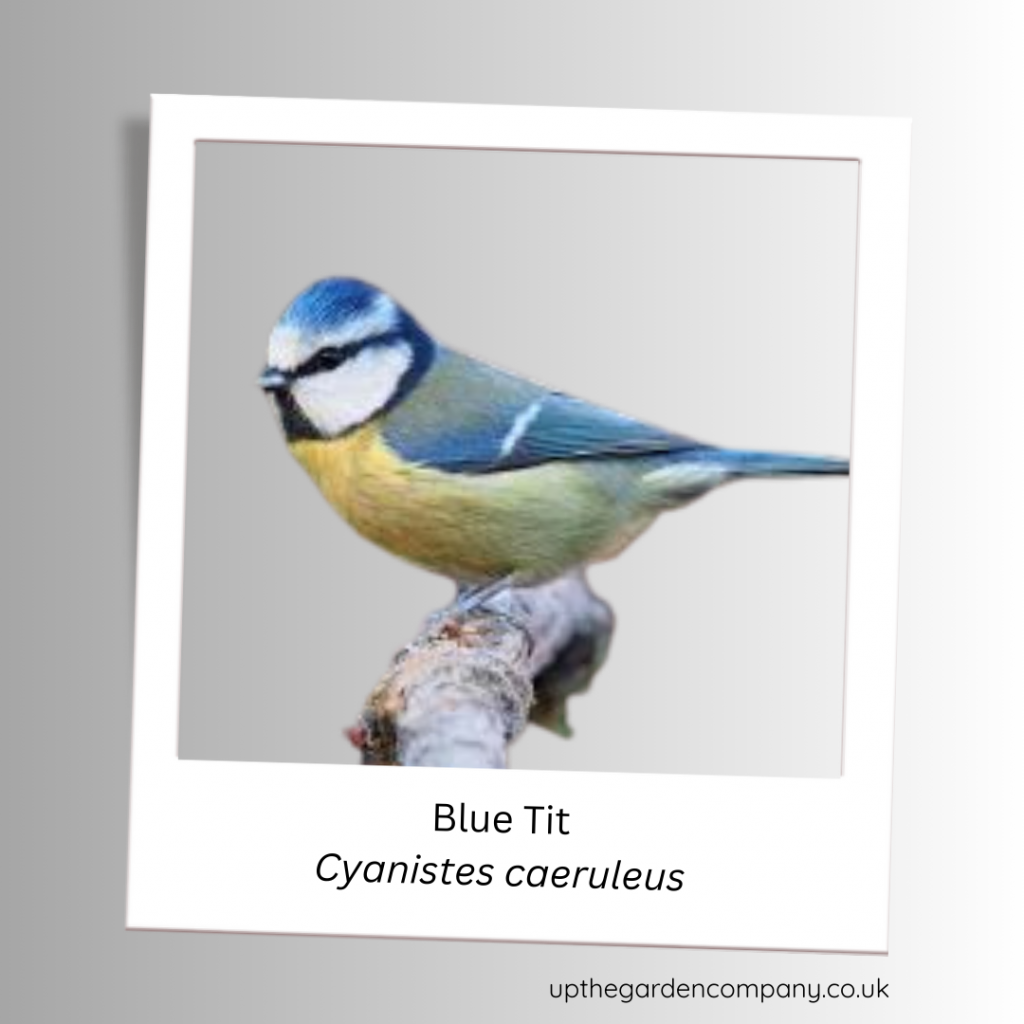
2. Blue Tit

A vibrant splash of blue and yellow, the blue tit is a cheerful addition to any garden. Agile and acrobatic, they’re often seen hanging upside down from feeders as they search for snacks!

How to Spot:

  • Size: Tiny, around 12cm long.
  • Colours: Blue cap, yellow underparts and greenish back.
  • Fun Fact: A single blue tit can feed its chicks up to 1,000 caterpillars a day!

Tip to Attract Blue Tits:

Offer peanuts, sunflower seeds and fat balls. They also love nesting boxes in spring.


3. Great Tit

Larger than its cousin the blue tit, great tits are equally colourful and energetic. Their two-syllable call, often likened to the phrase “teacher-teacher,” is a familiar sound in gardens.

How to Spot:

  • Size: Around 14cm long, noticeably larger than the blue tit.
  • Colours: Black head, white cheeks, green back and vibrant yellow belly with a black stripe.
  • Fun Fact: Great tits are highly adaptable and have learned to open milk bottle tops for cream!

Tip to Attract Great Tits:

Fill your feeders with mixed seeds, and ensure nesting sites are available.


4. House Sparrow

Once a common sight everywhere, house sparrow numbers have sadly declined, making their appearance even more precious. These sociable, chirpy birds often flutter in groups.

How to Spot:

  • Size: About 16cm, with a stocky build.
  • Colours: Males have a grey cap, brown back and a black bib; females are more uniformly brown.
  • Fun Fact: House sparrows are communal birds and love company—they’ll even bathe together!

Tip to Attract House Sparrows:

Provide seeds and grains in a ground feeder and leave a bird bath for them to splash in.


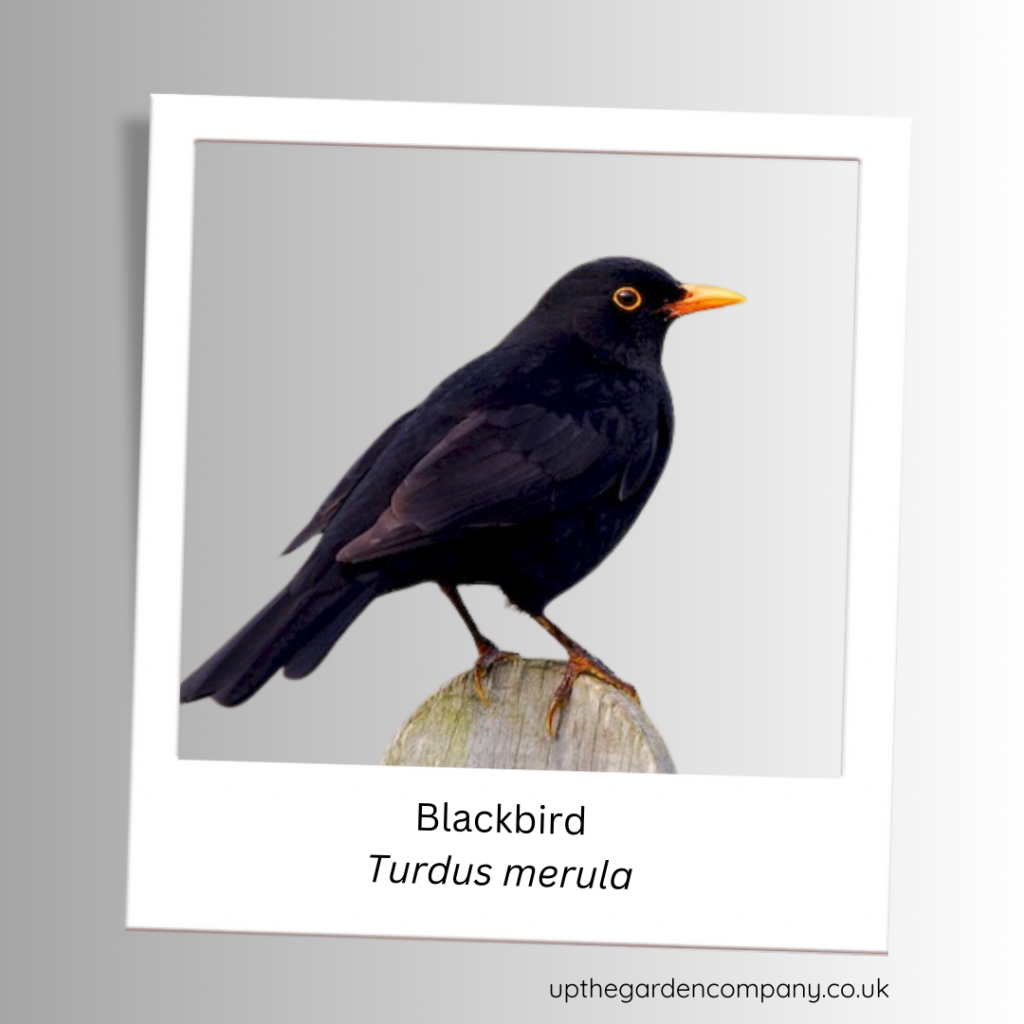
5. Blackbird

The rich, melodic song of the blackbird is unmistakable. While males sport jet-black feathers and bright yellow beaks, females are brown and speckled.

How to Spot:

  • Size: Approximately 25cm.
  • Colours: Males are black with yellow beaks; females are brown with speckles.
  • Fun Fact: Blackbirds are early risers; they’re often the first to sing in the morning!

Tip to Attract Blackbirds:

Offer fruits like apples and raisins. They also love earthworms on the lawn.


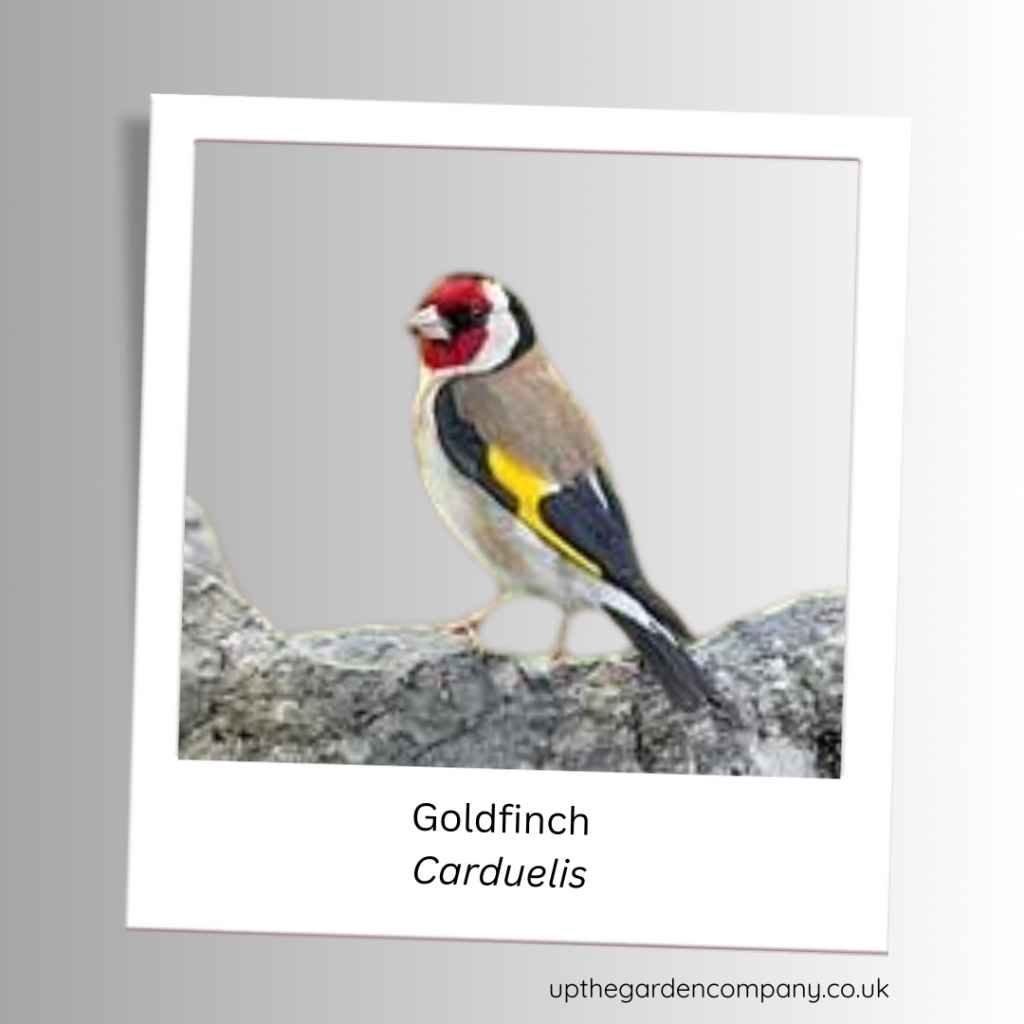
6. Goldfinch

With its striking red face and vibrant yellow wing bars, the goldfinch is a true garden gem. Their tinkling, melodic song matches their colourful appearance.

How to Spot:

  • Size: Small, at around 12cm.
  • Colours: Red face, white cheeks, golden wings and brown body.
  • Fun Fact: Goldfinches are fondly referred to as “charms,” thanks to their cheerful calls and sociability.

Tip to Attract Goldfinches:

Nyjer seeds are their absolute favourite—use a specialist feeder to keep them coming back.


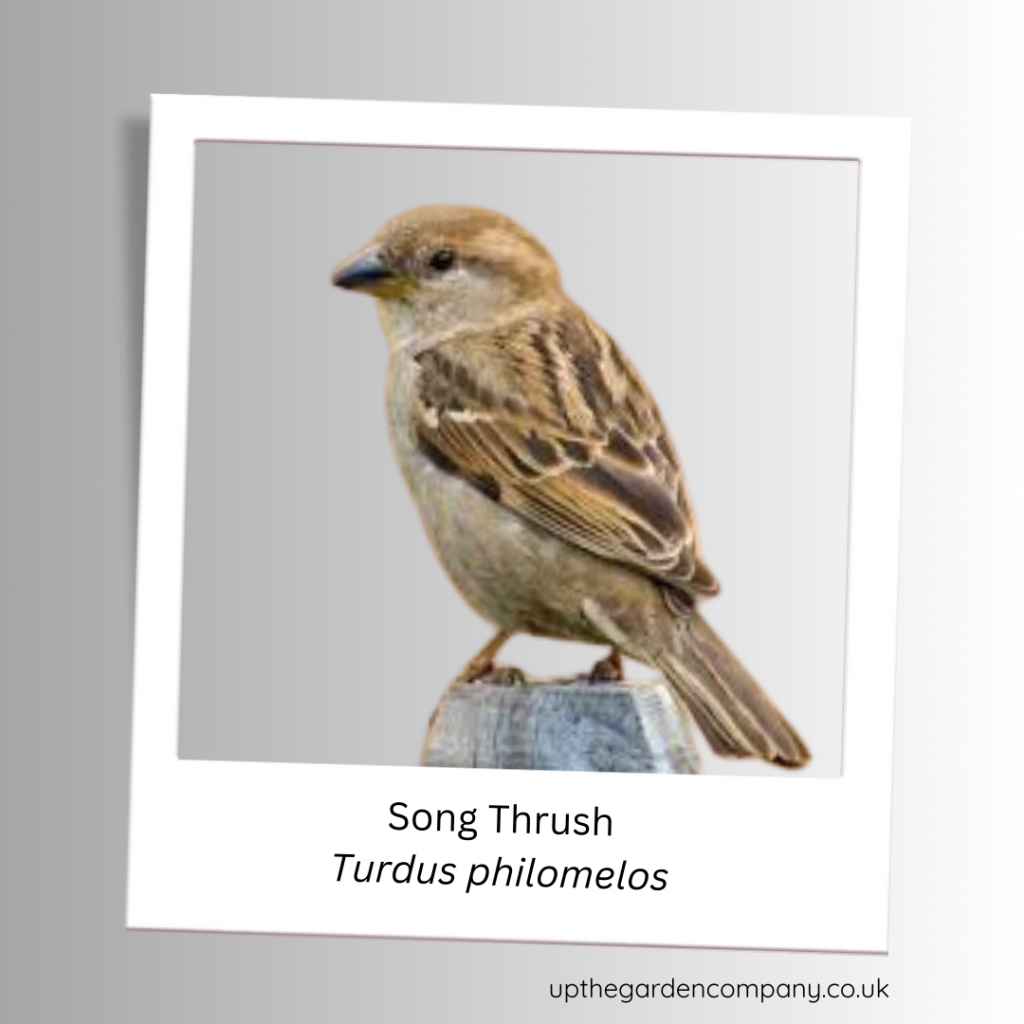
7. Song Thrush

Known for its beautiful, repetitive songs, the song thrush brings poetry to any garden. These medium-sized birds are experts at cracking snail shells to feast on the goodies inside.

How to Spot:

  • Size: About 23cm, similar to a blackbird.
  • Colours: Brown with darker streaks and a cream belly.
  • Fun Fact: Thrushes use rocks as anvils to break open snail shells.

Tip to Attract Song Thrushes:

Leave out fruit and worms and keep an untidy corner in your garden for foraging.


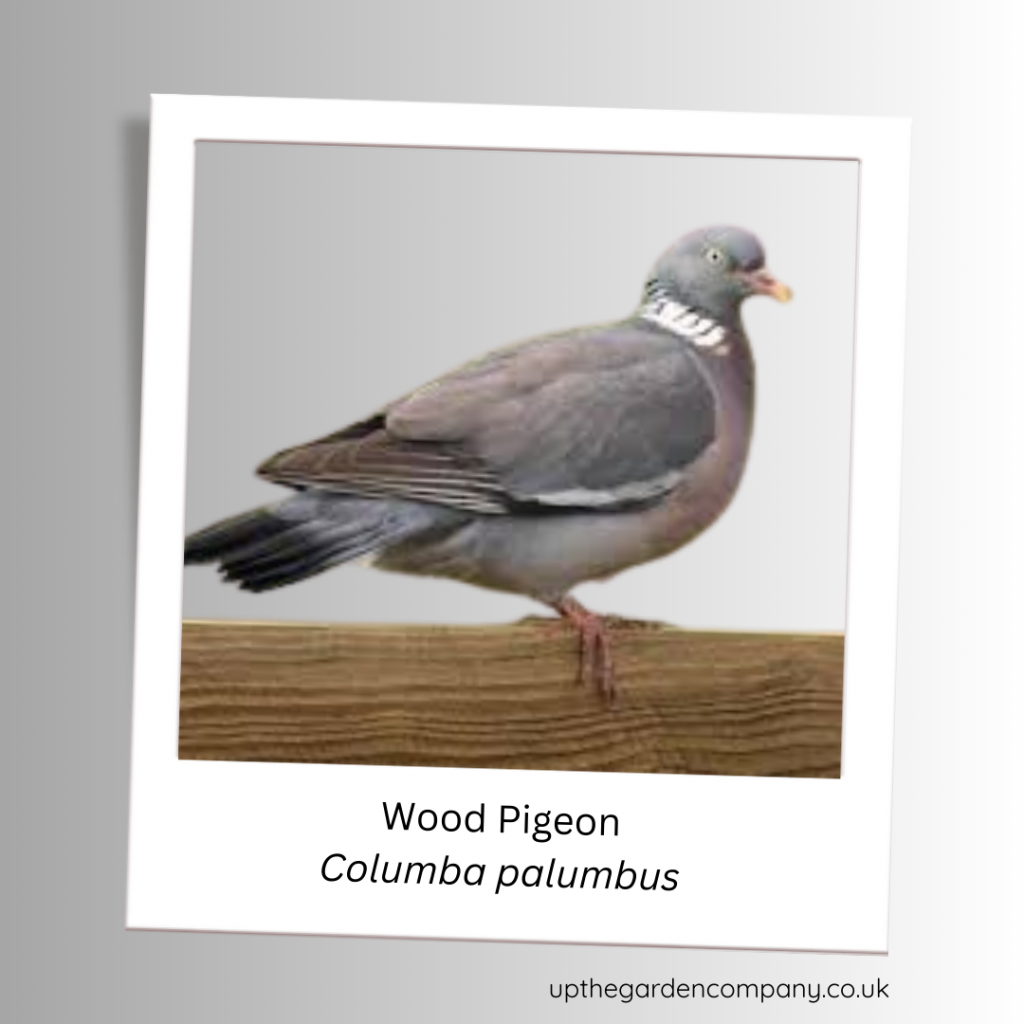
8. Woodpigeon

Familiar and often underestimated, woodpigeons are the largest of the garden birds. Their gentle cooing and distinctive white neck patch make them easy to identify.

How to Spot:

  • Size: A hefty 40cm.
  • Colours: Grey body, pinkish chest, white neck patch, and green iridescence.
  • Fun Fact: A woodpigeon’s diet is incredibly varied—they’ll happily munch on berries, seeds and even crops.

Tip to Attract Woodpigeons:

Scatter seeds and grains on the ground, as they rarely use hanging feeders.


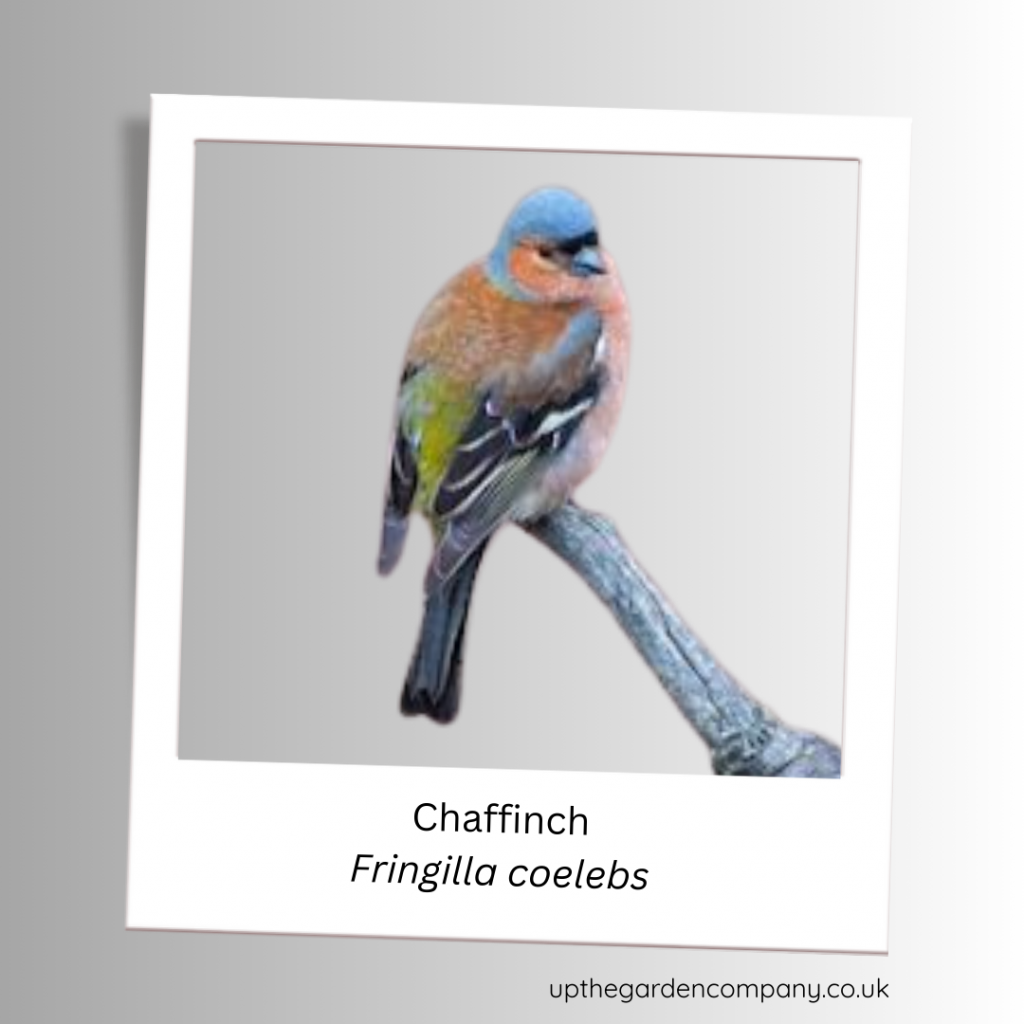
9. Chaffinch

Chaffinches are one of the UK’s most colourful garden birds. The males, with their bold pink breasts and blue-grey caps, are particularly eye-catching.

How to Spot:

  • Size: Medium, at around 15cm.
  • Colours: Males have pinky-orange underparts, females are more muted in browns.
  • Fun Fact: Their zippy song often ends with a flourish, earning them the nickname “Cock Robin’s Footman.”

Tip to Attract Chaffinches:

Sunflower seeds and peanuts are a huge hit with these feathered friends.


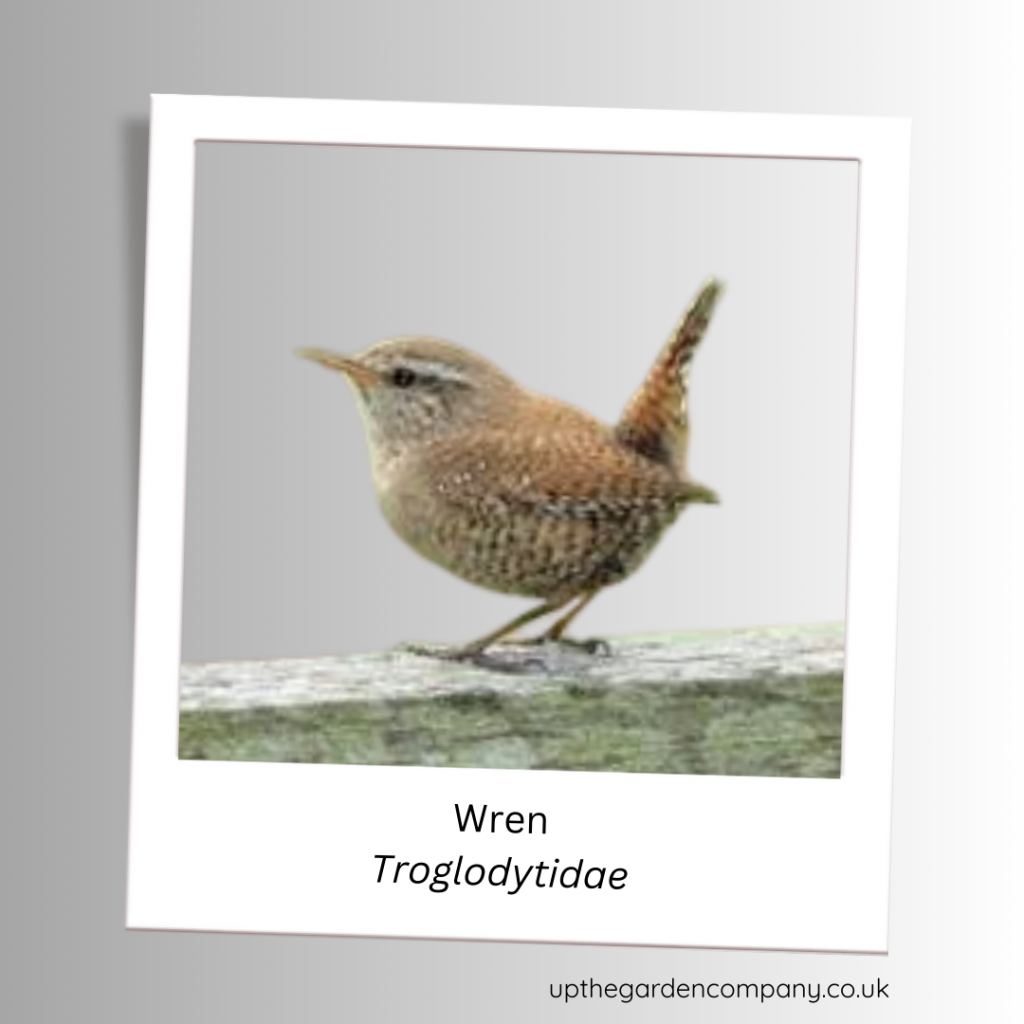
10. Wren

Last but by no means least, the tiny wren punches well above its weight. Despite its small size, the wren’s song can be incredibly loud, filling your garden with lively energy.

How to Spot:

  • Size: Tiny at just 10cm.
  • Colours: Brown with a perky tail often held upright.
  • Fun Fact: The wren is one of the most common birds in the UK and holds a special place in folklore.

Tip to Attract Wrens:

Offer insects and keep a cosy shrub area for them to hide in.


Final Thoughts & Your Call to Action

Next time you step into your garden, take a moment to observe the feathered visitors flitting about. Each bird tells a story—adding colour, music and wonder to our daily lives.

Want to attract even more birds? Add a bird feeder, keep a water source fresh, and plant native shrubbery for nesting.

Now it’s over to you! Keep a notebook to record your sightings or invest in a pair of binoculars for better views. The RSPB’s free bird ID app can also help you learn as you go.

Start your birdwatching adventure today, and who knows? You might just find a “charm” of goldfinches or a curious robin watching you back! 🐦

Further Reading: RSPB, RSPB Birdwatch 2025, How to Create and Maintain a Garden Pond, Save the Bees Protect the Planet Support the Soil Association’s Neonicotinoid Campaign

The Snowdrop: A Symbol of Hope and Resilience

The Snowdrop is a delicate yet powerful flower adored by gardeners, nature enthusiasts and flower lovers alike. Beneath its unassuming appearance lies a world of fascinating history, symbolic significance and natural charm.

Framed Image of Snowdrops with a bench.

Botanical Name

The Snowdrop’s botanical name is Galanthus. Derived from the Greek words “gala,” meaning milk and “anthos,” meaning flower, it perfectly describes the snowdrop’s pure white, drooping blossoms. Simple yet striking, this plant belongs to the Amaryllidaceae family and is a favourite in gardens all over Europe and beyond.

A Peek into Its History

Did you know that snowdrops have been captivating hearts for centuries? Native to Europe and the Middle East, these beautiful blooms are thought to have been introduced to the UK by monks during the early 15th century. They were planted in monastery gardens as they were often associated with purity, hope and new beginnings—a fitting sentiment for the post-winter seasons.

The snowdrop has also been revered for its symbolism through the ages. From Victorian floriography (where it signified consolation and hope) to modern times, it has always been a reassuring sign that spring is just around the corner.

When Does the Snowdrop Bloom?

Snowdrops are among the earliest bloomers of the year and often herald the end of winter. These resilient plants poke through the frost, treating us to their nodding white flowers between January and March, depending on the climate. If you’ve been longing to bring life back to your garden during the dreary winter months, snowdrops are your ideal companions. Their ability to bloom despite the cold is a testament to their strength and courage—a flower for all seasons of spirit.

The Benefits of the Snowdrop

Beyond their beauty, snowdrops have practical merits too! They are low-maintenance plants, ideal for adding charm to any garden with minimal effort. Perfect for both wild and formal gardens, snowdrops thrive in well-drained soil and partial shade, under trees or shrubs. Bring out their best by planting them in groups for that “carpet of white” effect.

But that’s not all—did you know that snowdrops have inspired breakthroughs in modern medicine?

A compound called galantamine, derived from snowdrops, is used to treat symptoms of dementia and Alzheimer’s disease, making this dainty flower not just gorgeous but also groundbreaking.

Snowdrops in Lore, Tales, and Poetry

The snowdrop is steeped in stories and symbolism across cultures. Among housewives’ tales, the snowdrop was often seen as a charmed flower—harbingers of better days. According to one charming old tale, the snowdrop was created by an angel to bring comfort to Eve after she was banished from the Garden of Eden, symbolising warmth and hope after sorrow.

Poets, too, have long been enchanted by the snowdrop. The Victorian poet Walter de la Mare celebrated its beauty in his poem “Snowdrop”:

*”The snowdrop, Winter’s timid child,

Awakes to life, bedew’d with tears.”*

Even today, snowdrops inspire creativity and admiration in those lucky enough to behold them.

Common Names for the Snowdrop

The snowdrop’s charm is echoed in its array of poetic common names. Whether referred to as the Candlemas Bell, February Fair-Maid or White Ladies, each name brings an air of mystery and allure to this winter wonder.

Nurture Hope in Your Garden

Are you ready to welcome the simple elegance of snowdrops into your life? Start planning your winter garden and plant these stunning bulbs in the autumn. Mix them with companions like crocuses, hellebores or daffodils for a dazzling display that carries hope through the coldest months.

Snowdrops remind us that even in the bleakest moments, beauty and renewal are possible. Bring this inspiring symbolism to your garden and your heart.

Further Reading: RHS Snowdrops – Galanthus, The Enchanting World of the Winter Aconite

How to Lift and Divide Perennials

Are your garden beds feeling a little overcrowded? Have your beloved plants stopped flowering as they used to? If so, it might be time to roll up your sleeves, grab your trusty tools, and learn the art of lifting and dividing perennials. This guide will walk you through it from start to finish, making the process enjoyable and rewarding.

What is a Perennial?

First things first—what exactly is a perennial? Perennials are plants that live for more than two years, returning stronger and lusher every season. Unlike annuals that need to be replanted each year, perennials are your garden’s reliable workhorses, gracing your outdoor space with repeating cycles of blooms, foliage and beauty. Popular examples include daylilies, hostas, peonies and irises.

How to Know When a Perennial Needs to Be Lifted and Divided

It’s not always obvious when your perennials need some love, but a little observation will give you all the clues you need. Here’s when it’s time to act:

  • Overcrowding: If the plant has expanded and is encroaching on its neighbours, it’s a good indicator.
  • Declining Blooms: Have the flowers become fewer or smaller than they used to be?
  • Dead Centres: If the middle of the plant looks sparse while the growth is concentrated on the edges, it’s crying out for division.
  • Stunted Growth: If the plant seems stagnant despite your TLC, it might need some extra room to thrive.

Why Lift and Divide?

You might wonder—why go through the trouble? Lifting and dividing perennials isn’t just for the aesthetics; it’s a vital gardening practice. Here’s why it’s worth your time and effort:

Benefits

  • Rejuvenation: Dividing gives the plant new energy, encouraging healthier growth and more vibrant blooms.
  • Space Optimisation: Overgrown perennials crowd their neighbours, competing for water and nutrients. Division ensures all plants get their fair share.
  • Propagation: One plant becomes several! Divide and conquer to spread beauty across your garden or share with friends.
  • Cost Savings: Gain new plants without spending a single penny—your garden budget will thank you.

Disadvantages

Of course, no process is without its downsides. While this gardening technique is incredibly beneficial, keep these considerations in mind:

  • It requires some physical effort—don’t forget to stretch beforehand!
  • Initial stress on the plant may cause it to take a season or two to reach its full glory again.

But trust us, the long-term gains far outweigh these minor downsides.

Step-by-Step Guide to Lifting and Dividing Perennials

Are you ready to dig in? These simple steps will guide you through the process.

Step 1: Choose the Right Time

The best time to lift and divide perennials is during their dormant phase—either early spring or autumn. This timing minimises plant stress and maximises recovery.

Step 2: Prepare Your Tools

Get your gardening kit ready:

  • A sharp spade or garden fork
  • Gardening gloves
  • A clean knife or pruning shears
  • Compost or organic matter for replanting

Step 3: Dig Up the Plant

Gently dig around the plant, starting a few inches away from the base to avoid damaging roots. Carefully lift the clump from the soil.

Step 4: Divide the Clump

Inspect the root ball and decide how many sections you want to create. Use your hands to pull the clump apart or a knife to cut through tougher roots. Aim for sections with healthy roots and at least one growing shoot.

Step 5: Replant Immediately

Prepare the new planting spots with fresh compost and organic matter. Replant the divided sections at the same depth as before, ensuring the roots are well-covered.

Step 6: Water Thoroughly

Give your newly planted perennials a generous drink of water to help them settle into their new homes. Add mulch around the base for extra protection and moisture retention.

Plants to Leave Alone

Not all perennials benefit from being lifted and divided. Plants with taproots, like lupins and poppies, don’t take kindly to this practice and can suffer damage. Similarly, perennial shrubs like lavender and rosemary are better off left intact.

Nurture Your Garden’s Future

By lifting and dividing perennials, you’re not just improving your garden’s immediate landscape—you’re investing in its long-term health and vibrancy. Imagine a garden bed brimming with thriving perennials, each one a testament to your care and effort.

Now it’s time to grab your gloves, sharpen your tools, and bring new energy to your garden. Transform your outdoor space today and watch your efforts bloom into a lush, colourful paradise! 🌿

Further Reading: The Magic of Perennials

For Daily Gardening Inspiration – Follow us on Instagram

Revolutionising Home Composting: The Wormery Way

Have you ever wished for a more sustainable approach to handle kitchen scraps while enriching your garden soil? Say hello to the wormery, a game-changer for home composting enthusiasts, sustainability advocates and green thumbs everywhere.

Picture this – an elegant bin teeming with industrious worms transforming your kitchen waste into nutrient-rich compost, right in the comfort of your own home.

What is a Wormery?

At its heart, a wormery is a compact, odour-free composting system that uses worms to break down organic waste. Unlike traditional compost heaps, wormeries are specifically designed for small spaces, making them perfect for urban gardeners or anyone short on outdoor space.

These hardworking worms (typically tiger worms or red wigglers) effortlessly devour fruit scraps, veg peelings, coffee grounds, and even cardboard. The results? A rich, dark compost and “worm tea”—a liquid fertiliser that’s pure magic for your plants.

Why Worm Composting is a Game-Changer

1. A Sustainable Solution for Waste Management

The statistics are staggering—over 30% of household waste is organic material. Instead of sending it to landfill, where it creates harmful greenhouse gases, why not convert it into valuable compost? By starting a wormery, you’re directly reducing your carbon footprint and contributing to a greener planet.

2. Nourish Your Garden Soil

Worm compost, often called “black gold,” is packed with beneficial microbes, nutrients and minerals that supercharge your soil. It improves structure, boosts plant growth and even helps retain moisture—ideal for sustainable gardening practices.

3. Perfect for Small Spaces

Live in a flat or have a postage-stamp-sized garden? No problem! Wormeries are compact, neat and odourless, making them an excellent option for anyone with limited outdoor space.

4. An Educational Experience

Managing a wormery is not only practical but also a fascinating experience for adults and kids alike. It’s a brilliant way to learn about ecosystems, decomposition, and sustainable living.

How to Get Started with Worm Composting

Step 1: Choose Your Wormery

Wormeries come in various sizes and designs. Whether a single-tier bin or a multi-tray tower, pick one that suits your space and needs. Many models are designed for beginners and come with everything you need to get started, including a supply of worms.

Step 2: Set Up Your Wormery

Fill the base with damp bedding material like coir or shredded newspaper to create a cosy environment for your worms. Then, introduce your red wigglers or tiger worms to their new home.

Step 3: Feed Your Worms

Worms thrive on a diet of fruit and veg scraps, coffee grounds, tea bags (without plastic), and cardboard. Avoid feeding them dairy, meat, oily foods, or citrus fruits, which can upset the balance of your wormery.

Step 4: Maintain the Balance

Keep your wormery in a sheltered, shaded spot. Regularly check the moisture levels—your bedding should feel as damp as a wrung-out sponge. Too wet? Add shredded newspaper. Too dry? Sprinkle a little water.

Step 5: Harvest the Compost

After a few months, your worms will gift you rich, crumbly compost. Simply scoop it out, use it to improve your soil, or sprinkle it around your plants. Don’t forget to collect the worm tea and dilute it with water for an incredible liquid feed.

Tips & Tricks to Master Worm Composting

  • Start Slowly: Don’t overwhelm your worms with too much food at the start. Give them time to adjust and reproduce.
  • Add Variety: Mix different waste types for a balanced diet that keeps your worms happy and healthy.
  • Monitor Odours: If your wormery starts to smell, it’s time to check for food overload or poor ventilation.

Wormery Myths—Busted!

Think worm composting sounds messy, smelly, or complicated? Think again! Wormeries are designed to be clean and odour-free, provided they’re well-maintained. Plus, with their minimal space requirements, they’re perfect for any eco-conscious household.

Join the Worm Composting Movement!

Imagine walking through your garden, revelling in the knowledge that every thriving plant has been touched by the magic of your wormery. Worm composting isn’t just about recycling waste—it’s about creating a sustainable cycle of giving back to the earth.

Are you ready to revolutionise your composting routine and transform your gardening game? Start small, start now—your worms (and planet) will thank you.

Together, let’s dig into sustainable gardening with the wormery way! 🌱


Further Reading: How to Make Your Own Liquid Fertiliser from Comfrey, How to Start Composting at Home, How to Discover Your Soil Type (And Why It Matters)

How to Protect Your Soil in Winter

Picture this—lush, vibrant soil teeming with life, ready to nourish your spring garden to dazzling heights. Sounds dreamy, right? But here’s the thing—how your soil performs in spring depends on how you treat it in winter. Even during those frosty months, your soil needs some tender, loving care.

Winter soil protection is essential for maintaining fertility, preventing erosion and setting the stage for a bountiful growing season. By making a few simple changes to your gardening routine, you’ll protect your soil and foster a healthier, happier garden. Here’s how to get started.

1. The Power of Covering Bare Soil

One of the most important steps in winter soil care is offering your soil a protective blanket. Why? Bare soil is at the mercy of harsh weather—think wind erosion, rain runoff and nutrient leaching. Without anything shielding it, essential nutrients can dwindle, leaving your soil depleted before spring even arrives.

How to Cover Your Soil

  • Mulch It Up: Spread organic mulch like straw, wood chips or shredded leaves over exposed soil. Not only does this protect against erosion, but it also locks in moisture and gradually adds nutrients as the mulch breaks down.
  • Plant Cover Crops: Known as “green manure,” cover crops like clover, rye or winter wheat prevent erosion while enriching your soil with organic matter and nitrogen.
  • Use Fabric or Tarps: For a temporary solution, breathable garden fabric or tarps can help protect bare patches from rain and wind.

Visualise it—a snug, cosy covering keeping your soil safe from the elements while nature works its magic beneath.

2. Avoid Disturbing the Soil – Protect Those Microbes!

Did you know your soil is alive? It’s a bustling microcosm filled with earthworms, microbes and fungi working tirelessly to build a healthy ecosystem. Winter is their downtime—a period to rest and support your soil in silence. To help them out, avoid unnecessary soil disturbance during colder months.

Why Less is More

  • Microbes Need Stability: Tilling or turning the soil disrupts the natural habitat of microbes, reducing their efficiency in maintaining soil health.
  • Worms are Key Workers: Earthworms burrow through the soil, improving its structure and nutrient cycles. Give them a chance to do their thing undisturbed.
  • Lower Compaction Risks: Walking or working on wet, cold soil can compact it, making it harder for roots and microbes to thrive later.

What You Can Do

  • Stay Off the Soil: Avoid walking directly on garden beds—use stepping stones or planks if you need access.
  • Skip the Digging: Instead of digging to “help,” add a fresh layer of organic matter on top and allow nature’s soil helpers to integrate it over time.

Think of it this way—your soil is hibernating and your job is simply to create the perfect environment for it to thrive come spring.

3. Think Long-Term – Healthy Soil is Sustainable Soil

Winter soil protection isn’t just about maintaining your garden but contributing to a healthy, sustainable ecosystem. Every action you take—be it laying down mulch or avoiding soil compaction—has long-term benefits. By focusing on building resilient, nutrient-rich soil, you’re making your gardening more sustainable and less reliant on artificial fixes.

Spring preparation should never start in March; it starts now. By protecting your soil during winter, you’ll enjoy richer, more productive harvests—and the satisfaction of knowing your garden is environmentally sound.

Your Winter Gardening Action Plan

  1. Cover Exposed Areas with mulch, cover crops or fabric to shield your soil from the elements.
  2. Avoid Unnecessary Disturbance to preserve the delicate network of life below the surface.
  3. Feed Your Soil by adding organic matter that will naturally integrate over winter.

Find the Joy in Sustainable Gardening

Imagine stepping into your garden next spring and seeing robust plants bursting with life. Your winter prep will set the foundation for this magical scene, ensuring your soil is fertile, thriving and ready for the next chapter of your gardening adventure.

Need ideas for green manure or guidance on choosing the right mulch? We’re here to help! Together, we nourish the earth—one garden bed at a time.

Happy Gardening 🌱

Further reading: Discover Your Soil Type: A Gardener’s Guide, Freshen Up Your Winter Diet with these Garden Salads

Helping Wildlife This Winter

Winter is a time of beauty and rest, but for many of our garden visitors, it’s also a season of survival. If you’re a nature lover, gardener or simply someone who cherishes the sight of chirping birds and buzzing bees, there are plenty of ways to lend a helping hand. Helping wildlife this winter doesn’t just benefit the creatures; it brings balance, joy and life to your garden.

Why Support Winter Wildlife in Your Garden?

Supporting wildlife during winter isn’t just about kindness—it’s a win for your garden too!

  • Better Pollination: By supporting pollinators like bees, butterflies and other insects, you’ll enjoy improved pollination come spring, which means more flourishing flowers and thriving vegetables.
  • Natural Pest Control: Ladybirds, frogs, birds and hedgehogs naturally combat garden pests, saving you the hassle of chemical treatments.
  • Balanced Ecosystems: Wildlife keeps your garden’s ecosystem balanced, ensuring no one species dominates, whether it’s plants or pests.
  • Reduce Chemical Dependency: With beneficial creatures at work, you’ll rely less on pesticides and fertilisers, making your garden a safer, eco-friendly haven.
  • Enhanced Enjoyment: There’s nothing quite like relaxing in a garden alive with the sights and sounds of nature—it’s like a private concert from Mother Earth herself!

How to Support Wildlife This Winter

1. Provide Habitats

Imagine a hedgehog snuggled up in your garden for winter! Create homes for wildlife by adding hedgehog houses, insect hotels or leaving log piles in your garden. Birds will appreciate nesting boxes or dense shrubs for shelter. It’s all about making space for them to hunker down during the cold months.

2. Plant for Pollinators

Just because it’s winter doesn’t mean your garden has to be bare. Plant winter-blooming flowers like hellebores, snowdrops or winter heather to provide vital nectar for pollinators. Bees and butterflies are often searching for a little energy boost on mild winter days and your garden can be their saving grace.

3. Feed the Birds

Picture this—starling song in the morning as you sip your tea. Birds rely on gardens for food during harsh winters, so set up feeders with energy-packed seeds, suet balls and peanuts. Remember to keep feeders clean to prevent disease. And if you’re feeling extra generous, add water dishes that won’t freeze!

4. Companion Planting

Did you know some plants naturally protect others? Companion planting combines certain species to support pollinators while deterring pests. For example, plant marigolds to protect veggies or lavender to attract bees. Even over winter, planning your spring planting can make your garden a friendlier place for wildlife.

5. Leave Areas Untouched

Does the idea of “wild and free” appeal to you? Sometimes, the best thing you can do for wildlife is… nothing! Leave some areas of your garden untouched. Piles of leaves, overgrown corners, or quiet logs provide the perfect habitats for hedgehogs, insects and frogs.

6. Use Eco-Friendly Gardening Practices

Skip harsh chemicals this winter to protect the fragile creatures working below the surface, like earthworms and beetles. Opt for natural fertilisers or pest deterrents and make compost to enrich your soil sustainably.

A Garden Full of Life Awaits You

This winter, your garden has the power to be more than just a pretty scene dusted with frost—it can be a refuge for creatures great and small. From encouraging better pollination to enjoying delightful bird songs, the benefits are boundless, for both you and the wildlife.

Start small. Get planting, feed the birds, and leave a cosy spot for hedgehogs and bees. Together, we can create vibrant gardens that not only withstand winter but nurture it.

Are you ready to make a difference? Your garden is calling! 🌱

Further Reading: How to Create and Maintain a Garden Pond, Grow Stronger Together Gardening with Companion Planting

No-Dig Gardening

If you’ve been dreaming of lush, thriving gardens without the back-breaking labour of digging, then no-dig gardening might be just what you need. This sustainable gardening method has gained immense popularity amongst gardeners and those committed to eco-friendly living—and for good reason. It’s simpler, kinder to the environment and incredibly effective.

What is No-Dig Gardening?

The concept of no-dig gardening is exactly what it sounds like—gardening without the need to turn over or dig through soil. Instead of disrupting the natural soil structure, this method allows you to build fertile, healthy soil by adding organic layers on top. Think about it as mimicking nature—it’s how forest floors become fertile over time, naturally building rich layers of organic material.

Why Choose No-Dig Gardening?

No-dig gardening isn’t just easier; it comes with a plethora of benefits that make it an essential practice for anyone looking to garden sustainably.

1. Improves Soil Health

Digging disrupts the delicate ecosystem that exists beneath the soil. There’s a network of microorganisms, earthworms, fungi and bacteria that work together to keep the soil healthy and fertile. With no-dig gardening, these organisms remain undisturbed, naturally improving soil structure and fertility.

2. Reduces Weeds

One of the most significant perks of no-dig gardening is that it discourages weed growth. By covering the soil with mulch or compost, you block out sunlight, which prevents dormant weed seeds from germinating. This means less time battling weeds and more time enjoying your garden.

3. Cuts Down on Labour

Say goodbye to hours of back-breaking digging and turning over soil. No-dig gardens save you time and effort, making gardening accessible to everyone, regardless of physical ability or experience.

4. Promotes Sustainability

No-dig gardening is inherently eco-friendly. By reducing the need for heavy machinery and preserving soil ecosystems, it supports biodiversity and reduces your carbon footprint. Plus, it relies heavily on composting, offering a brilliant way to recycle organic waste.

How to Start Your No-Dig Garden

Starting a no-dig garden is straightforward, whether you’re an experienced gardener or a complete beginner. Here’s a step-by-step guide to help you kick off your no-dig gardening adventure.

Step 1: Choose Your Location

Pick a space in your garden that gets ample sunlight. No-dig gardening works on any soil type, whether it’s a patch of existing turf, poor soil or even an area covered in weeds.

Step 2: Lay Down a Weed Barrier

Start by suppressing any existing weeds. Lay down a thick layer of cardboard or sheets of uncoated newspaper directly on the ground. Overlap the edges to prevent light from reaching any weeds underneath.

Step 3: Add a Layer of Compost

On top of your cardboard barrier, spread a layer of nutrient-rich compost. Aim for about 4–6 inches (10–15 cm). This will serve as the first growing layer for your plants.

Step 4: Top It Off with Mulch

To keep moisture locked in and deter new weeds, add a layer of organic mulch like straw, wood chips or dried leaves over the compost.

Step 5: Plant Your Garden

Now comes the fun part! Plant seeds or seedlings directly into the compost layer. The roots will grow through the compost and eventually into the soil below, which improves as the organic materials decompose.

Step 6: Maintain the Layers

Over time, keep topping up your garden with fresh compost and mulch as layers break down. This replenishes nutrients and keeps your no-dig garden thriving season after season.

Tips for Successful No-Dig Gardening

  • Start Small: If you’re new to no-dig gardening, begin with a single raised bed to get the hang of it.
  • Use Quality Compost: Invest in nutrient-rich compost or make your own to ensure your plants get the nutrients they need.
  • Water Mindfully: No-dig gardens retain moisture well, so be careful not to overwater. Check the soil regularly to adjust as needed.
  • Rotate Crops: Keep pests and diseases at bay by rotating your crops each season.
  • Foster Biodiversity: Shelter bees, butterflies and other pollinators by planting a variety of flowers alongside your vegetables.

The Future of Gardening is Sustainable

No-dig gardening isn’t just a method; it’s a movement. By adopting this practice, you’re not only making your life easier but also contributing to a more sustainable world. It’s a win-win solution for passionate gardeners and the planet alike.

If you’ve always thought gardening was too much work or weren’t sure where to begin, now’s your chance to give no-dig gardening a go. Start small, be patient, and watch your garden flourish with minimal effort.

Join the No-Dig Movement

Have you tried no-dig gardening? Share your experience in the comments or tag us in your garden photos. Don’t stop here—spread the word about sustainable gardening practices and make a difference, one layer at a time!

Here’s to greener, healthier gardens—no digging required. 🌱

Further Reading: How to Improve your Soil Structure. Follow us on Instagram for Daily Inspiration